Hi all, and welcome back to another Step it out Sunday.

Today we are going to look at the fun technique No Line Coloring. I Love this look, and I practice a lot at it. When I first heard of No Line Coloring I couldn’t believe how beautiful it looked. Some of my first attempts were just BAD… But with some practice and determination I learned this very fun and elegant technique. Lets get started
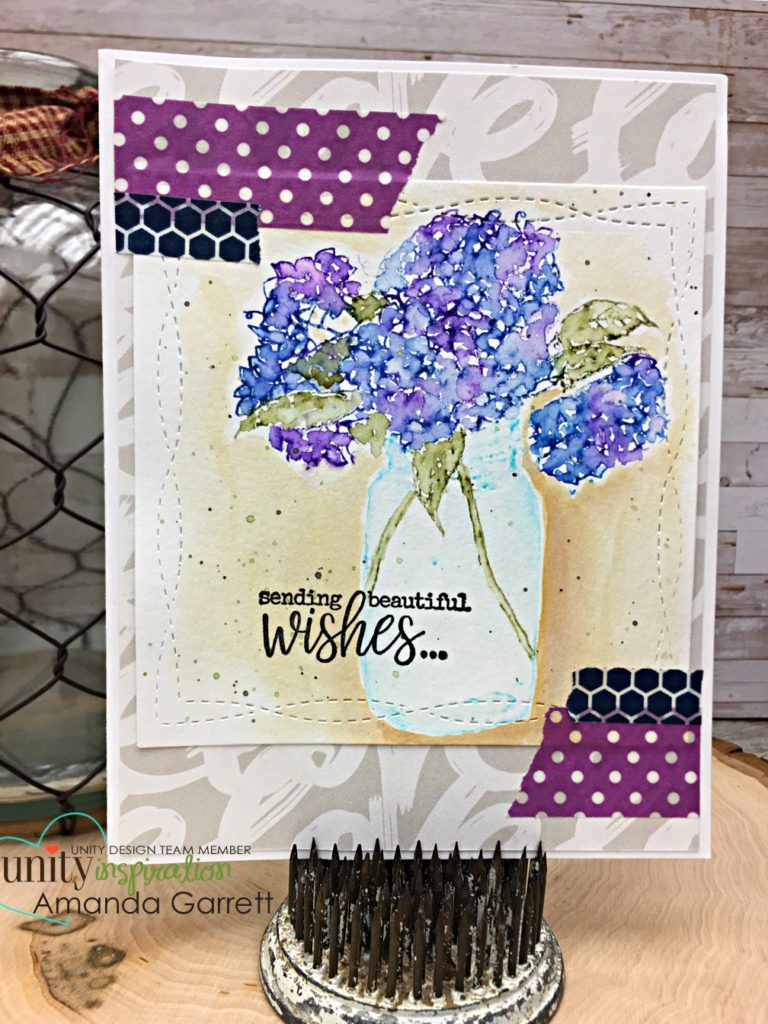
So how to start I use Tim Holtz antique linen distress ink to stamp my image with on watercolor paper. The point is to have a very light line so you can see your image but not have a black line.
(This light line will get lightly covered up with color.) You can use anything to color your image with, I love to use watercolor.
Kits used
- May KOTM Free your Dreams
- Sentiment is from Girl Truly
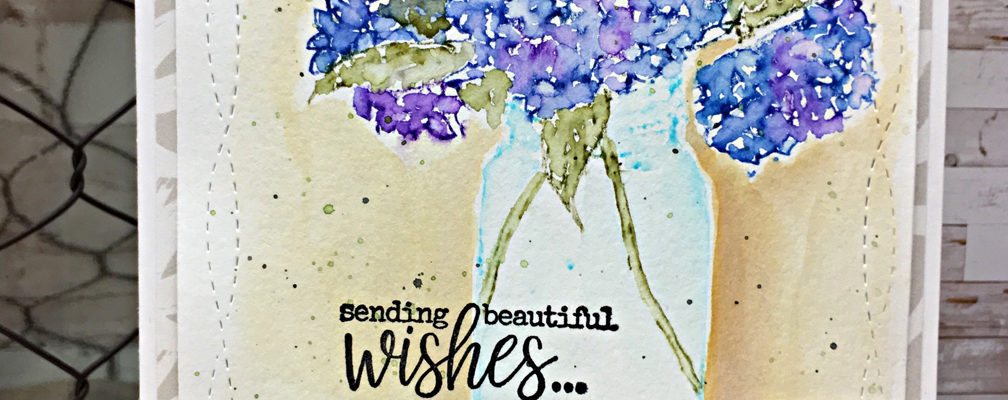
Next up is a little different way to do No Line Coloring. I used my Misty and added my colored ink to the stamp and stamped it a few times to get the colors where I wanted them. Then I took my water brush and moved the colors around to get the desired effect I was looking for.
I feel this way is the easiest, your color is already down where you stamped your image so all you have to do is use your water brush to move the color around. Pretty easy!
-
Kits used
-
Hello New Life
-
Hang in there Lady
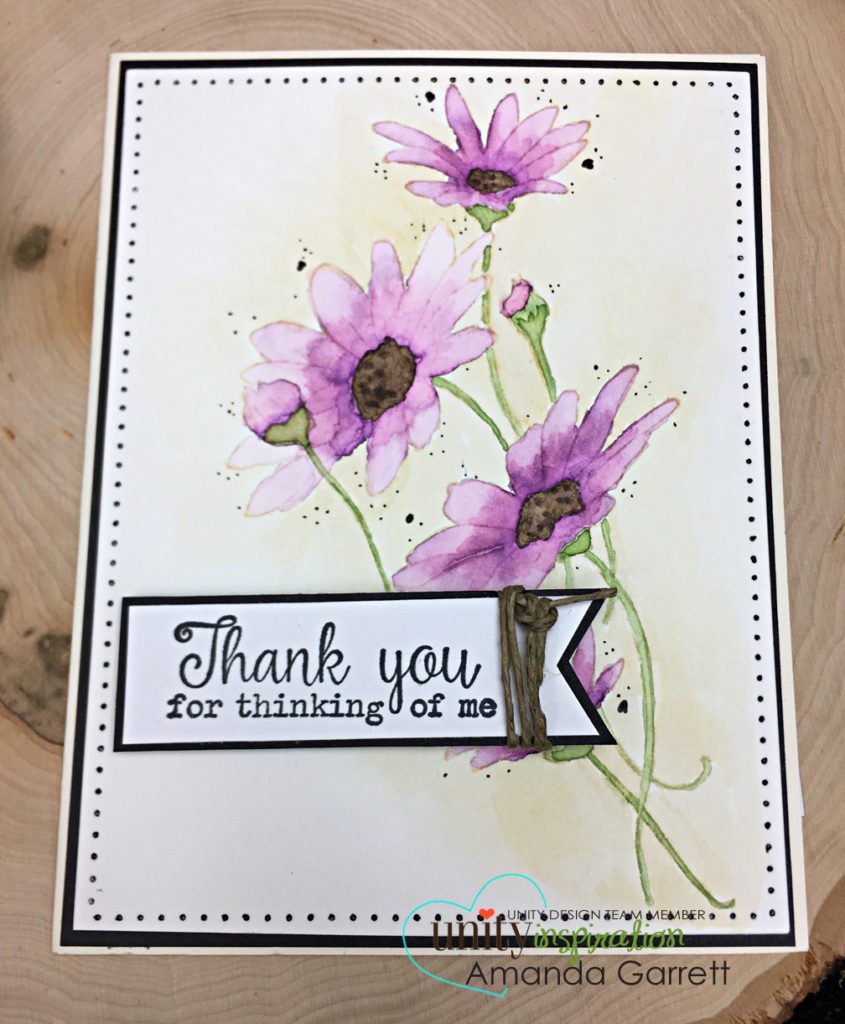
For my last No Line Coloring card is done the same way as the first. I stamped my image with antique linendistress ink and then used my water colors to color in my image.
I just LOVE No Line Coloring.
-
Kits used
-
Girl Truly
I hope you give No Line Coloring a try and be sure to share when you do, and like always keep crafting, and we will see you next Sunday.
Hey did you miss last weeks blog, if so check it out here >>> Caffeinated Unity Goodness<<<