Happy Thursday! Welcome back to another stamping therapy session. Today I have a video tutorial for you on creating a distressed woodgrain background. I love making backgrounds.
Making backgrounds is totally my jam. I have lots of fun experimenting with colors and textures to see what I can come up with. I love distressed wood so of course I needed to figure out how to create a distressed woodgrain background. What I love about making your own backgrounds is you can tailor the colors to whatever you need for your project.
Kits used:
S.M.A.K. January 2017- Progress and Change and Wild Florals kit
Creating a distressed woodgrain background
I love this S.M.A.K. kit so much! Especially the large woodgrain stamp. It is fun to stamp the woodgrain in different colors and on different colored card stock to see what you can create.
Two more samples using the same technique
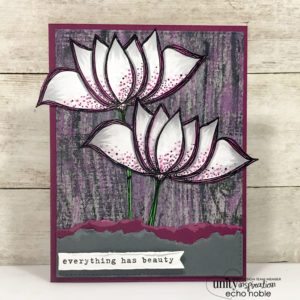
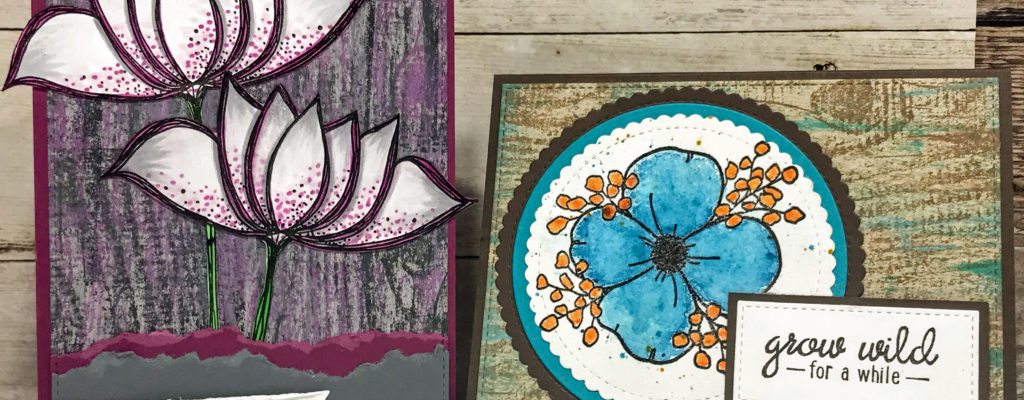
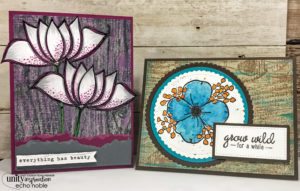
For this card I used the same technique. I just switched up the colors. Stamped the woodgrain stamp in black ink on grey card stock. I then swiped distress oxide in seedless preserves to add a punch of color. The flowers and sentiment came from Imperfection is Beauty kit.
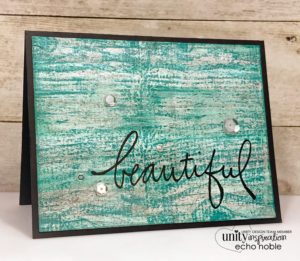
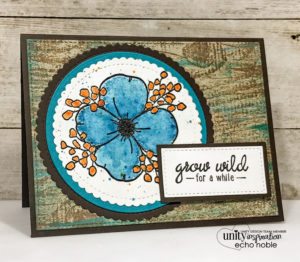
I thought it would be nice to just add a simple sentiment to this card. For this woodgrain background. I stamped the woodgrain in grey ink onto white card stock and then stamped it again in distress peacock feathers. Swiped both ink colors onto card stock to get a distressed effect. It reminds me of old weathered wood that is peeling the paint off. You could just stamp it in standard wood colors without the added color. I just can’t help myself I need a punch of color. This sentiment also came from the Imperfection is Beauty kit.
I hope you found some inspiration in creating a distress woodgrain background. If you try this technique out for yourself, tag me over on the Unity Show and Tell Facebook group. I would love to see what you make with this technique. I love seeing your creations so much. If you missed last weeks stamping therapy post. Click here to take you to that blog post on dry embossing with stamped images. That is our time for today!
Thank you so much for joining me this Thursday.
Until next time, stamp on!