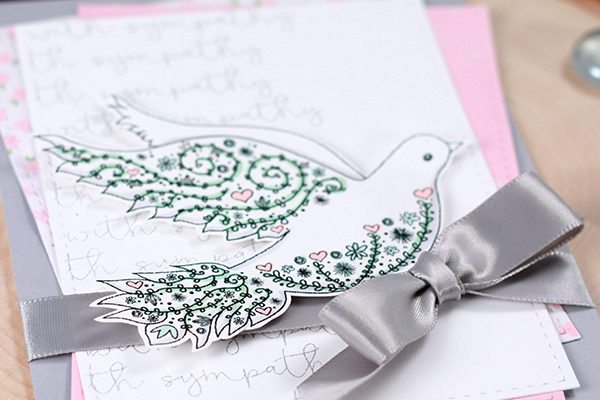
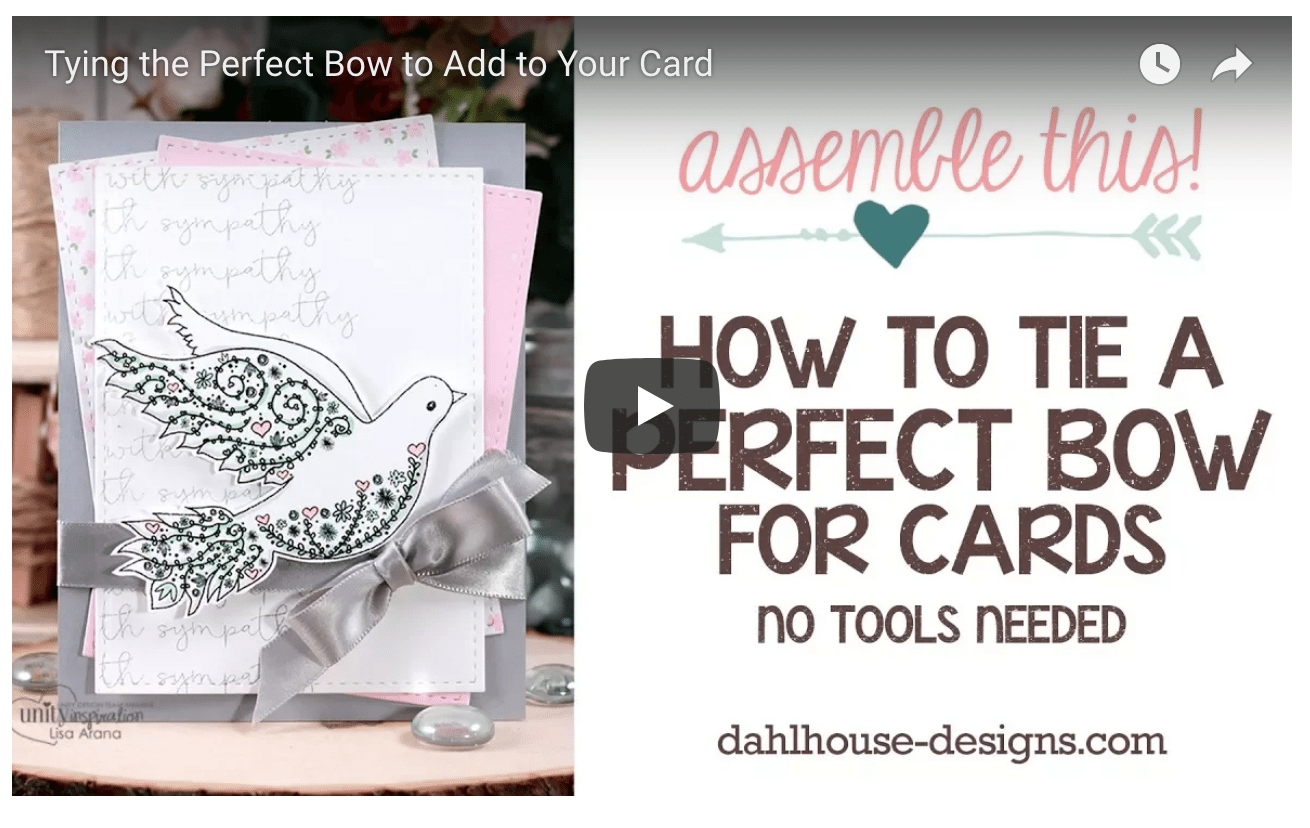
I have a tutorial today that is just plain basic and useful. Which turns into one lovely little thing… a bow. I love bows. String, twine or ribbon, I love them all. But ribbon bows are the trickiest to tie into a perfect bow. I’m here to share my tip on how I like to add a ribbon bow to my card.
Featured Stamp Kit

Video
I’ve created a quick video tutorial on how this card was made.
Like this video? Please give it a thumbs up and subscribe.
The Project
The Details
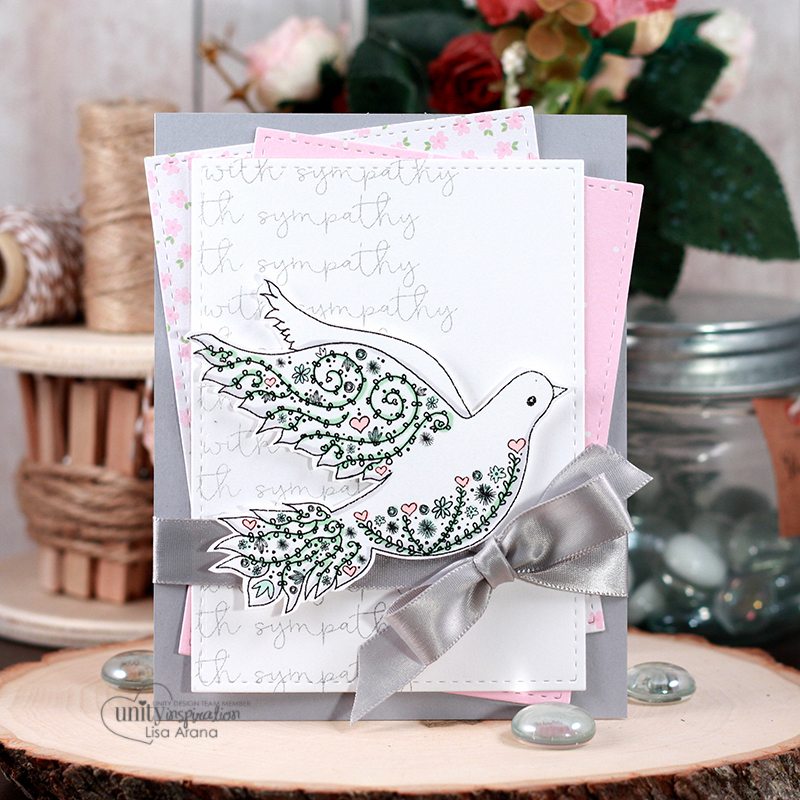
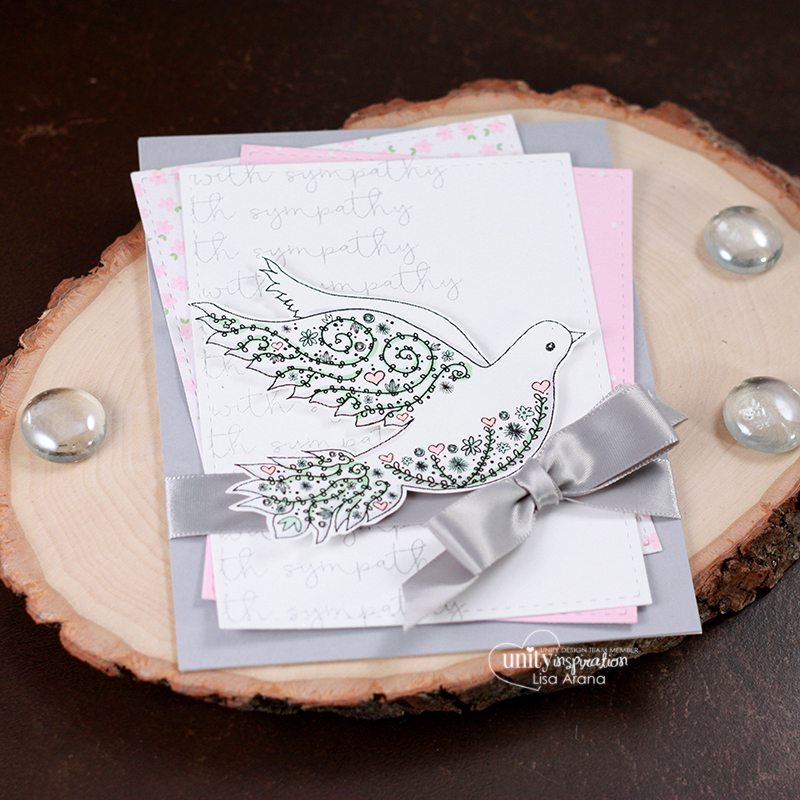
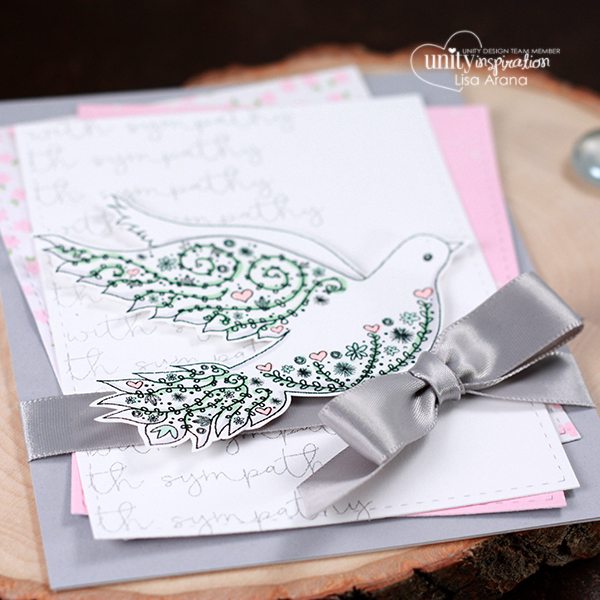 I like to keep my sympathy cards simple. That’s just my style. So I went with some simple patterned papers and simple stamping with some soft coloring. The papers are all die cut with a stitch pattern and then layered together on the card. The dove was stamped in Copic friendly ink and then colored with R20, G12, BG01, and N1. To see a video on how I colored the dove, you can CLICK HERE.
I added the bow before popping up my dove. The bow is created with my fingers and is really hard to explain. So I’ll just have to ask that you watch the video. It explains it better than I could ever try with words. It just takes practice, but it is super simple once you get the technique down.
 The Steps
Here are the steps to recreate this card:
- Cover standard size A2 card with gray cardstock.
- Die cut 2 patterned paper and 1 white cardstock rectangles. Stamp the with sympathy sentiment down the side of the white rectangle. Layer and glue to the front of the card.
- Stamp the dove with Copic friendly ink and color with Copic markers (R20, G12, BG01, and N1).
- Tie the bow and add to the card.
- Pop dove up onto card with foam adhesive.
Thanks for joining me today. I hope you are inspired by today’s project. If you create something, I’d love to see. Join us in the Unity Show & Tell Facebook group to share your card and tag me.
Supplies
Affiliate Links are used when available at no additional cost to you.


