Layering up Designer paper on Graduation cards!!!
Hi all Amanda here and its that time of year where you have someone in your life that maybe Graduating!!! Layer after layer after layer, I am going to show you some fun ways to layer up Designer paper on Graduation Cards.
So Break out those Graduation stamps and some designer paper and lets get playing!!!
These 2 kits are so great! You Did Good, and Graduation Wishes.
Aside from stamps I have an obsession with PAPER aka DP. In fact my husband says I have a better verity of DP then lots of craft stores do. But all joking aside I love paper. You can use paper as accents for cards to make things pop.
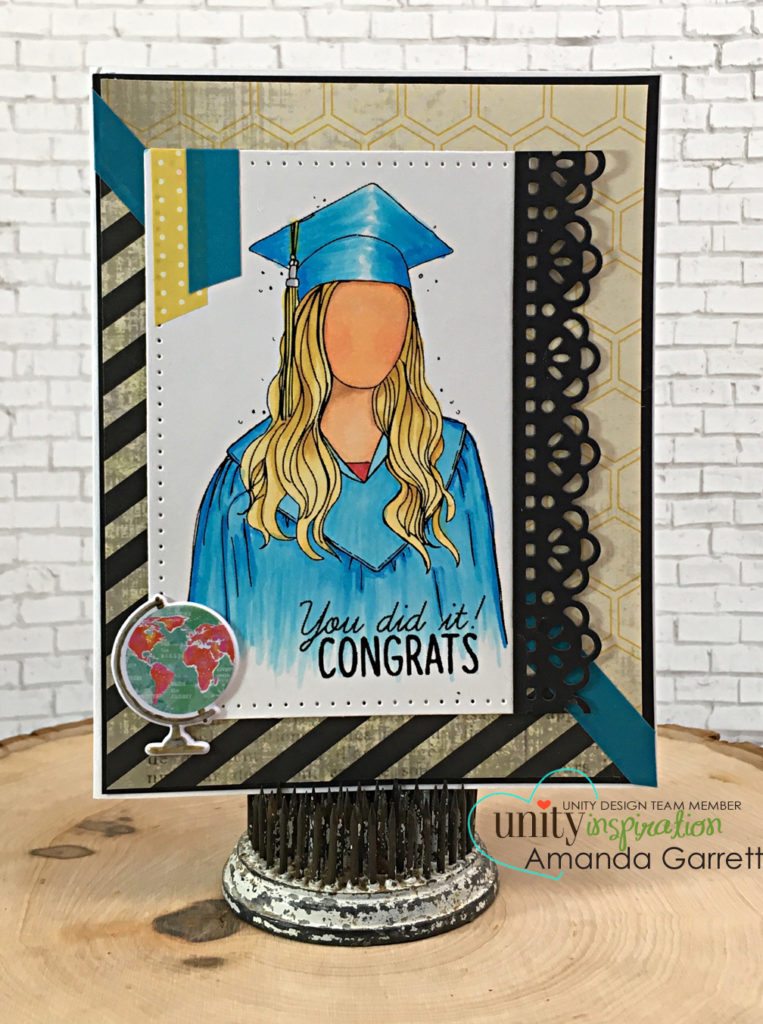
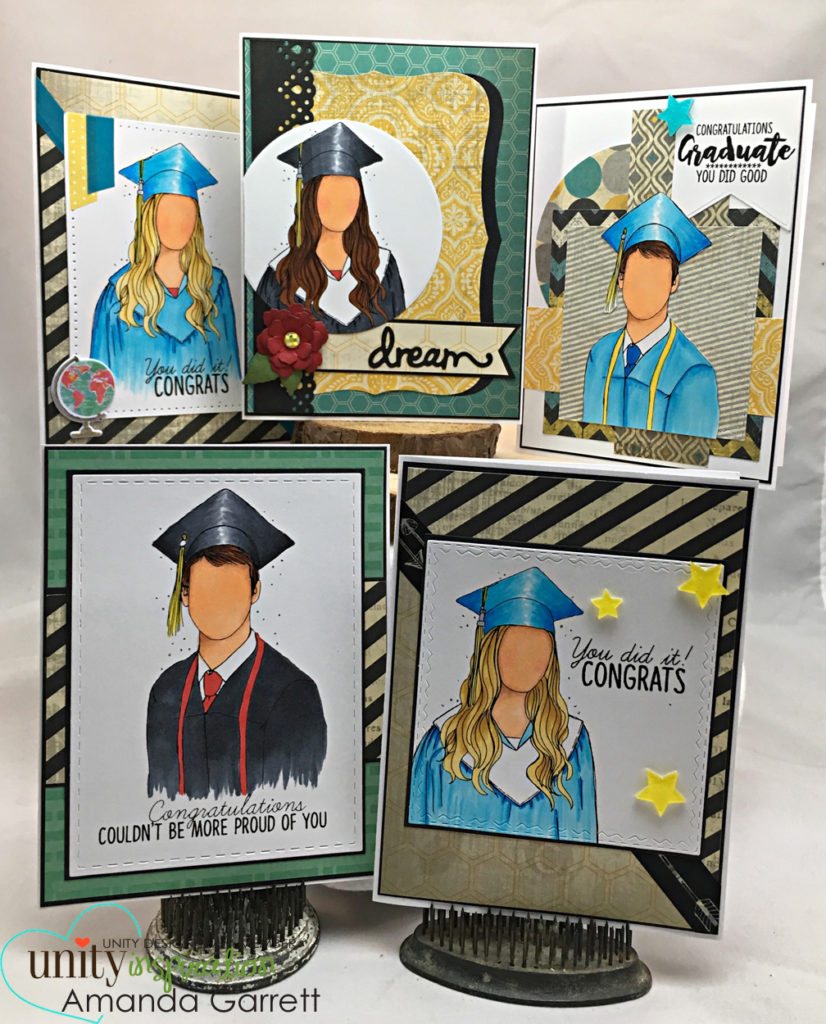
For this card I cute up the DP at an angle for a fun look.
I Copic Colored this one and added some colored pencils for some light shadding.
I added some washi down the center of the card to have the blue tie in to her gown. Then I glued the stamped image on top of the DP and added the cute globe sticker.
Washi is a great way to accent your cards. There are is so much verity when it comes to washi.
![]()
I love to layer the DP to really make fun unique cards. From squares, circles, & rectangles adding layered shapes is a fun way to make a card pop! Again I used the Ninth Street DP. The dies I used are form Tim Holtz sizzix and Gina Marie design dies.
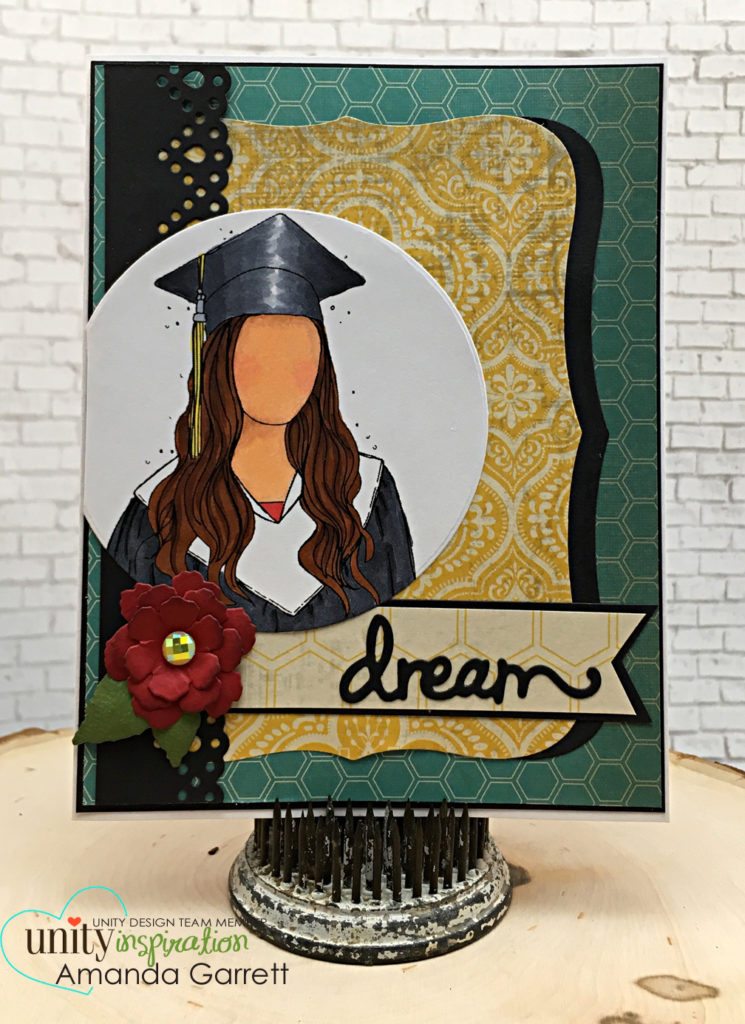
I love stamping on circles and then cutting the edge off to give it some interest. I added a directive boarder and added a flower that I shaped and added some bling to the center for it.
Do you like to give your copic coloring highlights? This is how I do it.
I go in with my darkest color to the edges first, then go to the next darkest, and so on, until I get to the lightest and making sure to leave some white in the center or where ever the light source is coming form. But I am no export. This is just how I do it.
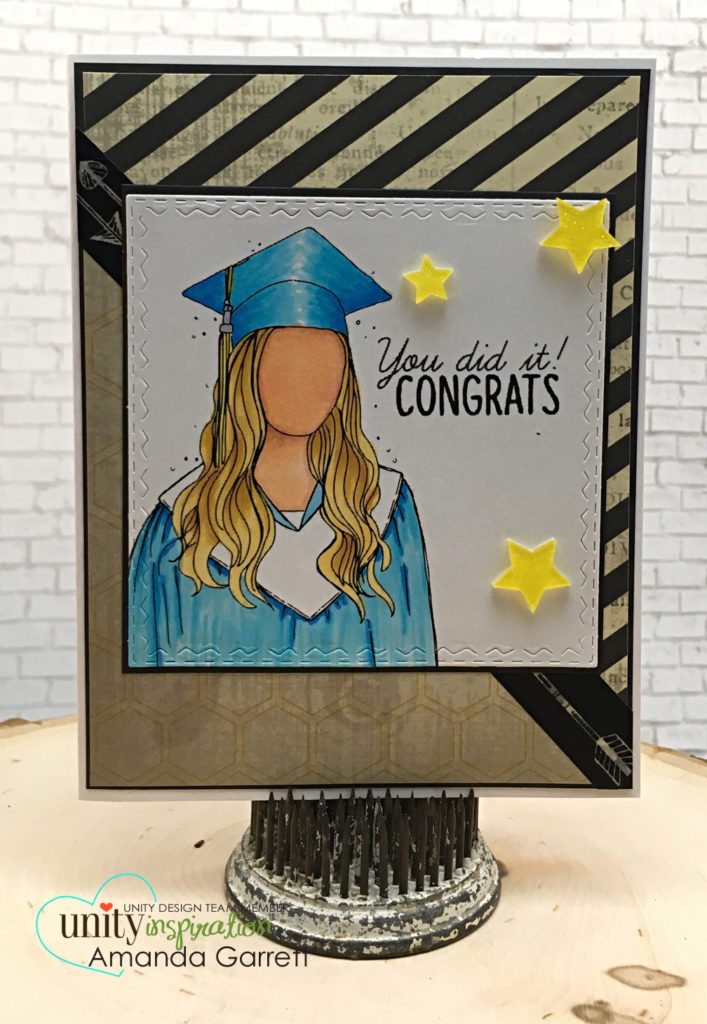
Here is another card with the DP cute at an angle. Do you notice the Layered DP is the same as the first card?
When I cute the DP I cute the paper together so I could use the opposite side on the next card. Its a great way to get a lot of use out of your paper.
Again the die used is from Tim Holtz Sizzix
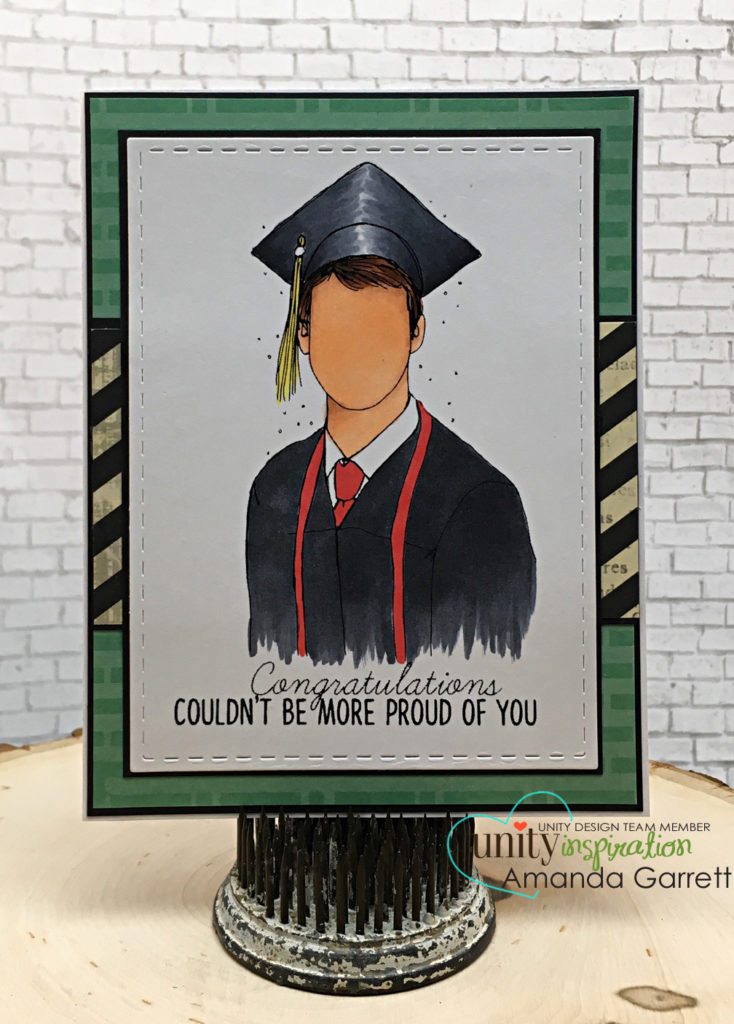
This one I layered the designer paper with just 2 papers for another fun easy look.
Layering DP can be tricky but using papers that are from the same paper pack works well. I also use a solid color paper behind some of the DP’s to make them stand out.
I hope I could inspire some creativity for you and Layering designer paper. That’s it for me today as always keep crafting and Happy Mothers day to all you moms out there.
Here is a link to the kits used in today’s blog.
>>>Graduation Wishes <<< & >>> You Did It<<<