


Hello Friends…
Lisa Arana here to share another card idea for the holidays. I’m making some pretty gold foiled Christmas cards using some amazing Unity Stamp Company stamp sets. I love turning my stamped images into shiny gold cards using Therm-o-web’s Deco Foil and a laminator.Featured Stamp Kit


 Believe in Magic | Just Plain Christmas Greetings | Distressed Dots
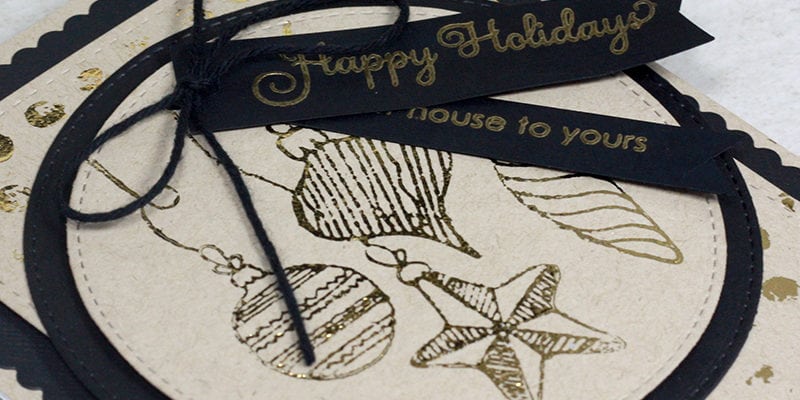
What a lovely combo of stamps… don’t you agree? First, those fun little ornaments are a favorite of mine. I’m using those as my main image and then the Distressed Dots as the background. I needed some simple one line sentiments and Just Plain Christmas Greetings were just perfect for the sentiment banners.
Believe in Magic | Just Plain Christmas Greetings | Distressed Dots
What a lovely combo of stamps… don’t you agree? First, those fun little ornaments are a favorite of mine. I’m using those as my main image and then the Distressed Dots as the background. I needed some simple one line sentiments and Just Plain Christmas Greetings were just perfect for the sentiment banners.
Assemble This! Video
I’ve created a quick video tutorial on how this card was made. You can watch it below or on Youtube.
The Project
The Details
The Steps
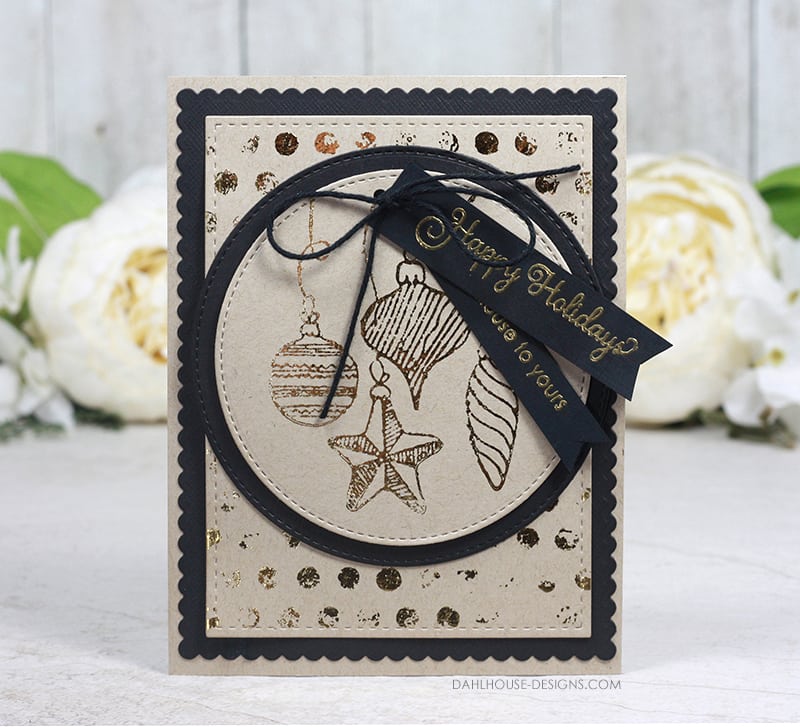
- Cover a standard sized A2 (4.25″ x 5.5″) card with kraft cardstock. Die cut a scallop rectangle from black cardstock and glue to card front.
- Stamp ornament & background stamps with Reactive Paint onto kraft cardstock.
- Layer Gold Deco Foil sheets over the top of the stamped images, sandwich between a carrier sheet (I used parchment paper) and run through the laminator. **Preheat laminator for at least 20 minutes and set to 5mil.
- Remove foil and die cut the distressed dots into a stitched rectangle and the ornaments into a stitched circle. Die cut a larger circle with black cardstock as well.
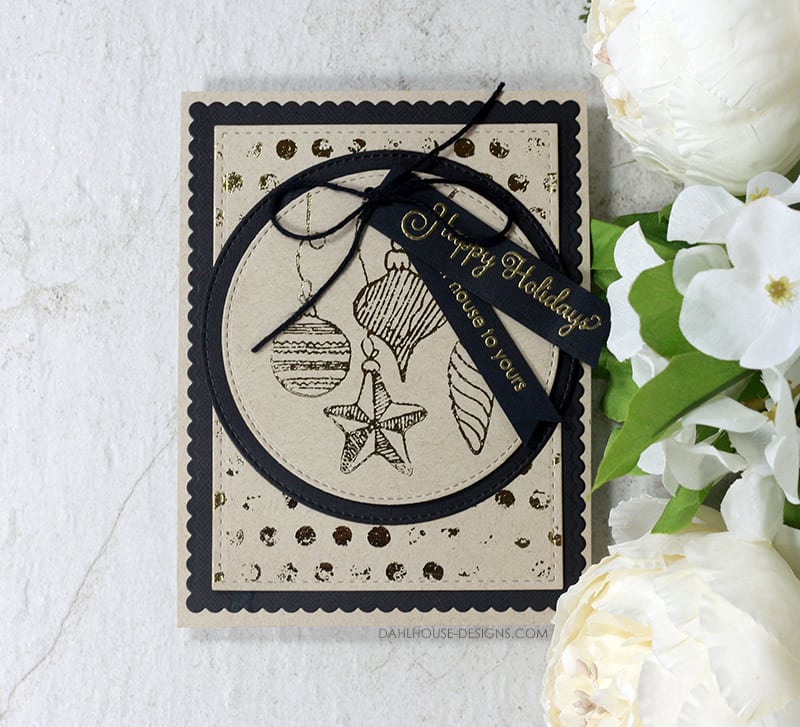
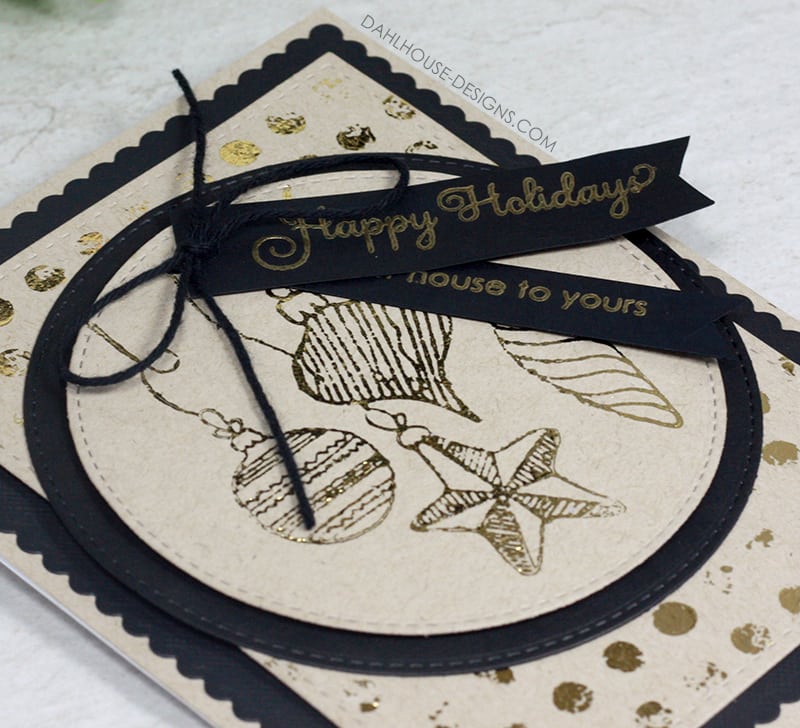
- Stamp and emboss sentiments on black cardstock with gold embossing powder. Trim into strips and notch out the ends to create a banner.
- Punch 2 holes into the top of the ornament circle and thread string through the top and through the sentiment strips as well. Tie a bow at the top. Add foam adhesive to the back.
- Glue the black circle to the front of the card and then the ornament stamped circle on top. Tack down the top sentiment with foam adhesive and leave the bottom sentiment free to be moved around.

Supplies

Affiliate Links are used when available at no additional cost to you.


