Welcome
Hello and welcome to February! My first post of the month brings a challenge that is open all month, to give you time to work on a more in depth project. This month I am bringing you a paper piecing challenge. Paper piecing is so fun. Think of it as paper dolls for adults. You can be the fashion designer and dress up Angie Girls in the outfit of your dreams. But it’s not just for Angie Girls; birds can be plaid, trees dressed in polka dots. Your imagination is the only limit. It’s also a great way to trot out some of the fabulous patterned paper that you’re hoarding. Come on, it’s ok, you can admit it, I’ll go first. Hi, my name is Laura and I’m a paper hoarder.
The Project
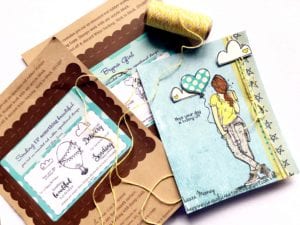
Today’s project is piecing Bryna Girl. I love the Angie Girl line and I love all the fun dots and heart and wisps of hair that they have, but there in lies a conundrum. Just where do you cut them out? Do you add all the dots? All the hair wisps? How do you cut all of that out, without it looking chopped up? I’ve come to the conclusion that I shouldn’t cut any of it out, but rather stamp her to my background first, then stamp her on cardstock or watercolor paper. It’s this image that I cut out, tight to her body. I let the dots, hearts, wisps of hair live in my background.
The Steps
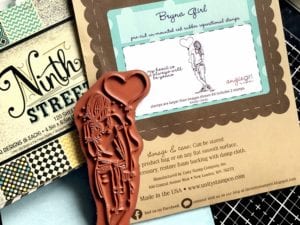
Firstly, I gather my supplies. Background piece of paper, watercolor paper, paper line for clothing.
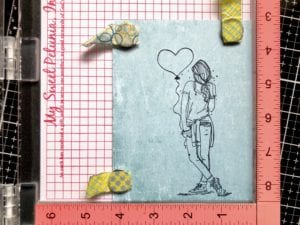
As I said above, I stamp the Angie girl onto my background paper. She exists here only to add the outer pieces that I don’t want to cut out, like the dots, the balloon string, and the shadows on the ground.
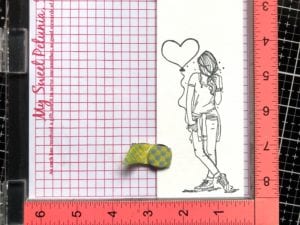
Next I stamp her onto my watercolor paper. This is the image that I will watercolor, and glue my paper clothes to.
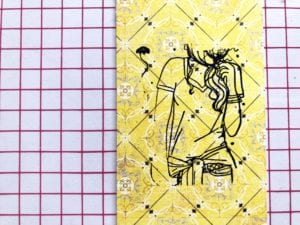
Whilst having my stamp still on my Misti, I stamp out her various articles of clothing, cleaning my stamp well in between. This is the really fun bit, where you get to let out your inner Paris fashion designer self.
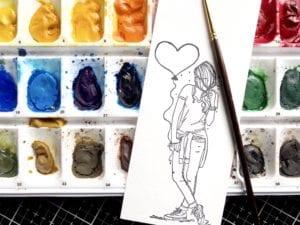
I watercolor her hair, shoes, and skin. You can color in any number of things that you don’t want to paper piece.
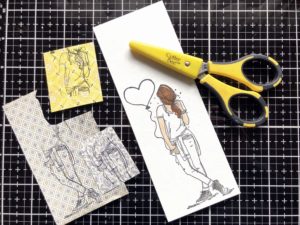
Next, cut out the clothing. I find it helpful to cut out and then glue each piece, so I don’t lose any small bits.
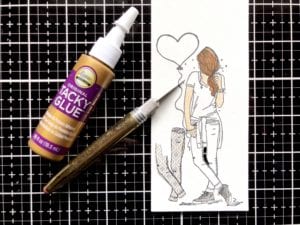
Be sure to pay attention to parts of her body that need cutting out, such as the open space between her legs and of her balloon holding arm. This allows the background to show through and look more natural. Occasionally, I’ll just add a bit of paint, the color of the background, but this gap was easy to cut out.
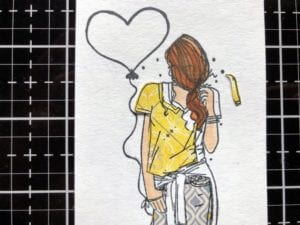
Also pay attention to the small bits of clothing that you might need to cut out separately, such as her shoulder piece. This is why I usually glue as I cut, because small pieces like this are easily mistaken for bits of trash.
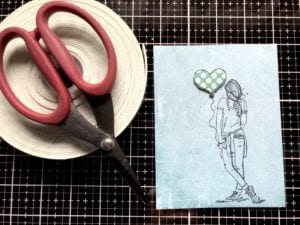
I did paper piece the balloon and added right onto my background, with foam tape, for dimension.
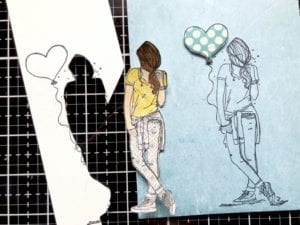
Finally I cut her out, tight to her body and glued her down to the background.
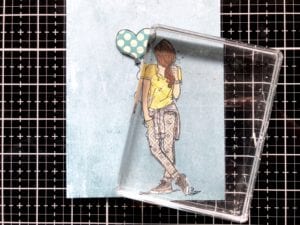
Quick tip: I use my acrylic blocks as weights, to hold things down until the glue dries enough that they aren’t popping back up.
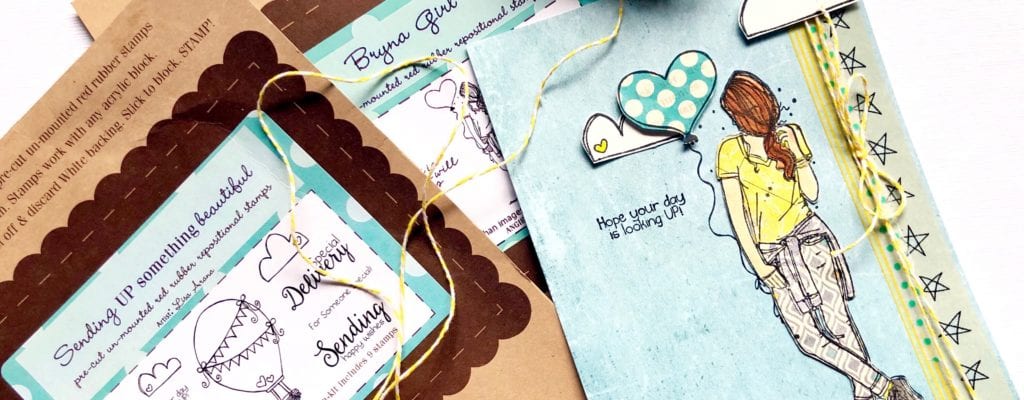
I finished off the card by adding a little brown watercolor to the shadows by her feet, running some washi tape off to the side, tying twine on top of the washi, and adding clouds and a sentiment from Sending Up Something Beautiful.

The Challenge
And now for the challenge. Do some paper piecing. Whether it’s an Angie Girl, a bird, a flower, whatever you’re inspired to add some color and pattern to. This challenge will be open all month, so you have plenty of time to bring out your inner designer and dress up a stamped image. Be sure to join the Facebook group, Unity Show and Tell and upload to the paper piecing album. There are prizes at stake! I look forward to seeing all the great designs you guys bring.
Until next week, where we will be back to quick cards, happy stamping!


