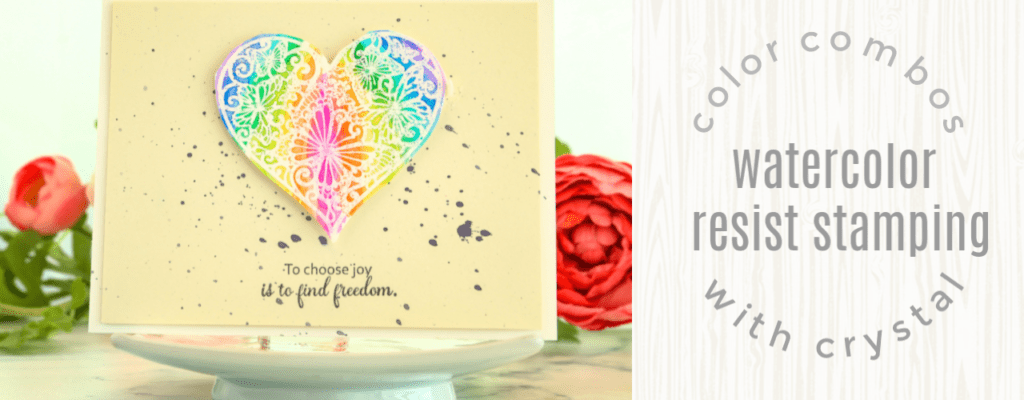
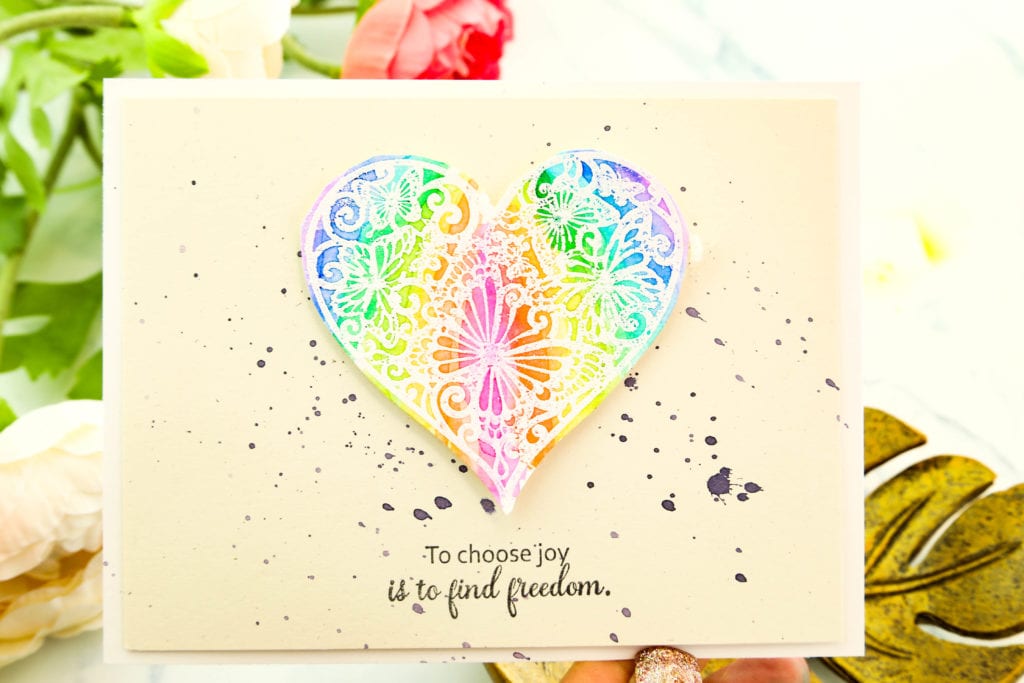
Hey guys, Crystal Thompson here for Unity. Let’s get started for Color Combos with Crystal. We are doing a watercolor emboss resist using the Beautiful Crooked path Stamp Set. We are using one of the sentiments and the gorgeous heart.
Here’s what we are going to use for this project:
- White embossing powder
- Clear embossing
- Black ink
- Embossing cardstock – 2 pcs white and 1 pc beige
- Assortment of watercolor markers
So let’s get started!
On a piece of watercolor paper, we’re going to emboss the heart from the Beautiful Crooked Path with some our clear ink. Then, we are going to cover the entire thing with white embossing powder. Next, we’re going to go ahead and heat set with our heat gun. It might be a bit difficult to see the white but it will turn a little bit shiny when it’s all done.
Once we have completed the steps above, we are then going to proceed to watercoloring the image before we cut it. First, we are going to put our watercolor markers on to an acrylic block. If you don’t have watercolor markers, you can use just regular watercolors or you can use water based inks.
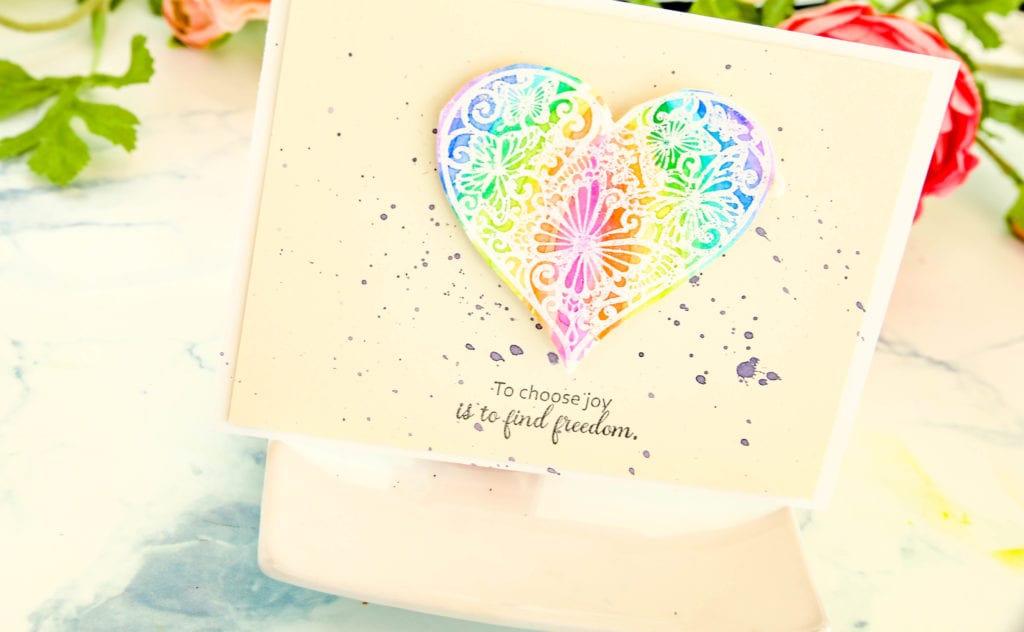
We’re going to place the entire rainbow colors onto our acrylic block and we’re going to begin watercoloring. Let’s start with the pink right in the center of the heart, followed by orange on the sides and then yellow, then light green, followed by darkest green, then do some of the teal, then blue and purple.
Let’s do some light washes first to cover the entire heart, we’re going to follow the contours of it with our watercolor. Then, we’re going to add several layers, allowing some drying time in between to really let that color pop.
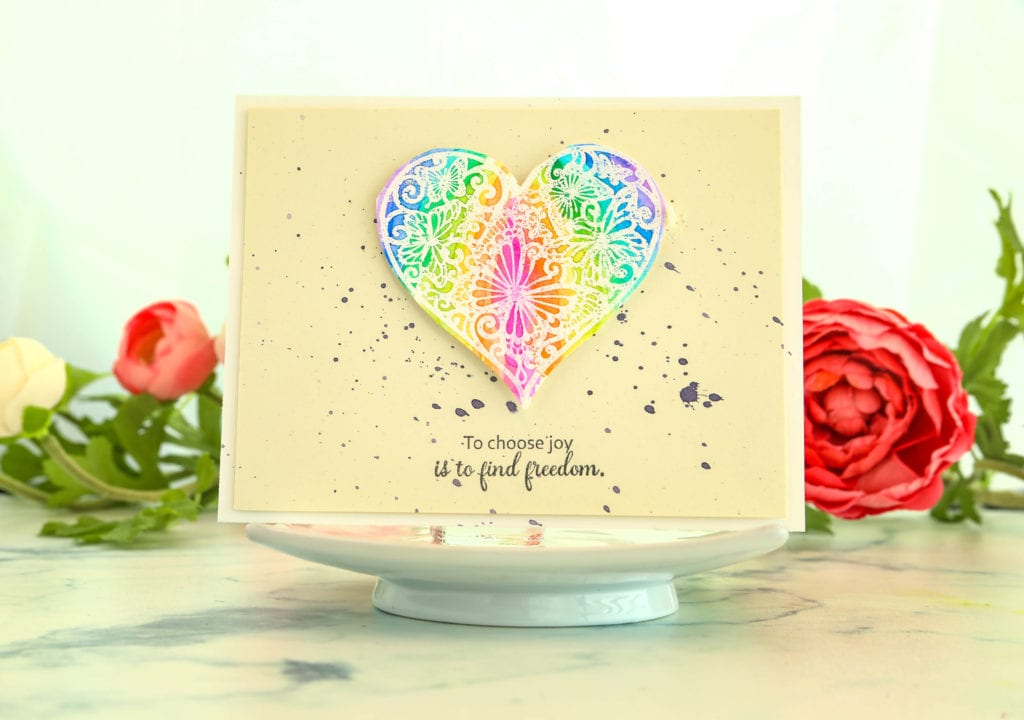
Again, you can use any watercolor products that you have or water based inks. Once that is completely done, we’re going to go ahead and grab our detail scissors and fussy cut around it, trying to cut as close to the edge as possible.
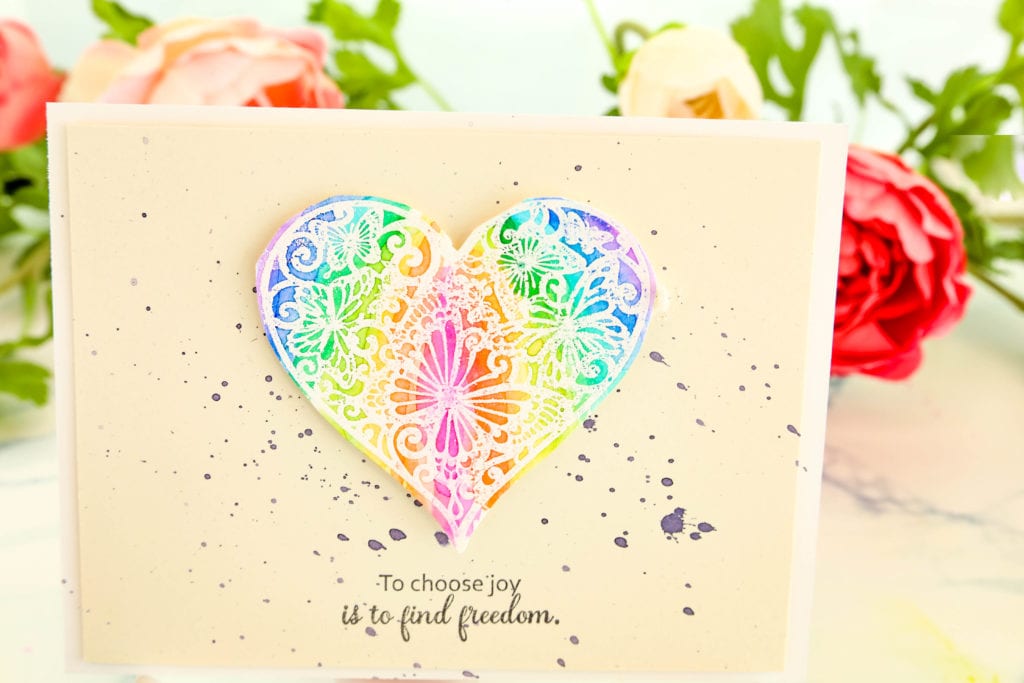
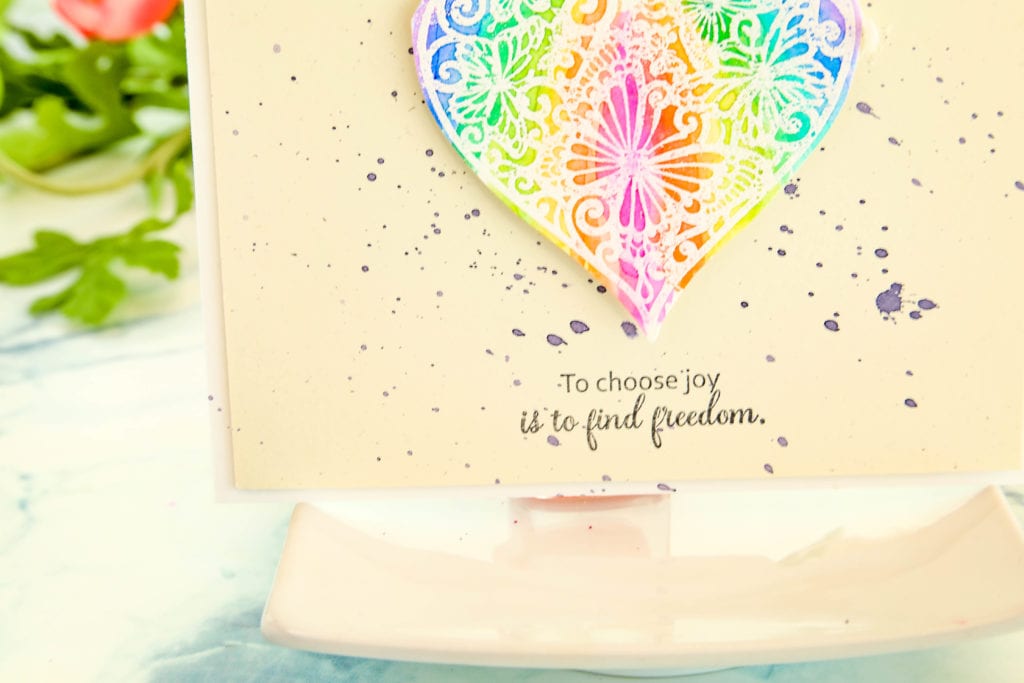
Now, we’re going to stamp the sentiment on the cener of our off beige embossing cardstock. Then, we’re going to place some foam adhesive on the back. And this is going to be placed over our card base. I trimmed the off beige panel first so that it’s a little bit smaller than the white card base. This way, you can see the nice contrast of the beige against the white.
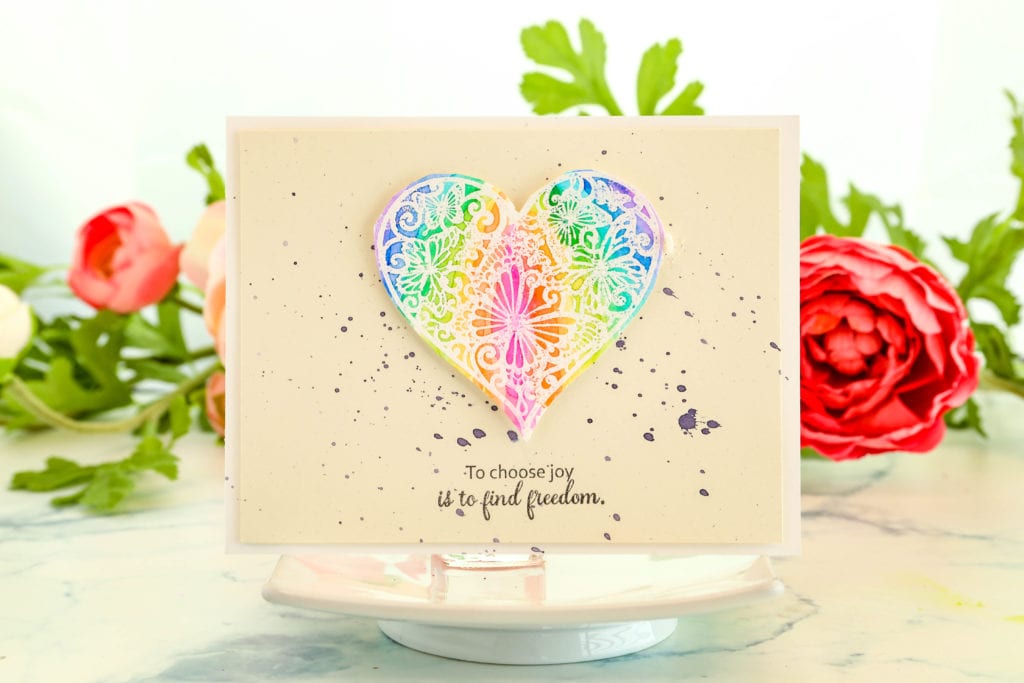
The last thing we need to do is to put some foad adhesive at back of the heart and we’re going to place it on the center of the beige panel, above the sentiment. And that does it! For additional decor, you can flicker it with some paint or embelish with some sequeens.
Thanks so much for joining me. Have a great day!


