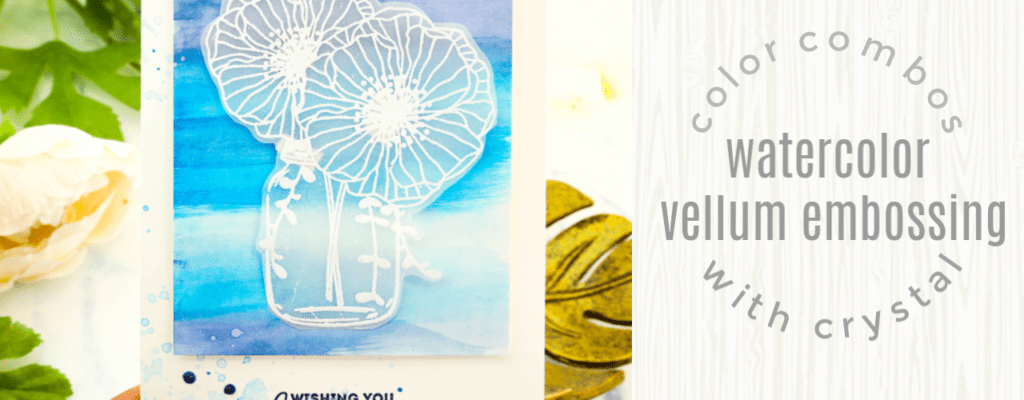
Hey guys, Crystal Thompson here for Color Combos with Crystal. Today, we have a vellum watercolor creation and I can’t wait to show you this gorgeous card.
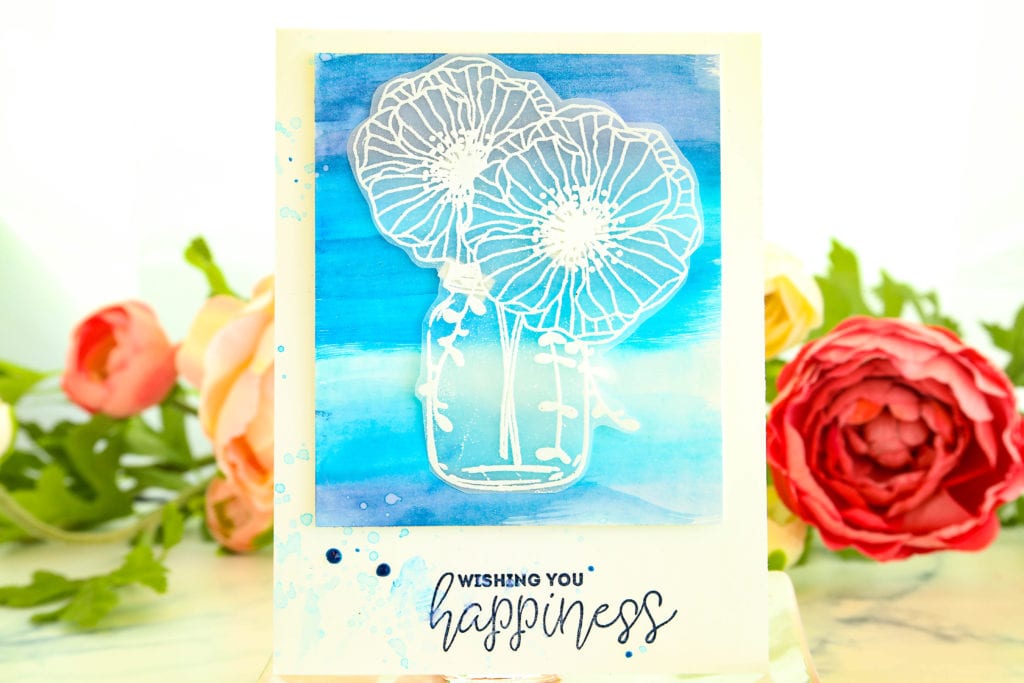
We are going to use the following materials for this tutorial:
- Graciellie Designs Happy Moments Stamp Kit
- 2 pieces of embossing cardstock
- A piece of vellum
- Embossing Powder – White
- Embossing Pad
- Blue Inks – It’s A Boy, Something Borrowed and Juniper (water-based inks)
- Paper towels
- Brush
Let’s get started!
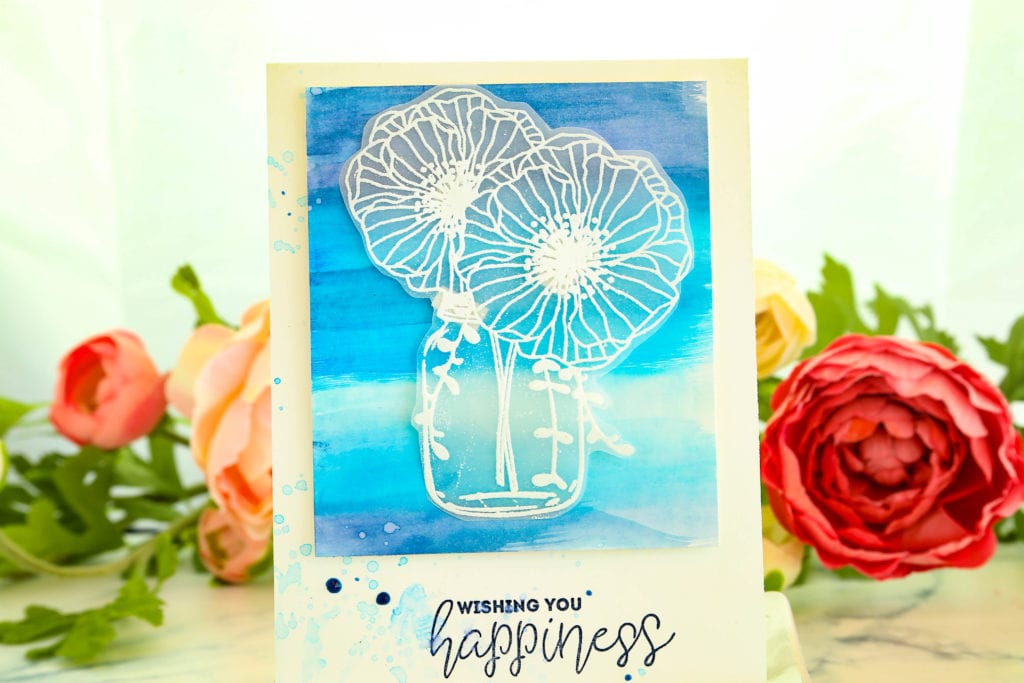
We are going to use the darkest of our blue, any water-based ink will do. Then, we’re gonna put the ink on the lid, get some of that color and begin doing a wash on the top part. Next, we’re going to use the bright blue or royal blue and do a layer just below the dark blue. Then, we’re gonna move on to the lightest blue. Remember, when you are using a really light blue color, you have to layer several times.
By this time, you will notice the piece of embossing cardstock has started curling. We’re gonna add in two more washes as the top part dries. And a little bit of colors in between to break those layers up.
Now, we’re ready to heat emboss the gorgeous floral pattern from the Graciellie Stamp Kit. Let’s ink up the rubber stamp while doing this you can pre-heat your heat gun. It’s important to note that when you heat vellum for too long, it will curl. So it’s better to have the heat gun pre-heated and ready. Once we’re done with the stamping we can then put some white embossing powder, then heat set the florals.
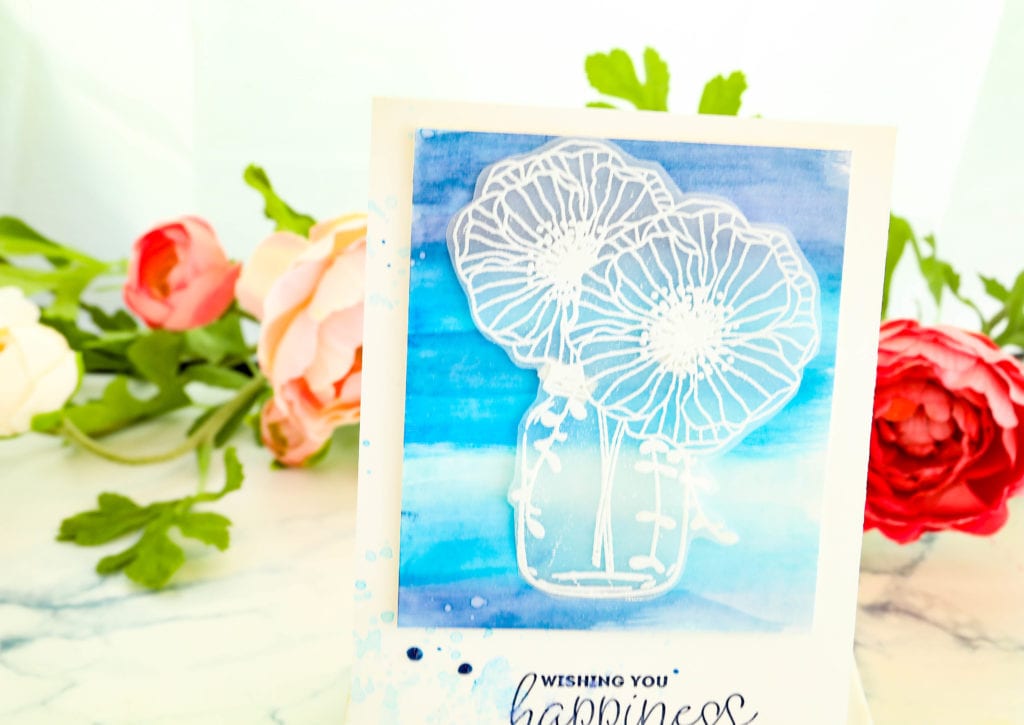
Once that cooled off, we can begin cutting it, leaving very thin vellum around the florals. Now, we are ready to assemble our card.
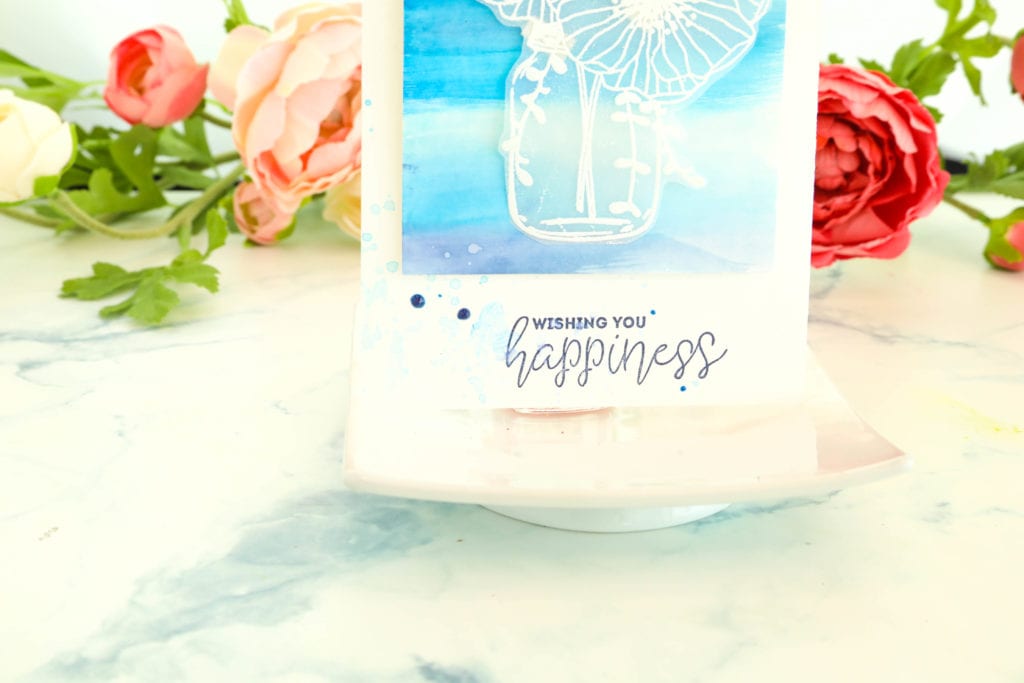
First, we’re going to stamp our cardstock with the sentiment. Place our watercolors cardstock and florals on top to see where we should put the sentiment. Then, we’re going to stamp the sentiment “Wishing you happiness” using the dark blue ink. Once that’s done, we’re going to put a foam adhesive at the back of our watercolor panel, you can see how clean and pretty it is starting to look. Next, we’re going to put foam adhesives on the back of the florals as well and put it on top of the watercolors panel.
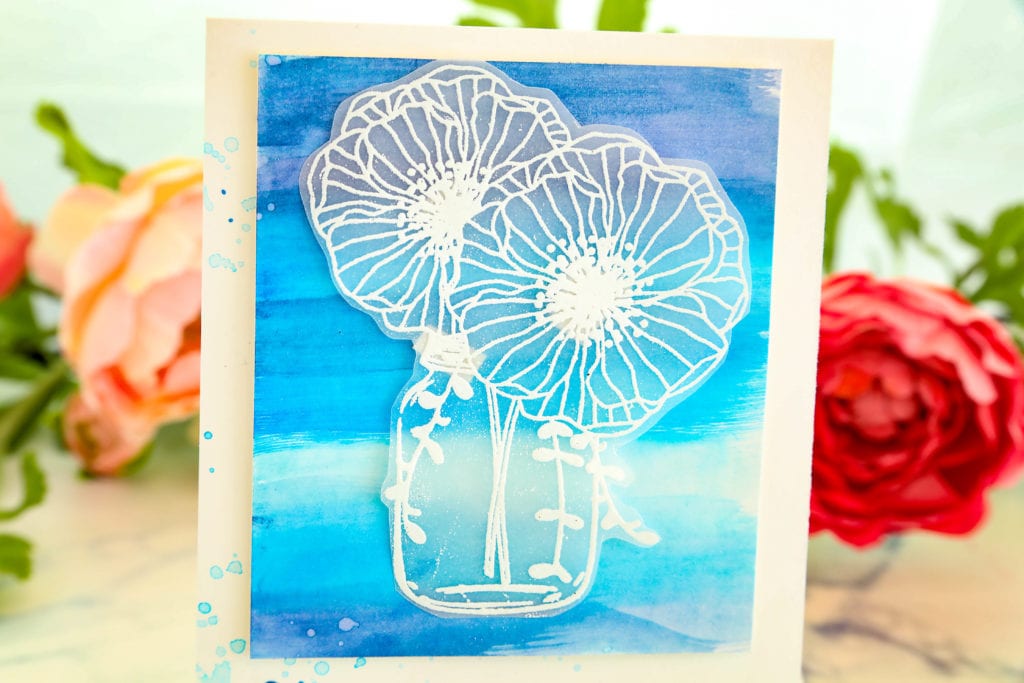
To add more vibe, you can splatter some watercolors, add some Nuvo drops. And that turns out so pretty. I hope you’ve enjoyed this tutorial and see what else we have here for you. Thank you so much!
See the full video tutorial here:
https://youtu.be/2GRxaV29XHE
watercolor,color,crystals,tutorial,color theory,crystal,brusho crystal colors,painting,watercolour,art,water color,getting started with watercolour paints,artist,paint,make a color chart,color wheel,color mixing,getting started with watercolors,watercolor tutorial,colour craft,color chart,how to watercolor,paint with me


