


Hello, Lisa Arana here…
I’m so excited about today’s cards featuring Unity Stamp Company sentiment kits. It is a twist on an old technique that anyone can do but has such a lovely effect. We are keeping things easy with simple stamping, simple blending, and simple monochromatic colors. It is the perfect formula for easy, beautiful cards. I have two different versions to share with you today depending on what inspires you.Featured Stamp Set
 There is No Reason
This is one of my MUST HAVE sentiment kits. The flowers are timeless and can be used for any season. The sentiments are lovely and cover so many different occasions. I will admit… I use the “Happy Birthday” the most just because that font combo is amazing and I’m always needing birthday cards.
There is No Reason
This is one of my MUST HAVE sentiment kits. The flowers are timeless and can be used for any season. The sentiments are lovely and cover so many different occasions. I will admit… I use the “Happy Birthday” the most just because that font combo is amazing and I’m always needing birthday cards.
Assemble This! Video
I’ve created a quick video tutorial on how this card was made. You can watch it below or on YouTube.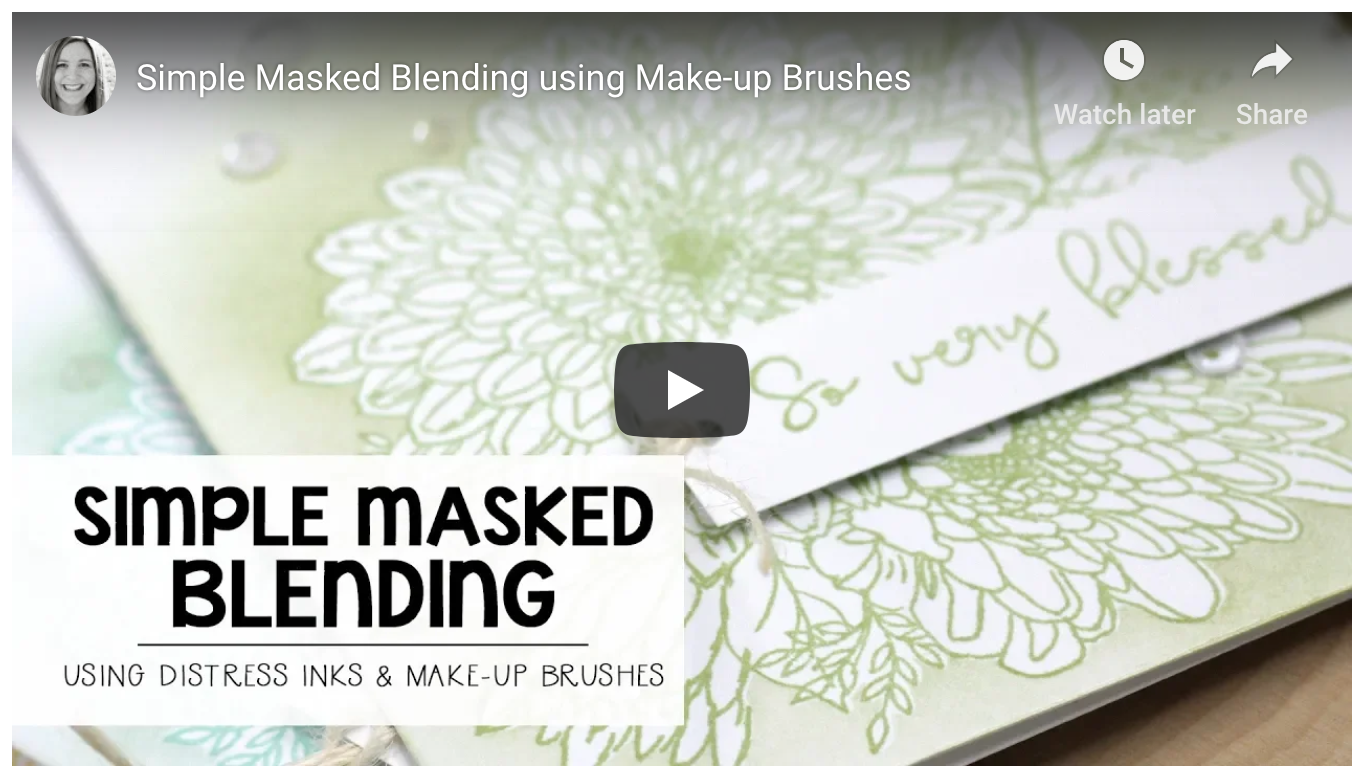
The Project
The Details
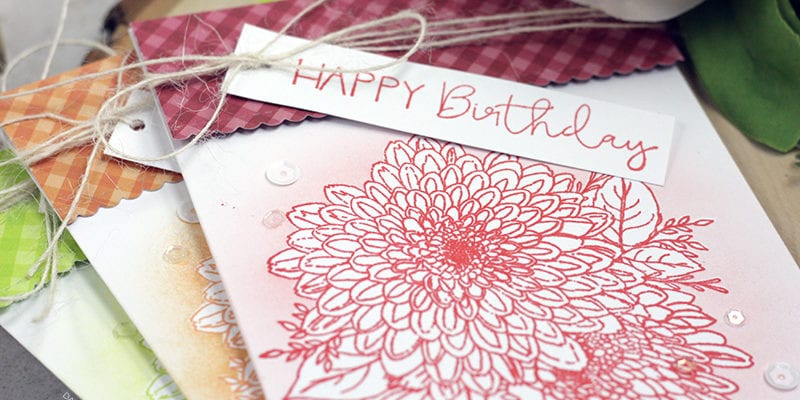
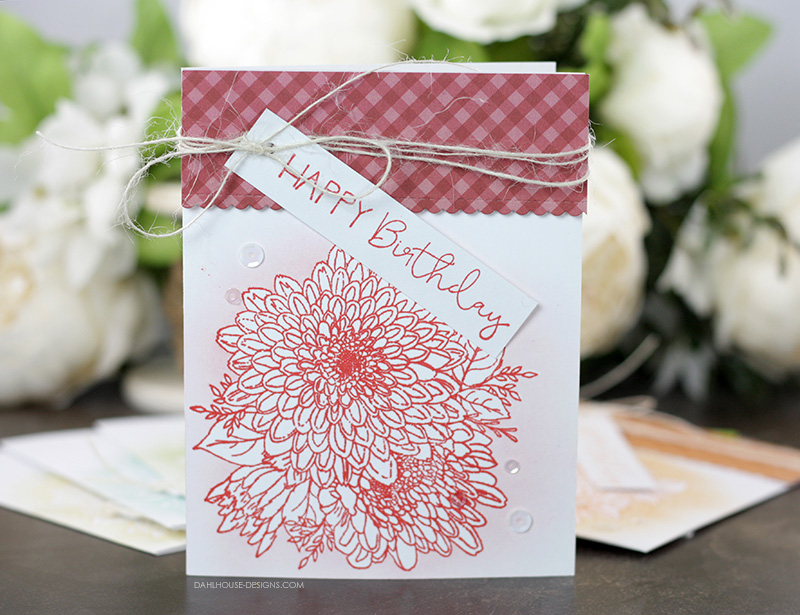
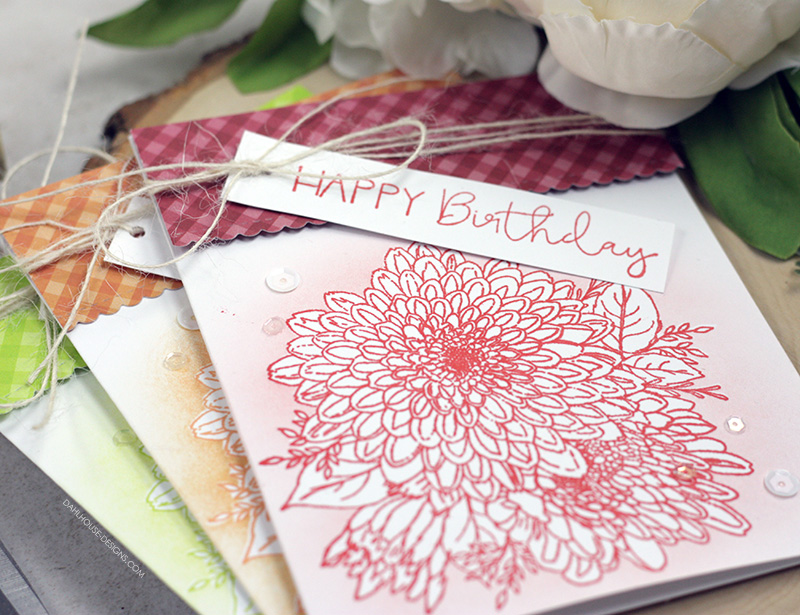 The first version incorporates a bit of patterned paper to accent the masked blending. It is a great way to complement the monochromatic coloring while allowing for a fun sentiment treatment. I popped up some gingham patterned paper with a scalloped edge, wrapped some string around it to hold the sentiment tag. I love the variation in levels it creates plus the different location of the sentiment is fun.
The Steps
Here are the steps to recreate this card:- Start with a standard size A2 card (4.25″ x 5.5″) card.
- Stamp the flower from There is No Reason using Gina K ink onto the card base. Stamp the same flower on masking paper and trim out close to the lines. Layer mask over flower on the card base.
- Using the same color of ink and blending brush, blend ink around the masked area. Use a light swirling motion and build up ink color until you reach the desired vibrancy. Remove mask.
- Stamp sentiment in the same color of ink onto a strip of white cardstock and punch a hole in the top.
- Die cut a strip of patterned paper with a scalloped edge. Wrap twine around the strip and thread through the sentiment tag hole. Tie with a bow.
- Pop up the entire panel at the top of the card with foam adhesive.
- Finish the card by gluing some sequins onto the card front with a strong adhesive (ie. Glossy Accents).
The Project
The Details
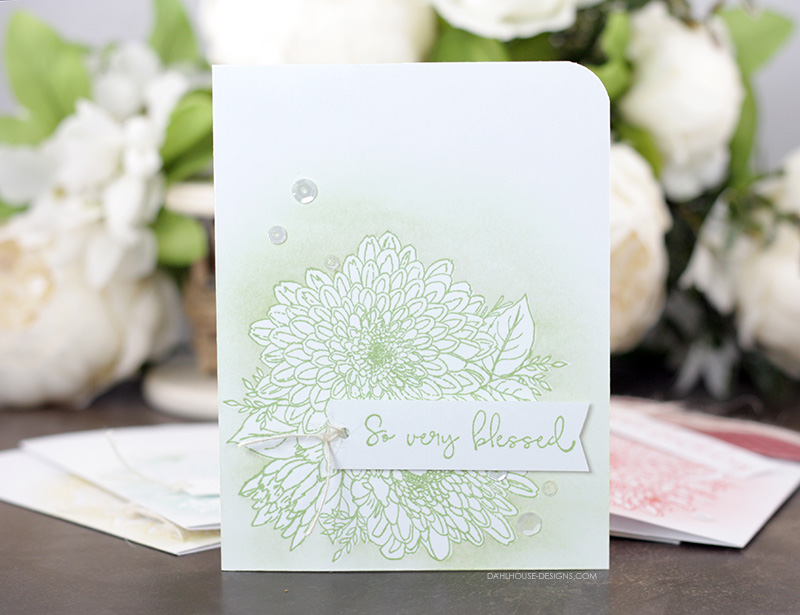
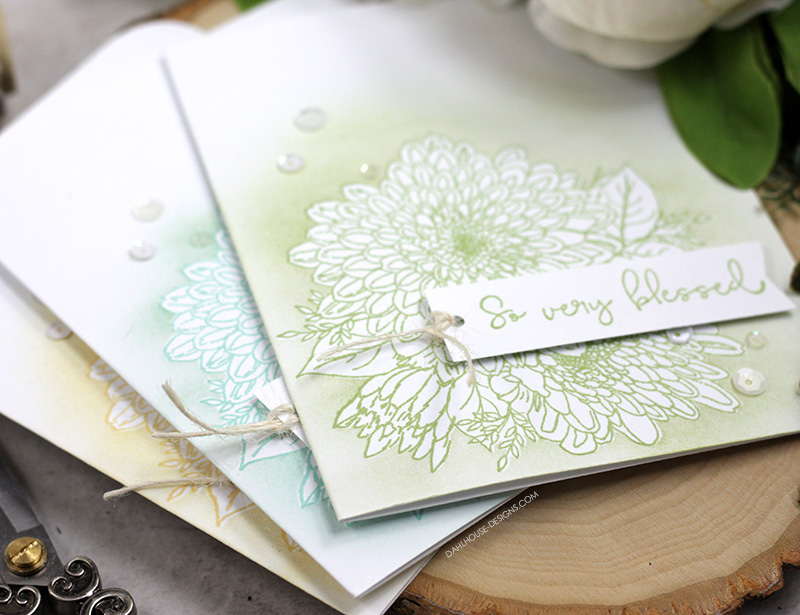 For the second version, I kept the design very simple. All the action is coming from the masked and blended flower and then the surprise comes from the popped up sentiment tag. It did need a little something extra to make it special, so the few sequins added just the right amount of bling and movement to keep your eye interested. I love the variation of colors in this set plus all the sentiment options to add to my stash.
The Steps
- Start with a standard size A2 card (4.25″ x 5.5″) card.
- Stamp the flower from There is No Reason using Gina K ink onto the card base. Stamp the same flower on masking paper and trim out close to the lines. Layer mask over flower on the card base.
- Using the same color of ink and blending brush, blend ink around the masked area. Use a light swirling motion and build up ink color until you reach the desired vibrancy. Remove mask.
- Stamp sentiment in the same color of ink onto a strip of white cardstock. Notch end into a banner shape and then punch a hole in the top. Tie some string in a knot at the top of the tag. Pop it up on the front of the card with foam adhesive.
- Finish the card by gluing some sequins onto the card front with a strong adhesive (ie. Glossy Accents). Then round the top right corner with a corner rounder.

Supplies
 *affiliate links may be used at no cost to you.


