Hello, New Sentiment Kit!
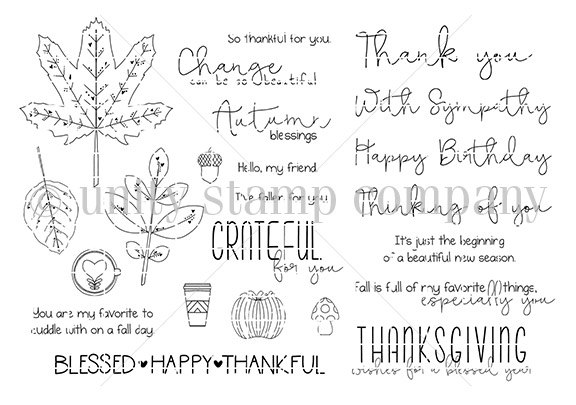
I’m using the new Unity Stamp Company sentiment kit Changes Can Be Beautiful. Fall is my absolute favorite season. I just love the weather, sweaters, boots, yummy soups and my favorite holidays. Time to get ready for fall with this brand new sentiment kit for September 2019.
Featured Stamp Set
Video #1
I’ve created a quick video tutorial on how this card was made. You can watch it below or on YouTube.
Project #1
The Details
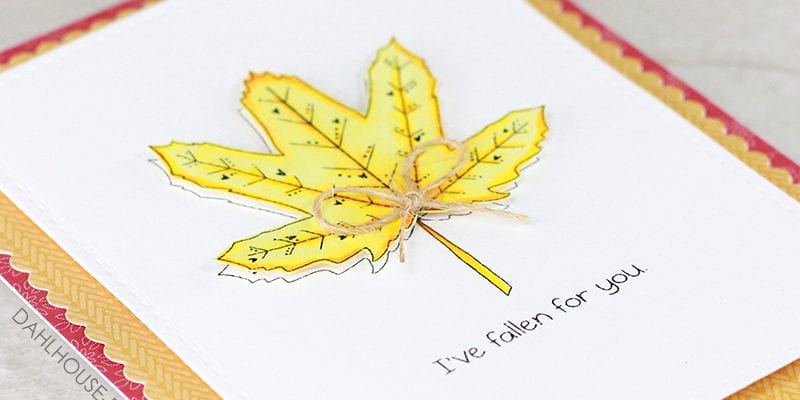
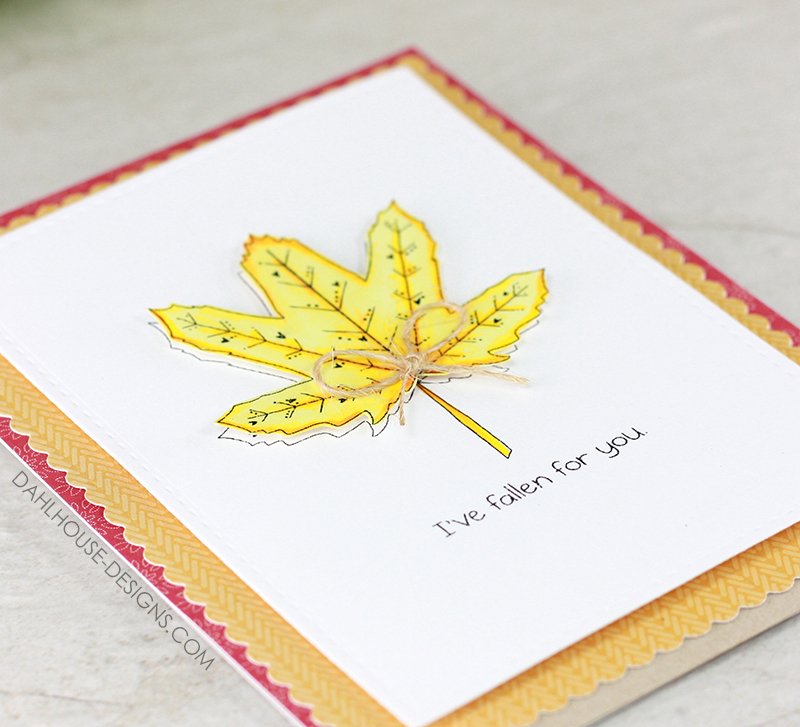
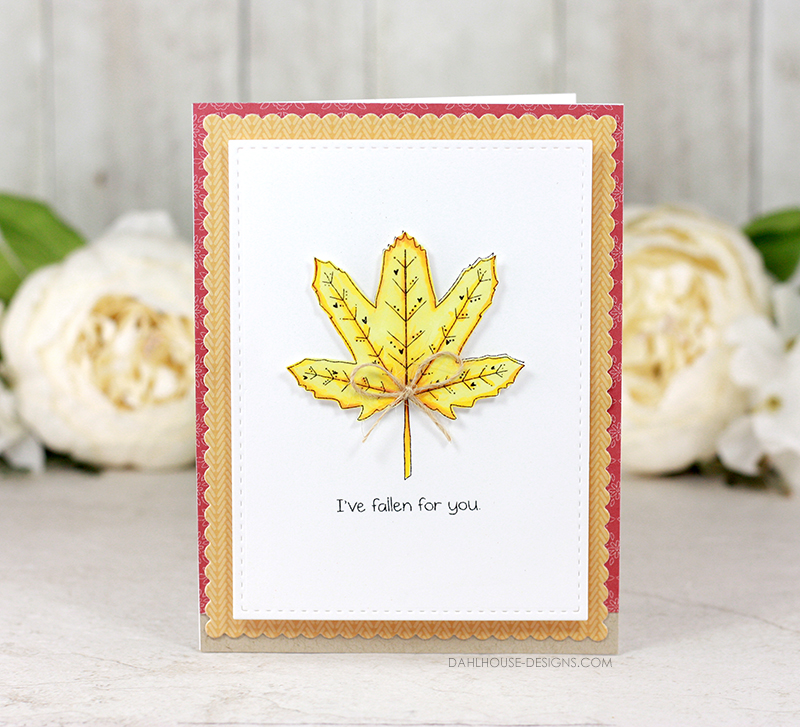
Such a pretty little leaf. I love the daintiness and the little lines and hearts hidden inside.
I’m coloring with Copics today. I wanted this leaf to be making the change from red to yellow or somewhere in between.
Sometimes coloring with such different colors such as red and yellow can be difficult with Copics. I did lots of layers and blending as I colored this guy in. It seems like simple coloring but it took me a while to get just the right blend.
Do you love that little bow? I think it just makes the card. A dainty little bow for a dainty little leaf.
The Steps
Here are the steps to recreate this card:
- Start with a standard size A2 (4.25″ x 5.5″) kraft card.
- Cover with patterned paper leaving a slight line of kraft at the bottom.
- Die cut yellow patterned paper with a scallop rectangle and adhere to the card front.
- Die cut a white stitched rectangle and stamp leaf and sentiment. Pop up on card front with foam adhesive.
- Stamp a second leaf on white cardstock. Color with Copics.
- Fussy cut leaf and pop up on card front with foam adhesive.
- Tie a bow with string and glue to the bottom of the leaf.
Video #2
I’ve created a quick video tutorial on how this card was made. You can watch it below or on YouTube.
Card #2
The Details
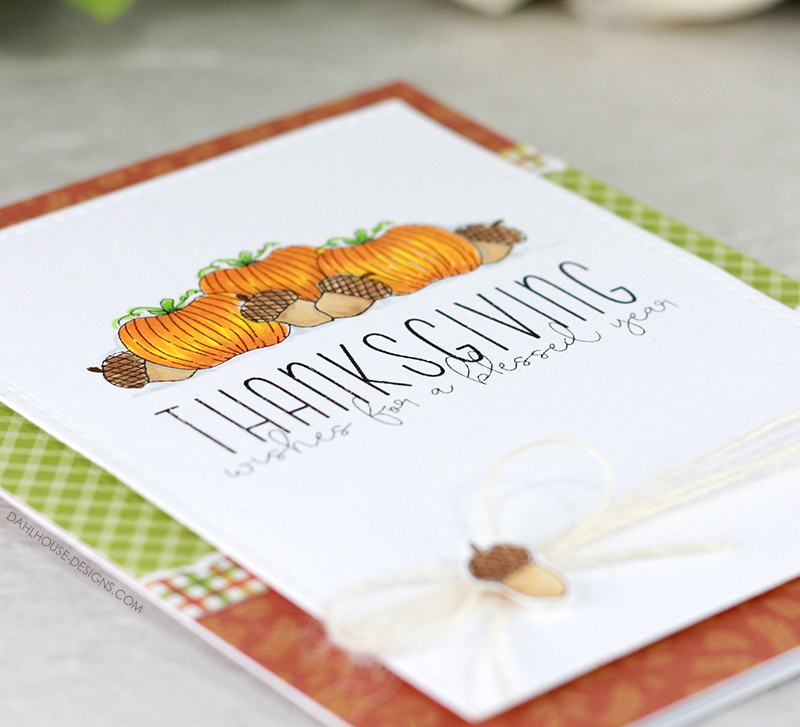
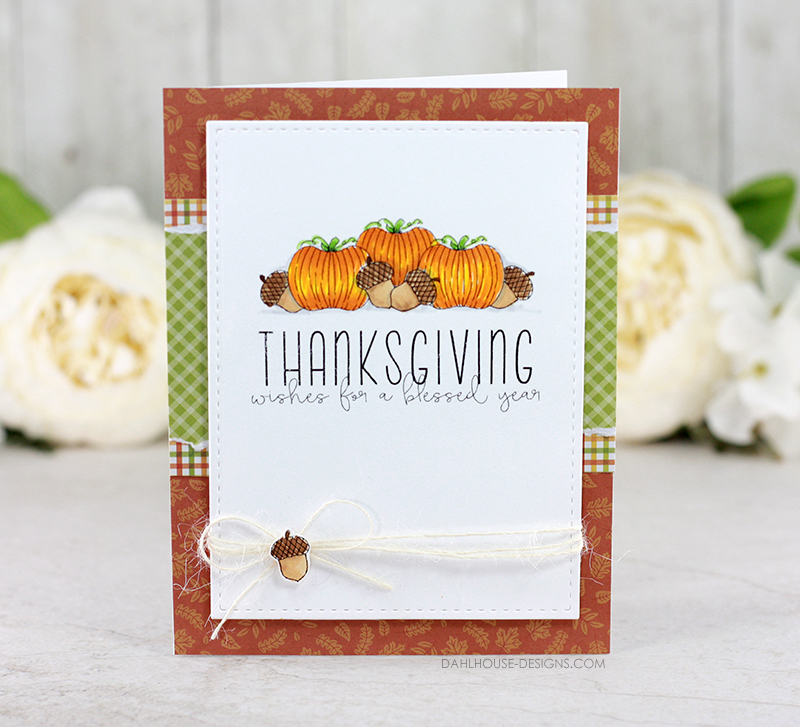
Don’t you just love all those little pumpkins and acorns? All stacked together they make for the cutest little Thanksgiving scene.
I did a bit of masking. I started with the two acorns in the front, masked them off and then stamped the pumpkins on the side. I masked those off and stamped the pumpkin in the back and finally stamped the acorns on the side. It only took 2 pumpkin and 2 acorn masks to make it happen.
Once everything was stamped, I colored the images in with Copic markers. Fairly simple coloring, but it did the job. I really adore how it turned out.
Did you see the little acorn in the corner? Did it make you smile? That was my hope as I added it to the bow.
The Steps
Here are the steps to recreate this card:
- Start with a standard size A2 card (4.25″ x 5.5″). Cover in the patterned paper.
- Cut one strip of pattern paper and glue to the card front. Tear a second strip slightly smaller and glue to the center of the previous strip.
- Stamp 2 pumpkins and 2 acorns on masking paper and fussy cut.
- Die cut a stitched rectangle of white cardstock suitable for Copic coloring (such as Neenah 80lb Solar White). Stamp acorn in the middle of the panel. Apply the mask over that acorn and then stamp the second acorn beside it. Apply mask. Stamp a pumpkin on either side of the acorns. Mask both the pumpkins and then stamp a pumpkin in the middle and an acorn on either side. Remove the masks.
- Stamp an extra acorn on some scrap white cardstock and fussy cut.
- Color in the images with Copic markers.
- Stamp sentiment on panel.
- Tie some string around the bottom of the panel in a bow and adhere the panel to the card with foam adhesive.
- Add the single acorn to the center of the bow with foam adhesive.
Thanks for joining me today. I hope you are inspired by today’s project. If you create something, I’d love to see it. Join us in the Unity Show & Tell Facebook group to share your card and tag me.

Supplies
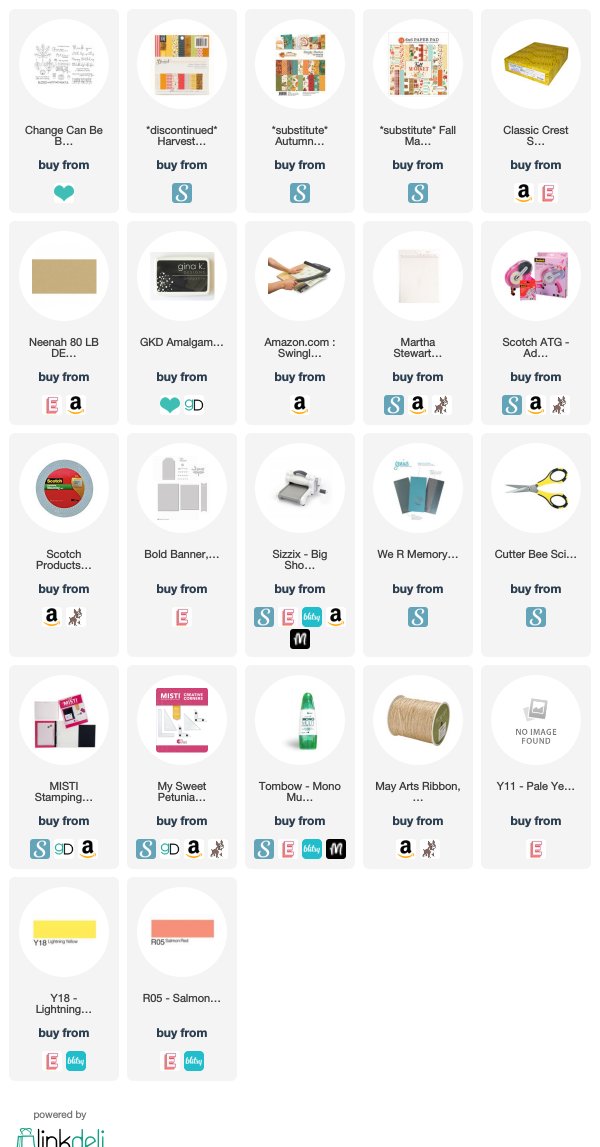
Unity Stamp Company usually has a new sale almost EVERY week. Check the website for details & freebies. Stamp sets go on and off sale all the time, so just add it to your wishlist if not on sale this week so you get a great deal. Affiliate Links are used when available at no additional cost to you.
Card #1
Card #2


