• Skip to primary navigation
  • Skip to main content
  • Skip to footer
facebookpintrestinstagramyoutube

Unity Blog

account
Menu
  • Sale
  • Shop Products
      • SHOP Supplies
        • ALL Supplies
        • Adhesives
        • Blending Tools
        • Ink
        • Card Bases
        • Embellishments
        • Embossing
        • Stamp Storage
        • Stamping Tools
        • Tags {Kraft & Manilla}
        • Clothing
      • SHOP Stamps
        • 2018 Newest Releases
        • Cuddlebugs
        • Itty Bitty Line
        • Sentiment Kits
        • ANGIEgirls
        • SHOP by THEME
        • SHOP by ARTIST
      • Gift Cards
    • Close
  • Memberships
    • Memberships
    • Kit of the Month
    • Layers of Life
    • S.M.A.K
    • Uniquely Unity
    • Close
  • Blog
    • Blog
    • Design Team
    • Artistas
    • Close
  • About
    • About
    • Terms & Conditions
    • Angel Policy
    • Shipping Policy
    • Contact Us
    • Close
  • Custom Stamps
Make Your Own Background With Change Can Be Beautiful

September 21, 2019 - by Lisa Arana

Make Your Own Background With Change Can Be Beautiful

Did you see the new Unity Stamp Company sentiment kit for September? It is full of lots of adorable fall images and so many great sentiments. This stamp set inspired me to create my own background. I seem to forget that I can do this. I don’t have to rely on pattern paper for my background all. the. time. Lol. I can make my own and you can too. Take a look at your stash or get the brand new sentiment kit and make your own background. You may find you love it, just like I did.

Featured Stamp Set

Change Can Be Beautiful

The Project

The Details

I had this vision of leaves with veins and hearts. As I started to create this stamp set it just kinda came around on its own. I love the little heart accents and the dots as well. There are so many little cute accent stamps included as well. They are basically all my favorite images of fall — a pumpkin, acorn, mushroom and best of all COFFEE. Haha. I love how the leaves and the objects can be stamped alone or could easily be colored in. I’ve seen Copic and water coloring, some distress ink blending and of course just plain old’ stamping. Simple stamping is my favorite thing to do.

The Steps

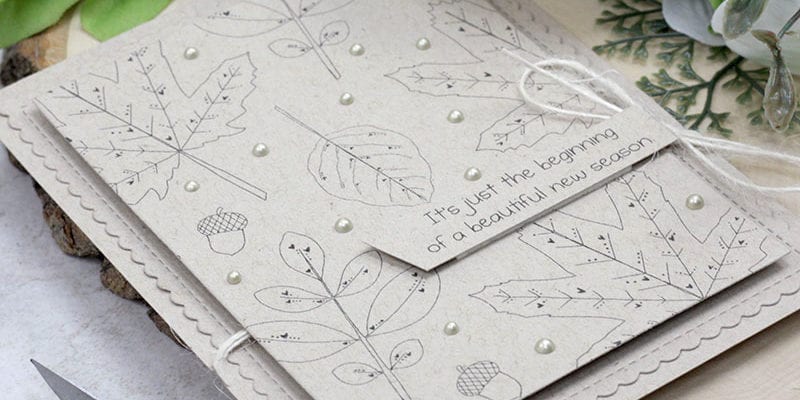
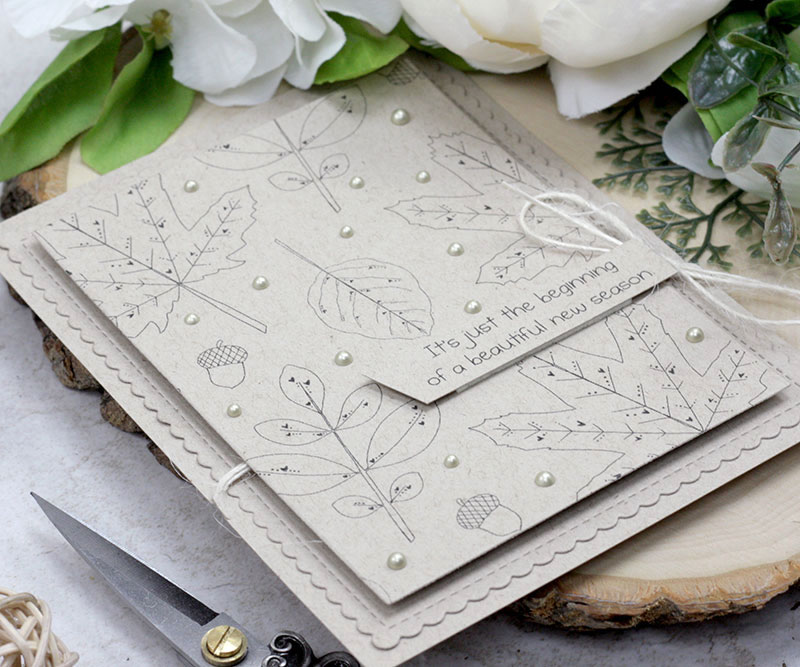
Here are the steps to recreate this card:
  1. Start with a standard size A2 card (4.25″ x 5.5″) in kraft cardstock.
  2. Die-cut a scallop rectangle and a smaller rectangle to fit inside the scallop rectangle from kraft cardstock.
  3. Stamp leaves and acorns on the smallest kraft rectangle in black ink to create a pattern.
  4. Adhere scallop rectangle directly to the card front. Wrap twine around the card and tie into a bow.
  5. Pop the stamped panel up on the center of the card front using foam adhesive.
  6. Stamp sentiment on a strip of kraft paper and notch end. Glue to the front of the stamped panel.
  7. Add pale gold Nuvo Drops as an accent to the stamped panel and let it dry completely before handling.
  8. Admire the pretty background that YOU created. You did good.
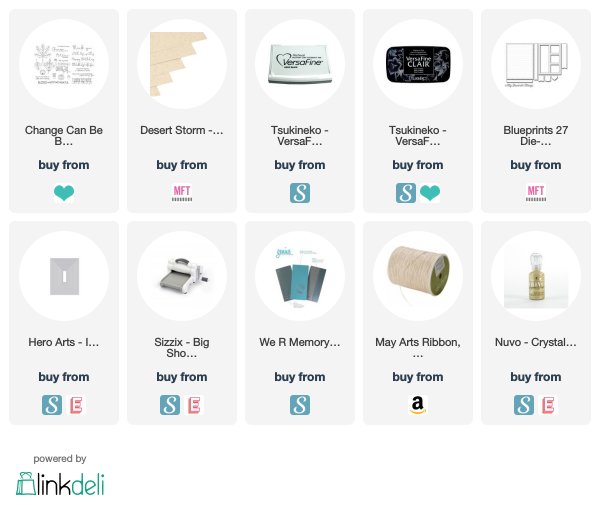
Thanks for joining me today. I hope you are inspired by today’s project. If you create something, I’d love to see it. Join us in the Unity Show & Tell Facebook group to share your card and tag me.

Supplies

Unity Stamp Company usually has a new sale almost EVERY week. Check the website for details & freebies. Stamp sets go on and off sale all the time, so just add it to your wishlist if not on sale this week so you get a great deal. Affiliate Links are used when available at no additional cost to you.
EmailPrintFriendlyFacebookTwitterPinterest

Filed Under: Stamping Fun Tagged With: Lisa Arana, Sentiment Saturday

Join Our Email List

You can expect: Videos filled with new techniques, samples using each kit, and exclusive offers just for you! (We promise - we only send the best stuff!)

Footer

100 W Central AVE, New London, MN 56273  |  (320)354-4450  |  [email protected]

facebook pintrest instagram youtube

© 2023 Unity Stamp Co. Developed by Vivid Image. Privacy Policy. Log in