Hello. It’s Gaylynn with my Technique Time series. Today, I am sharing a mixed media art tissue paper canvas using stamping and acrylic paint.

This is an inspirational themed stamped tissue paper canvas with a rustic look. This involves a few steps. See below for details and a video tutorial on how this canvas was created.
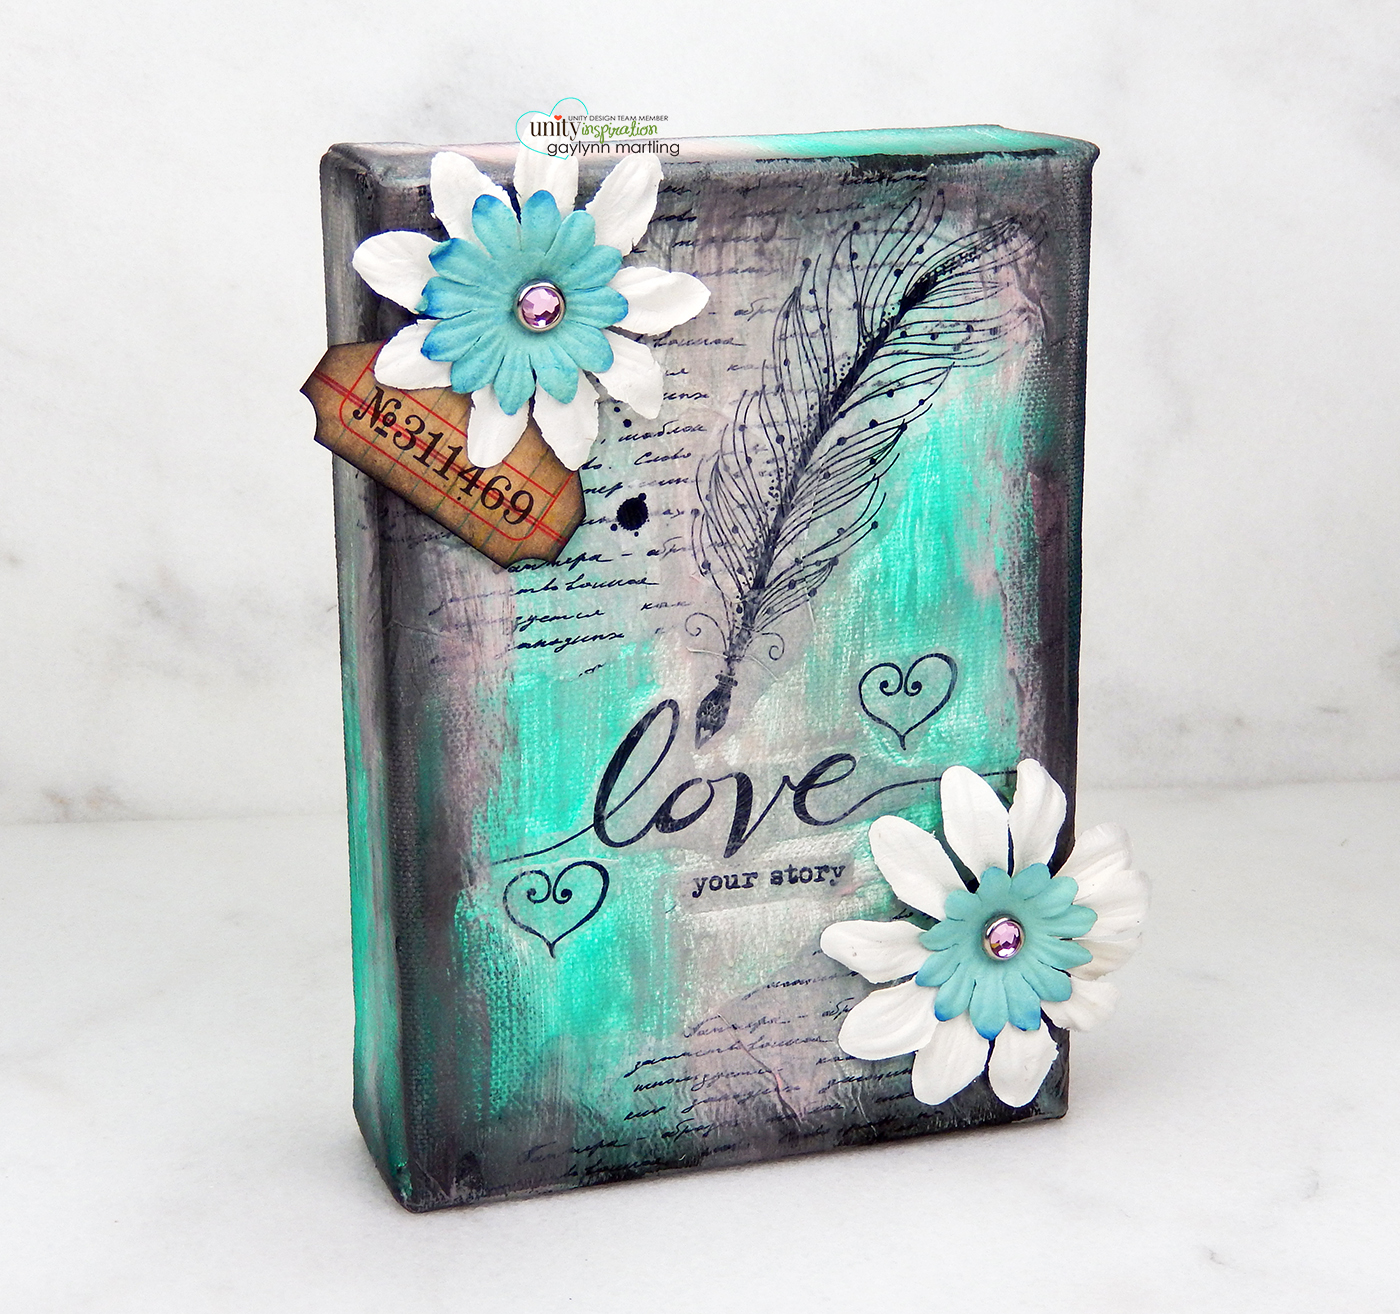
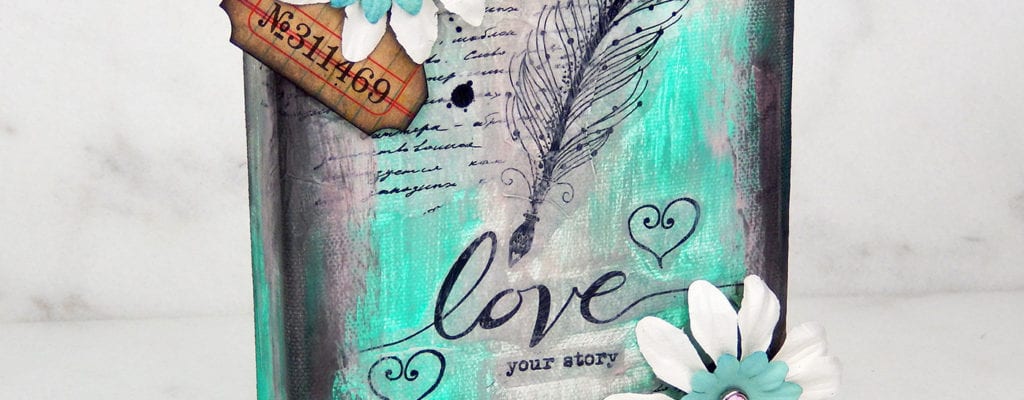
Sentiment: Love your story.
Helpful tips:
Here are helpful tips for creating this stamped tissue paper canvas. To begin, stamp tissue paper with selected art or words. Then, tear the tissue to separate the sections. Next, mix a dab of acrylic paint into a bit of matte gel for each color. For ease, use a plastic craft mat or palette to separate colors. Have on hand a pre-primed stretched canvas or prime a canvas and then leave it to dry. Next, make a background using swipes of three premixed paint colors. It helps to use a foam blending brush. Then, assemble the tissue paper pieces onto the wet paint and then brush each tissue section with uncolored matte gel. Once that has completely dried overnight, blend distress ink around all edges for a rustic look. Finally, add your choice of extra embellishments or accents to finish.

Unity Stamp Co. product used:
All The Stories (12/2019 Uniquely Unity Ang.Mag.)
*
Other products used:
Winsor & Newton artists’ canvas
Liquitex matte gel and also acrylic paint in aqua green, light portrait pink and gray value 3
Ranger black soot distress ink, foam brush, jet black archival ink and a plastic craft mat
Spatula
Tissue paper
*
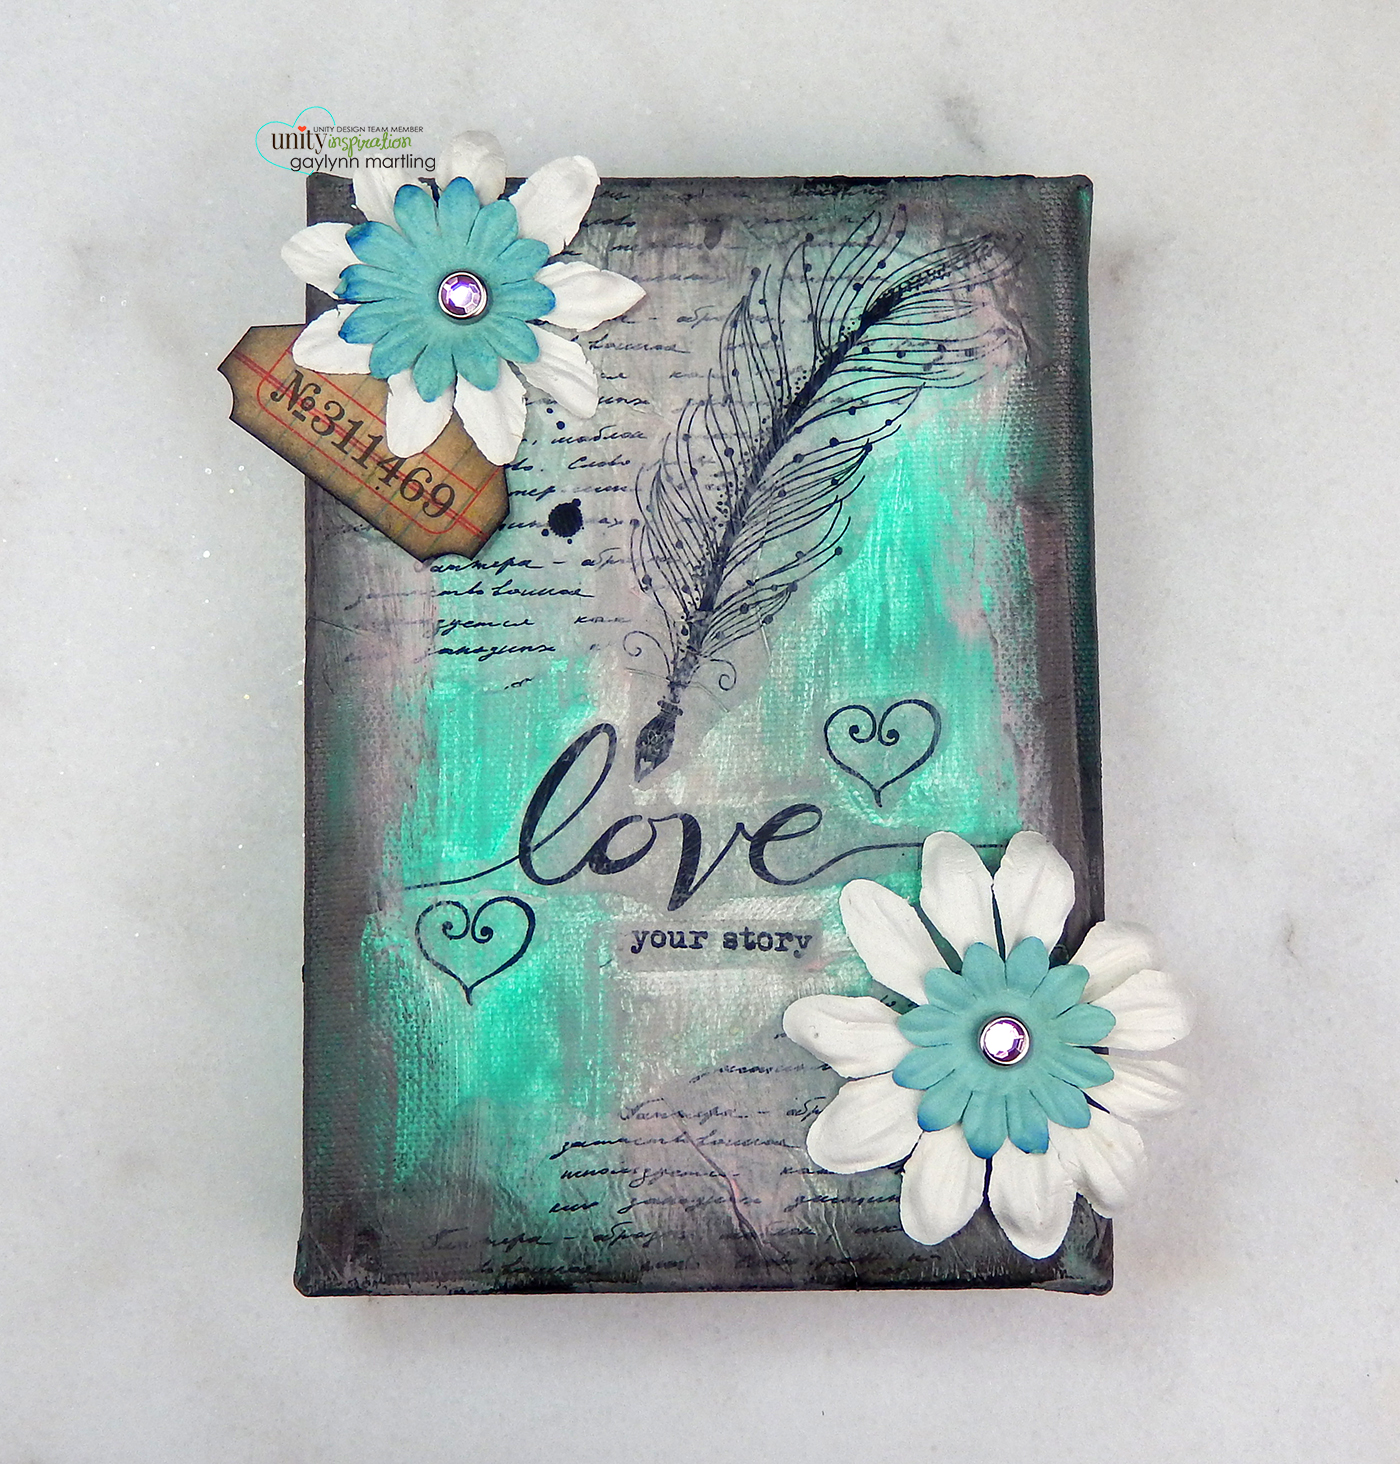
Here is another look.
Finally, here is my video tutorial for this project. It will detail the full process. Take a look at the process.
Also, share your projects on the Unity Show And Tell facebook page. Share in the inspiration.
Remember, to view my other projects on the Unity blog, see my features linked below.
Technique Time
Watercolor Wednesday.
Tune in next Wednesday with a new project for Technique Time.
Thank you for visiting. Have a great day.