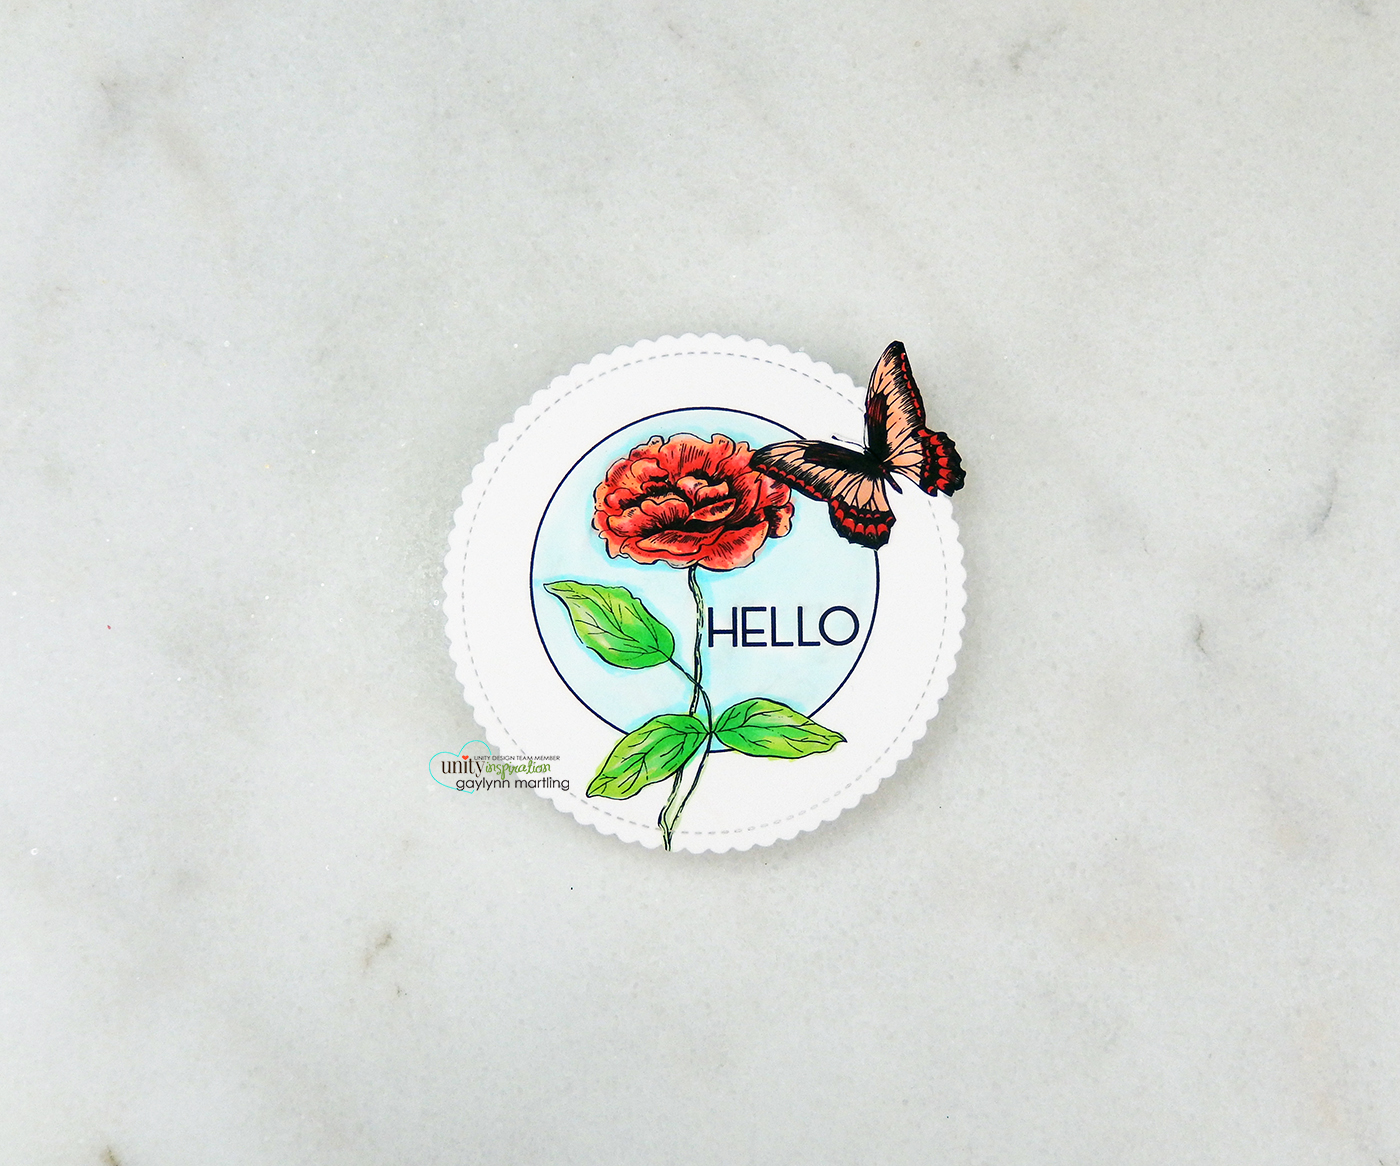
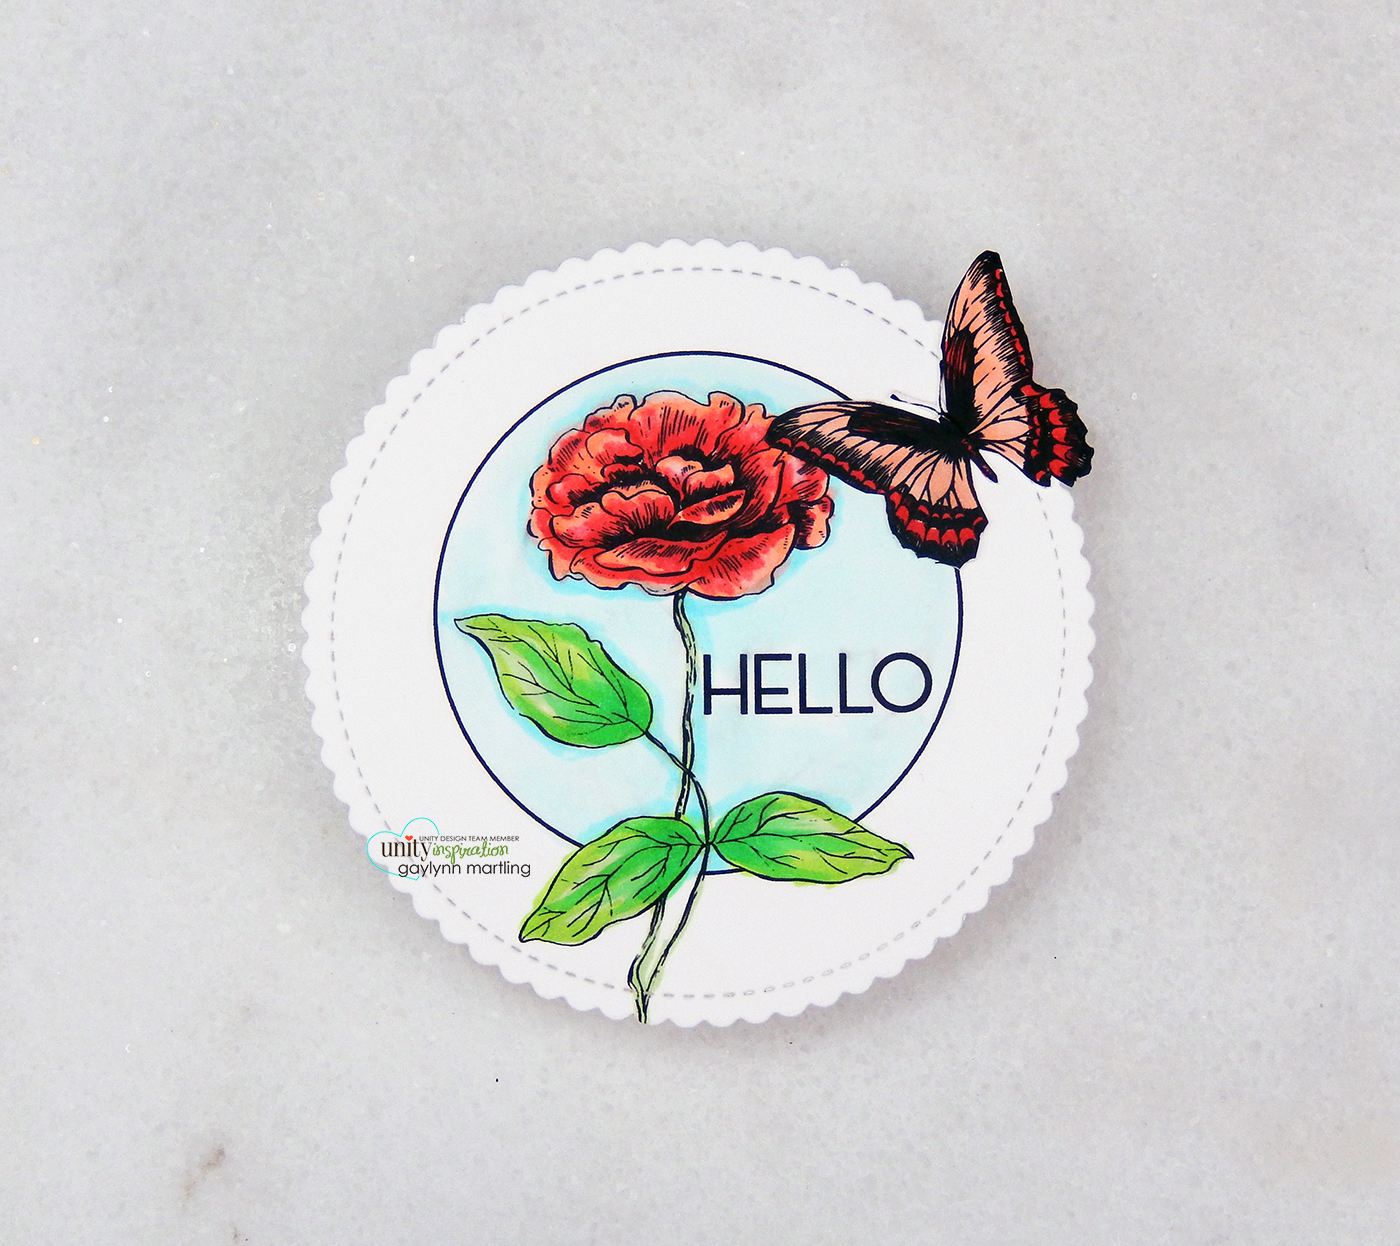
Hello. It’s Gaylynn with my Technique Time series. Today, I am showing a way to make an all-occasion circle shape card with added Copic markers.
This floral circle shape card is made from cardstock to fit into an A2 size envelope, perfectly. It was stamped and colored with Copics. This can be used for most occasions like birthday, thank you, thinking of you or just because. See below for details and a video tutorial.

Sentiment: Hello
Helpful tips:
Here are helpful tips for creating this. To begin, pre-stamp cardstock with stamps and sentiments of choice, leaving room for trimming or die-cutting. Die-cut the stamped panel into a circle shape approximately 4″ around. Then die-cut a separate matching circle shape from plain cardstock, plus one smaller circle plain shape for the inside. Also, use Copic friendly ink or ink for use with the markers or medium that you are using. Next, add color to the stamping. Finally, line up and adhere the circle layers at the top, to form a shape card.
Unity Stamp Co. product used:
Petals & Wings
Snowy Winter Greetings Whit-Kit Card Kit {1/20}
*
*
Here is another look.
 Finally, here is my video tutorial for this project. It will detail the full process. Take a look at the process.
Also, if you were inspired by this to create something like this, share your project on the Unity Show And Tell facebook page. We would love to see what you make.
Remember, to view my other projects on the Unity blog, see my features linked below.
Technique Time
Watercolor Wednesday.
Tune in next Wednesday with a new project for Technique Time.
Thank you for visiting.
Best wishes for the year ahead.


