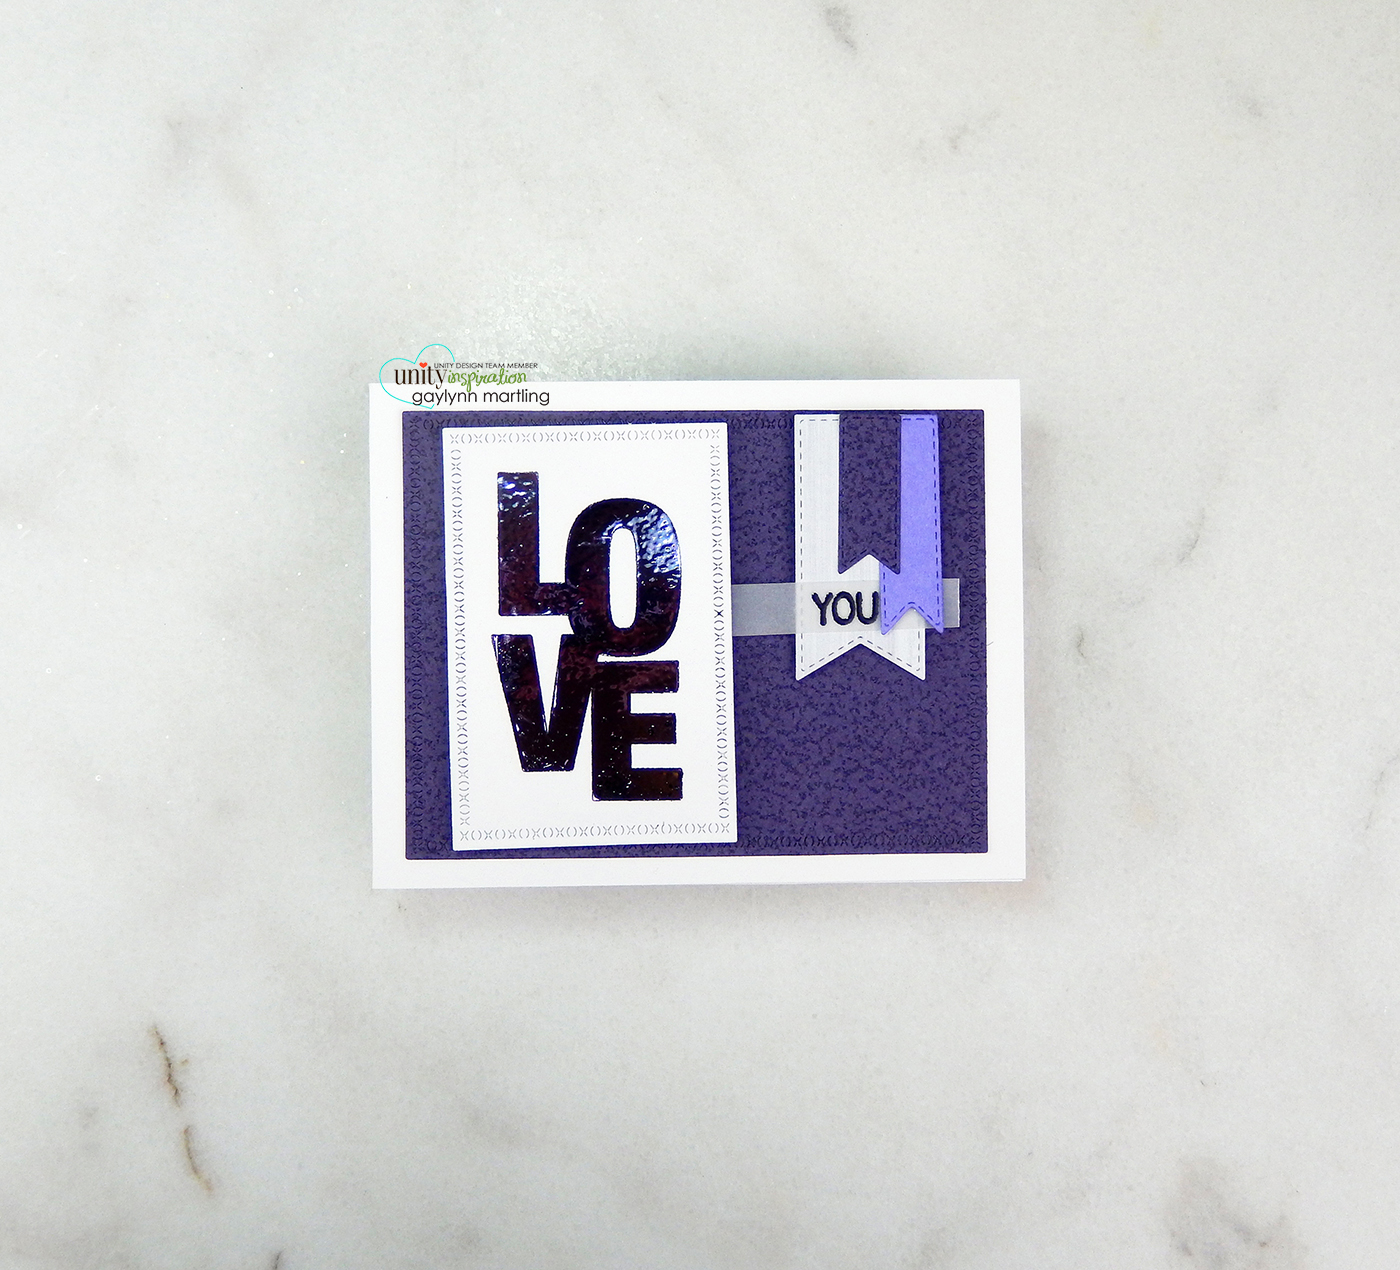
Hello. It’s Gaylynn with my Technique Time series. Today, I am showing a way to add foiling after heat embossing. I share a few tips to make adding foil more successful.
This is a great card for love occasions like anniversary, I love you, Valentine’s Day or just because. It can be used as a masculine card or for most anyone.

Sentiment: Love you.
Helpful tips:
Here are helpful tips for foiling after heat embossing, using a laminator. To begin, preheat your laminator at its highest setting. Then, pre-cut or trim background and flag layers. Also, precut the sentiment panel. Next, stamp with either a juicy VersaMark ink pad, a juicy and sticky dye ink pad or by adding dabs of deco foil transfer gel. If you stamped with a juicy ink pad, add embossing powder, then heat emboss the sentiment using a heat tool. Also, once the sentiment is set, cover the prepared sentiment panel with a trimmed piece of foil, pretty side up. Next, carefully, run them directly or with a carrier sheet through a preheated laminator, pretty side up. Allow to cool a bit, then remove the foil sheet. Another tip is to use a thinner paper or cardstock for foiling, the thinner the better. Finally, assemble the layers to finish.

Unity Stamp Co. product used:
Say It With Love
Mini Misti
*
*
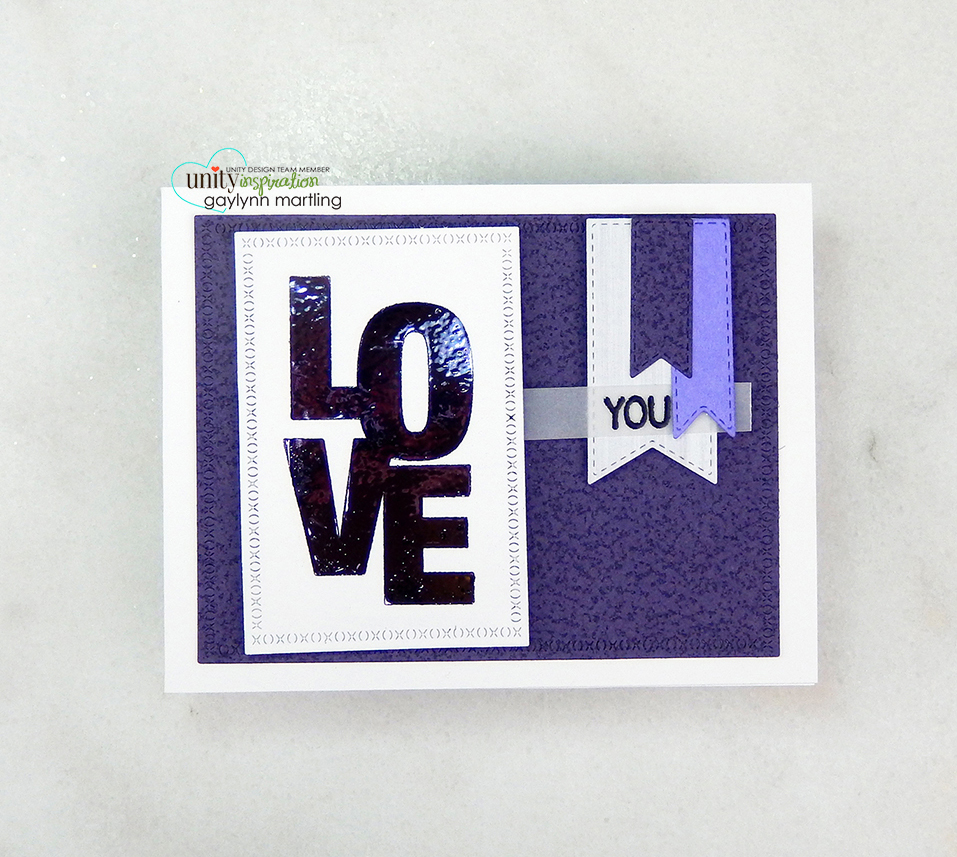
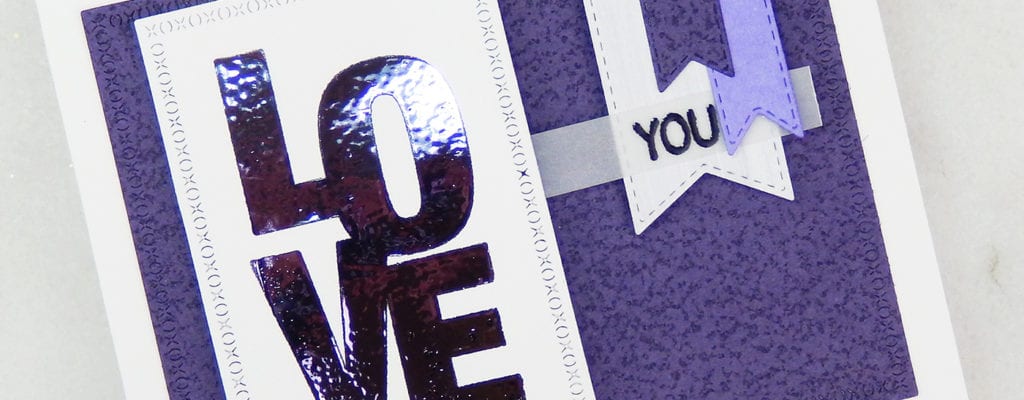
Here is another look.

Finally, here is my video tutorial for this project. It will detail the full process. Take a look at the process.
Also, if you were inspired to create something like this, share your project on the Unity Show And Tell Facebook page. We would love to see what you make.
Remember, to view my other projects on the Unity blog, see my features linked below.
Technique Time
Watercolor Wednesday.
Tune in next Wednesday with a new project for Technique Time.
Thanks for stopping by.


