Hello. It’s Gaylynn with my Technique Time series. Today, I show a negative foiling technique in two foil colors with a toner sheet, a toner card front and a laminator.

Sentiment:
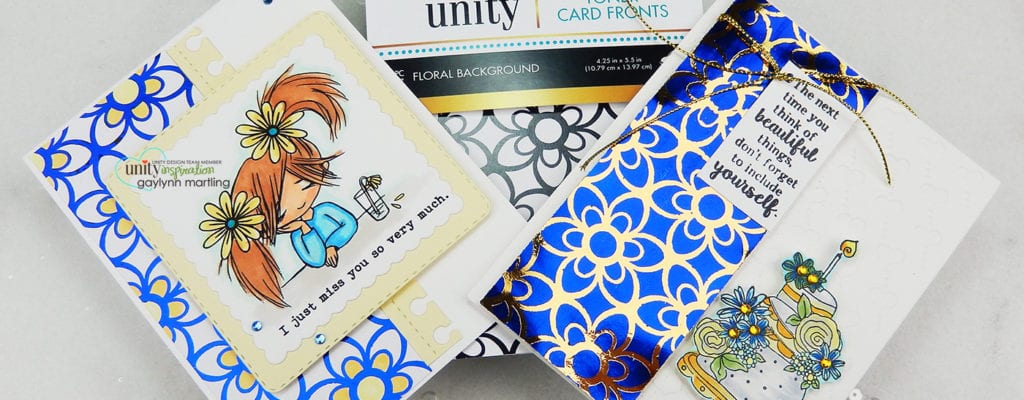
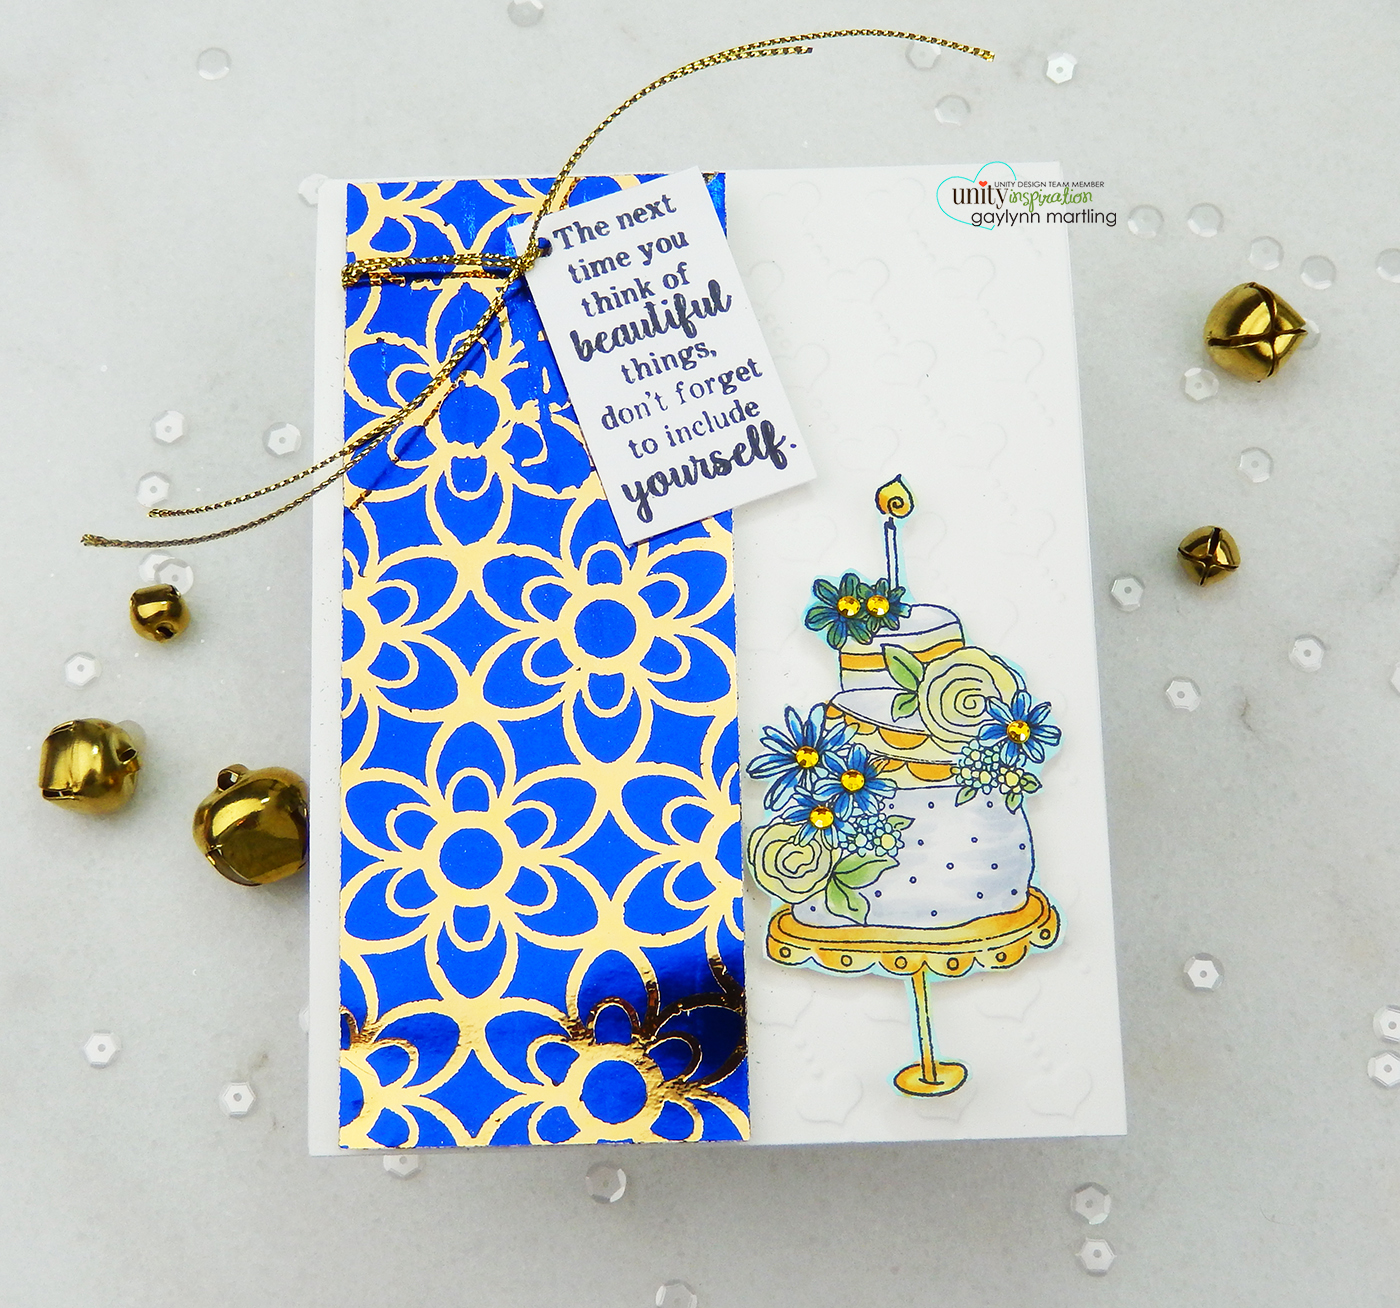
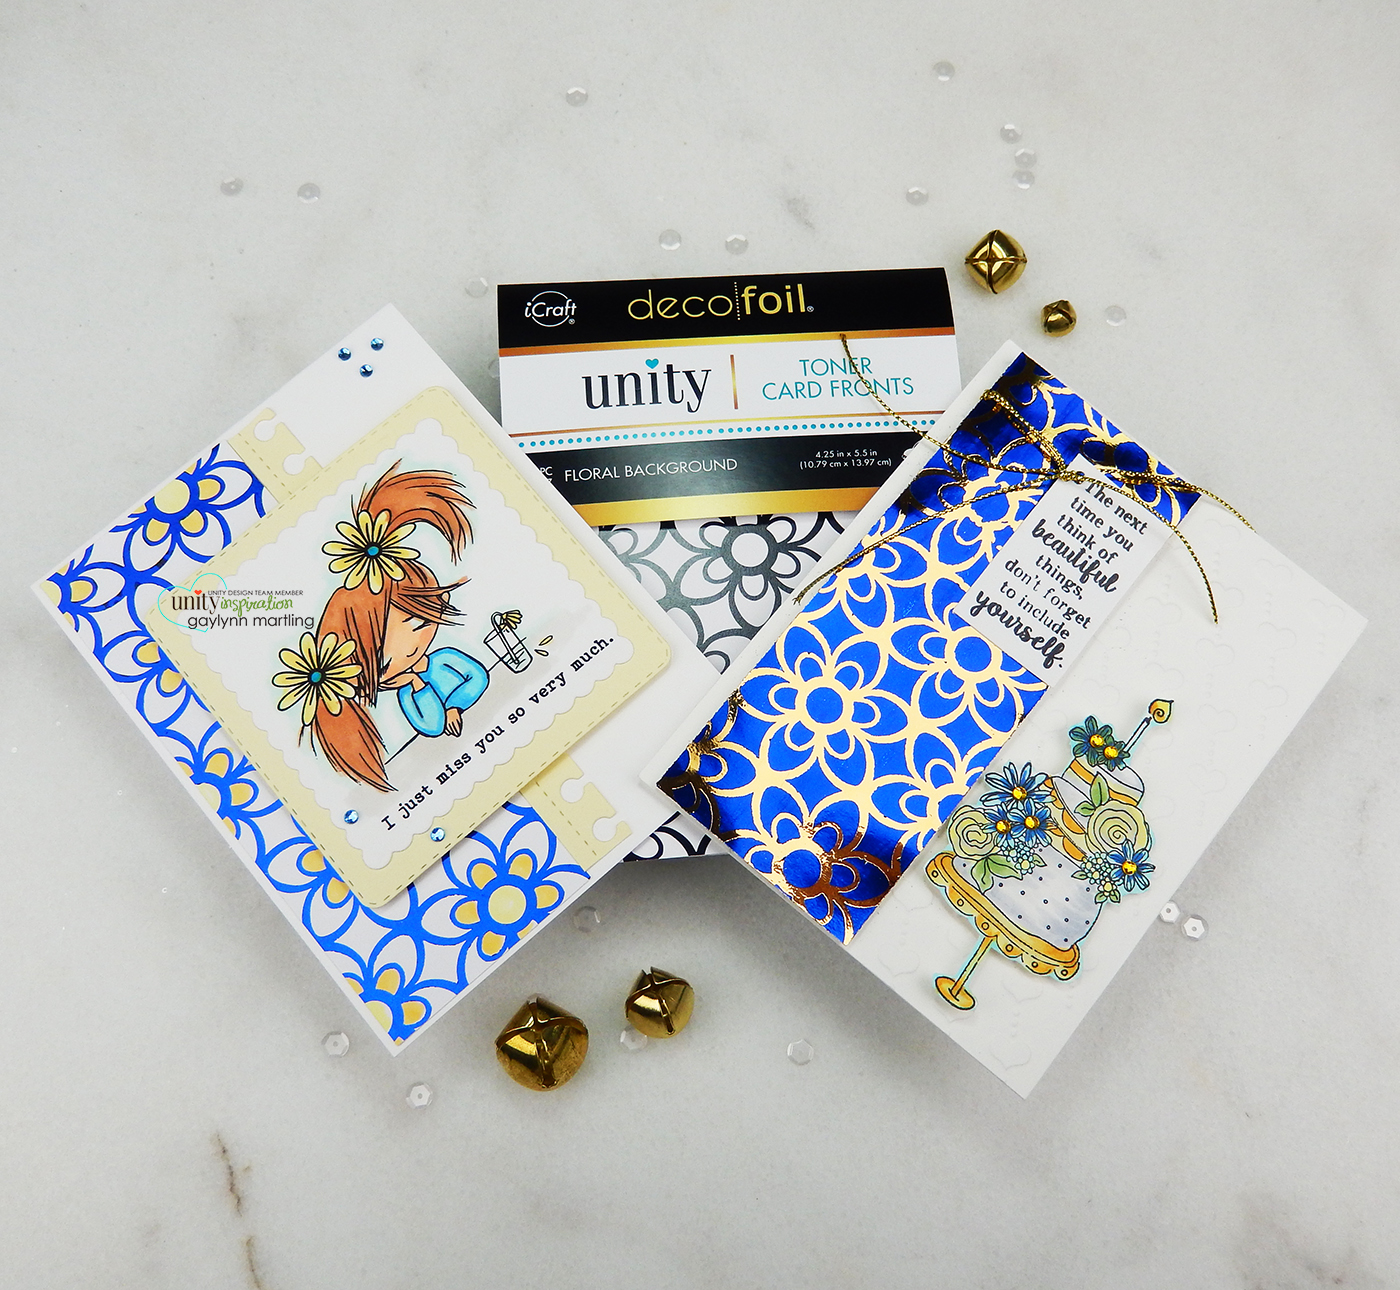
The next time you think of beautiful things, don’t forget to include yourself.
Helpful tips:
Here are helpful tips for negative foiling with toner sheets. To begin, pre-heat a laminator on the highest setting. Then, pre-stamp, color and fussy cut the cake or your focal image and the sentiment. Next, trim a solid black toner sheet slightly larger than the negative foil sheet. Then trim a gold foil sheet the same size as the negative sheet. Next, place the negative foil sheet over the solid toner sheet, pretty side up. Sandwich the two inside of a carrier sheet. Then, run them through a pre-heated laminator. Peel away the negative foil sheet. Next, place the gold foil sheet over the negative toner sheet, pretty side up, sandwich the two between a carrier sheet and run through the laminator. Gently peel the gold foil sheet away. Trim the panel with the negative foiling where needed. Finally, layer everything, add the cake piece and add the sentiment to finish the card.

Unity Stamp Co. product used:
Include Yourself In Beauty
Deco Foil Toner Card Fronts {Floral Background}
Deco Foil Toner Sheets in black
Original Misti
*
*
Here is a photo of two cards made using one toner card front. The left card is with the original blue foil sheet. And the right card was made using the negative of the left card’s foiling sheet. Plus with the added gold foiling you get the negative foiling.
To view my blog post and video for the card below on the left go HERE.
Finally, here is my video tutorial for this project. It will detail the full process.
Remember, to view my other projects on the Unity blog, see my features linked below.
Technique Time
Watercolor Wednesday.
Tune in next Wednesday with a new project for Technique Time.
Thanks for visiting.