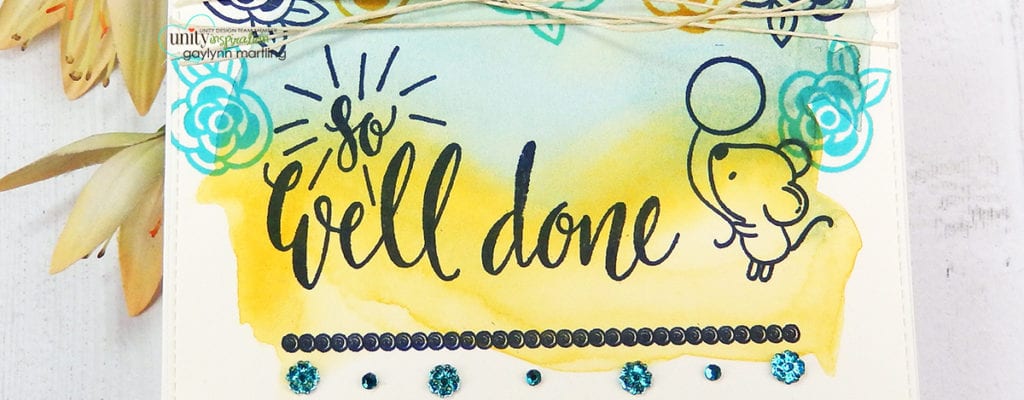
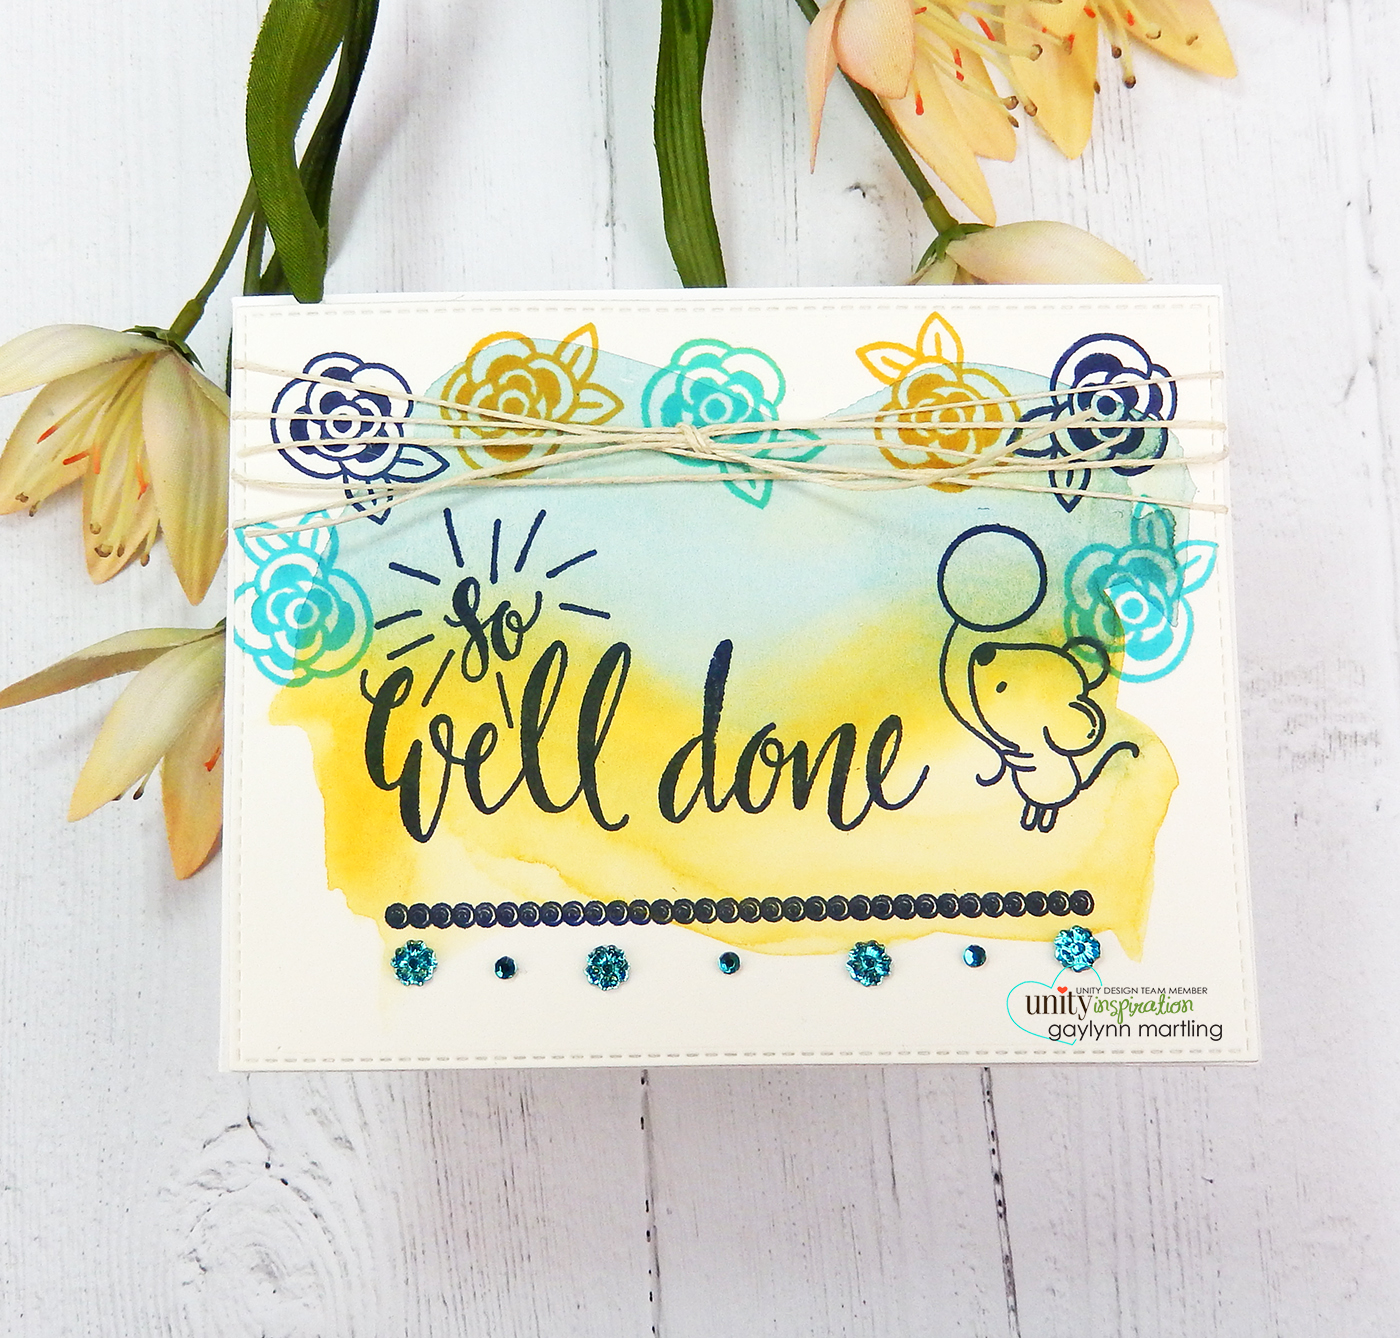
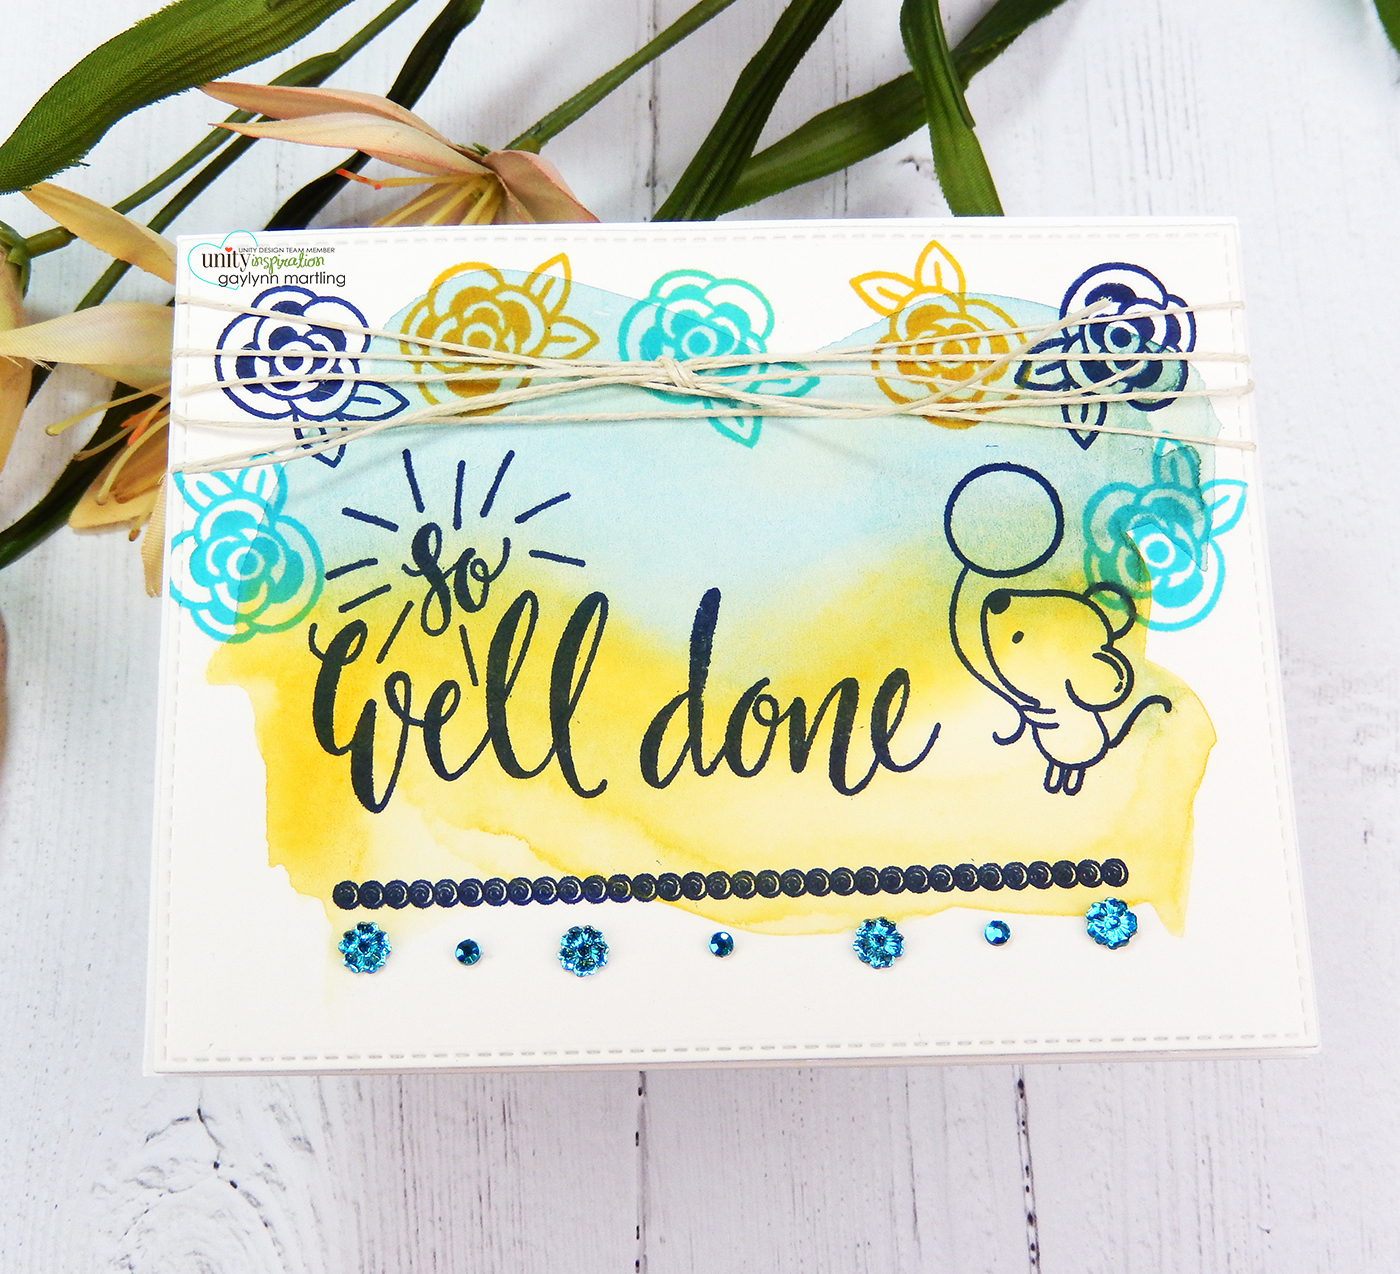
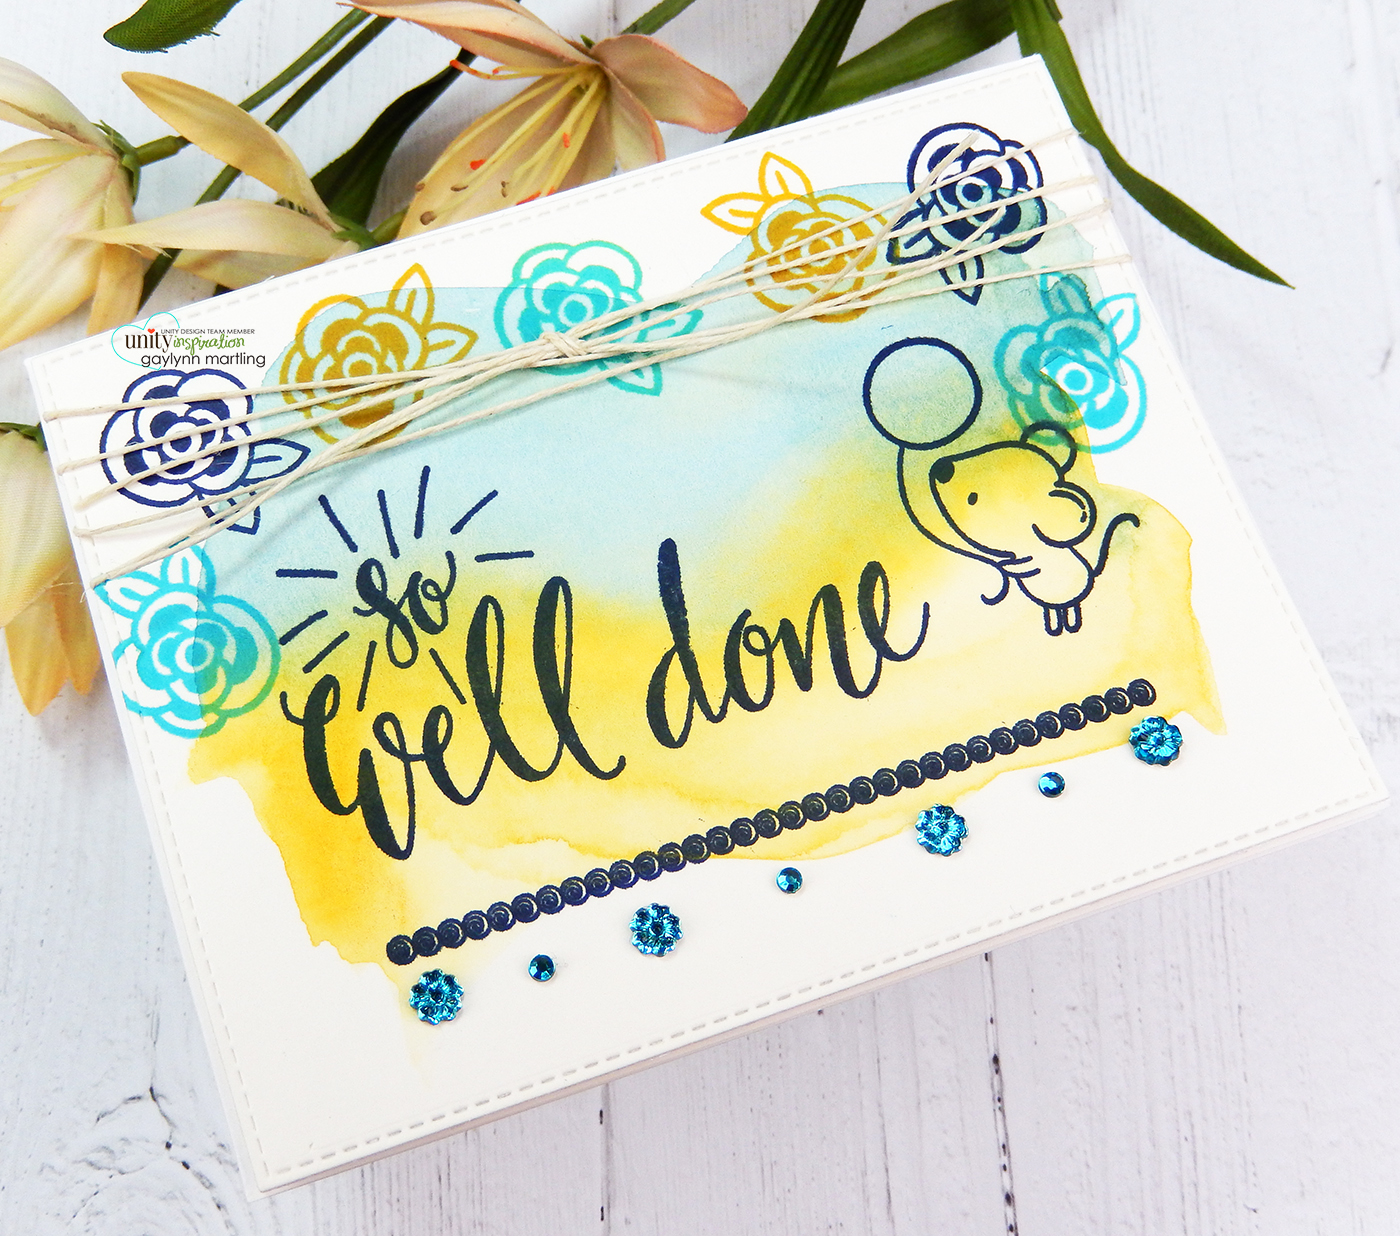
Hello. Gaylynn here with my Technique Time series. Today, I am showing a watercolor swoosh background technique along with colorful stamping.

A watercolor swoosh background can be made easy with a one or two colors along with simple stamping. This is an easy way to add softness to card making.
 Sentiment: So well done.
Helpful tips:
Here are helpful tips for creating a watercolor swoosh background card. To begin, pre-cut or die-cut a watercolor paper panel to fit your card base. Next, mix two different colors of watercolor onto a palette. Then, using a wide paintbrush, dab the brush into one of the colors and make a swoosh from left to right. Optional, add layers of color to the swoosh if you want to. Now, repeat the swoosh with another color below the first swoosh, overlapping slightly. Next, heat set the watercolor swoosh background or leave out to dry completely. Then, using an original Misti or stamp positioning tool, add the big sentiment, the mouse and the border stamp in navy archival ink or waterproof ink. Also, stamp the flowers in three coordinated colors, repeatedly around the top. Finally, add twine and adhesive gems, to finish.
Unity Stamp Co. products used:
So Well Done
A Little Mousy
*
*
Here is another look.
 Finally, here is my video tutorial for this project. It will detail the full process.
Remember, if you want to view my other projects on the Unity blog, see my features linked below.
Technique Time
Watercolor Wednesday.
Tune in next Wednesday with a new project for Technique Time.
Thanks for visiting.