


Happy Friday Unies!
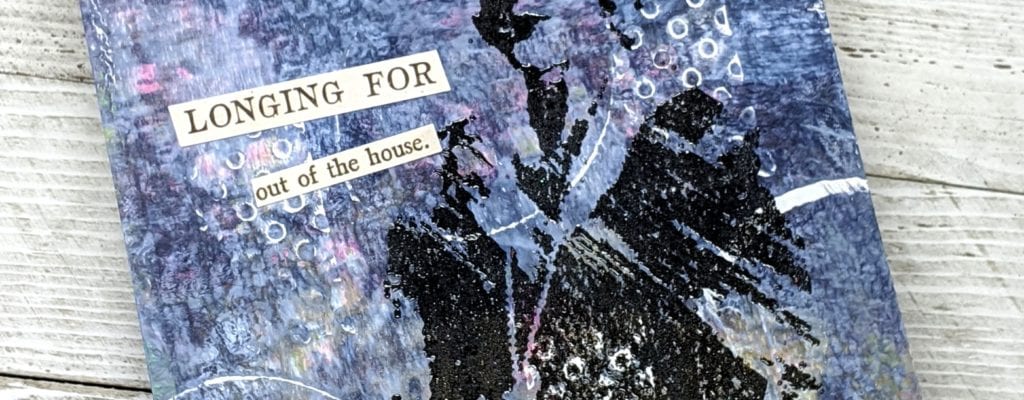
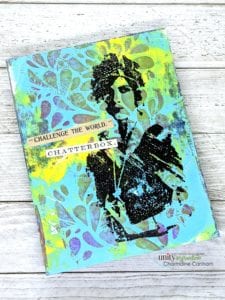
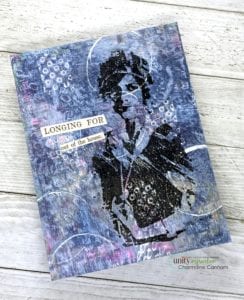
I hope you all had a great week and are ready for a quick and fun video on how to make backgrounds using a gel plate. I just discovered this gem of a technique so I am not even going to pretend I know what I am doing! But, sit back and relax. Enjoy this 5-minute video and watch how I use this Unity Stamp three times and get three different looks. I have helpful tips at the end of the post.
Here are my supplies used:
(Disclaimer: I bought these off the shelf without doing any research on brands/products/performance, but they all worked great!)
- Gel plate
- Brayer
- Acrylic paints (regular and metallic) (the $1 kind!)
- Stencils
- You will stamp set
- Ann Butler Background Builder Strips Stamps
- Heavy cardstock (A2)
- Bubblewrap
- Altenew Obsidian Pigment Ink
- Clear Embossing powder
- Random things to make impressions.
- Tim Holtz Clipping Stickers
Things I learned:
- There is no wrong way, just have fun.
- You don’t need a lot of paint on your plate. Brayer it off on a piece of paper.
- Do clear heat emboss the stamped images, this will prevent smudging and image deterioration. The pigment ink will just sit on top of the acrylic paint and won’t absorb.
- You don’t have to clean your plate in between prints. This will build interest on each layer.
- Remember the color you apply last, goes on first.
- If you use word or number stencils, remember to flip the stencil so it appears backward on the plate. Think mirrored image.
I hope you enjoyed the video. Shoot me a message if you have questions!
Charmaine
CharCards


