• Skip to primary navigation
  • Skip to main content
  • Skip to footer
facebookpintrestinstagramyoutube

Unity Blog

account
Menu
  • Sale
  • Stamps
    • SHOP by THEME
    • SHOP by ARTIST
    • 2023 Newest Releases
    • Winnie The Pooh
    • Sentiment Kits
    • ANGIEgirls
    • Itty Bitty Line
    • Close
  • Supplies
    • ALL Supplies
    • Adhesives
    • Blending Tools
    • Dies
    • Ink
    • Card Bases
    • Embellishments
    • Embossing
    • Stamp Storage
    • Stamping Tools
    • Close
  • Memberships
    • Memberships
    • Kit of the Month
    • Uniquely Unity
    • Whit-Kit Card Kits
    • Background of the Month
    • Close
  • Gift Cards
  • Blog
    • Blog
    • Design Team
    • Artistas
    • Close
  • About
    • About
    • Terms & Conditions
    • Angel Policy
    • Shipping Policy
    • Contact Us
    • Close
  • Custom Stamps
3 Slim Card Base & Envelope Size Examples + Flamingo

June 24, 2020 - by Gaylynn

3 Slim Card Base & Envelope Size Examples + Flamingo

Hello, Gaylynn here. For Technique Time, I am showing three slim card base & envelope size examples.  Plus I show the full flamingo card process.
Creating tall or slim card base & envelope size projects can be made custom style to fit either your envelope size or to match your cut sizes.


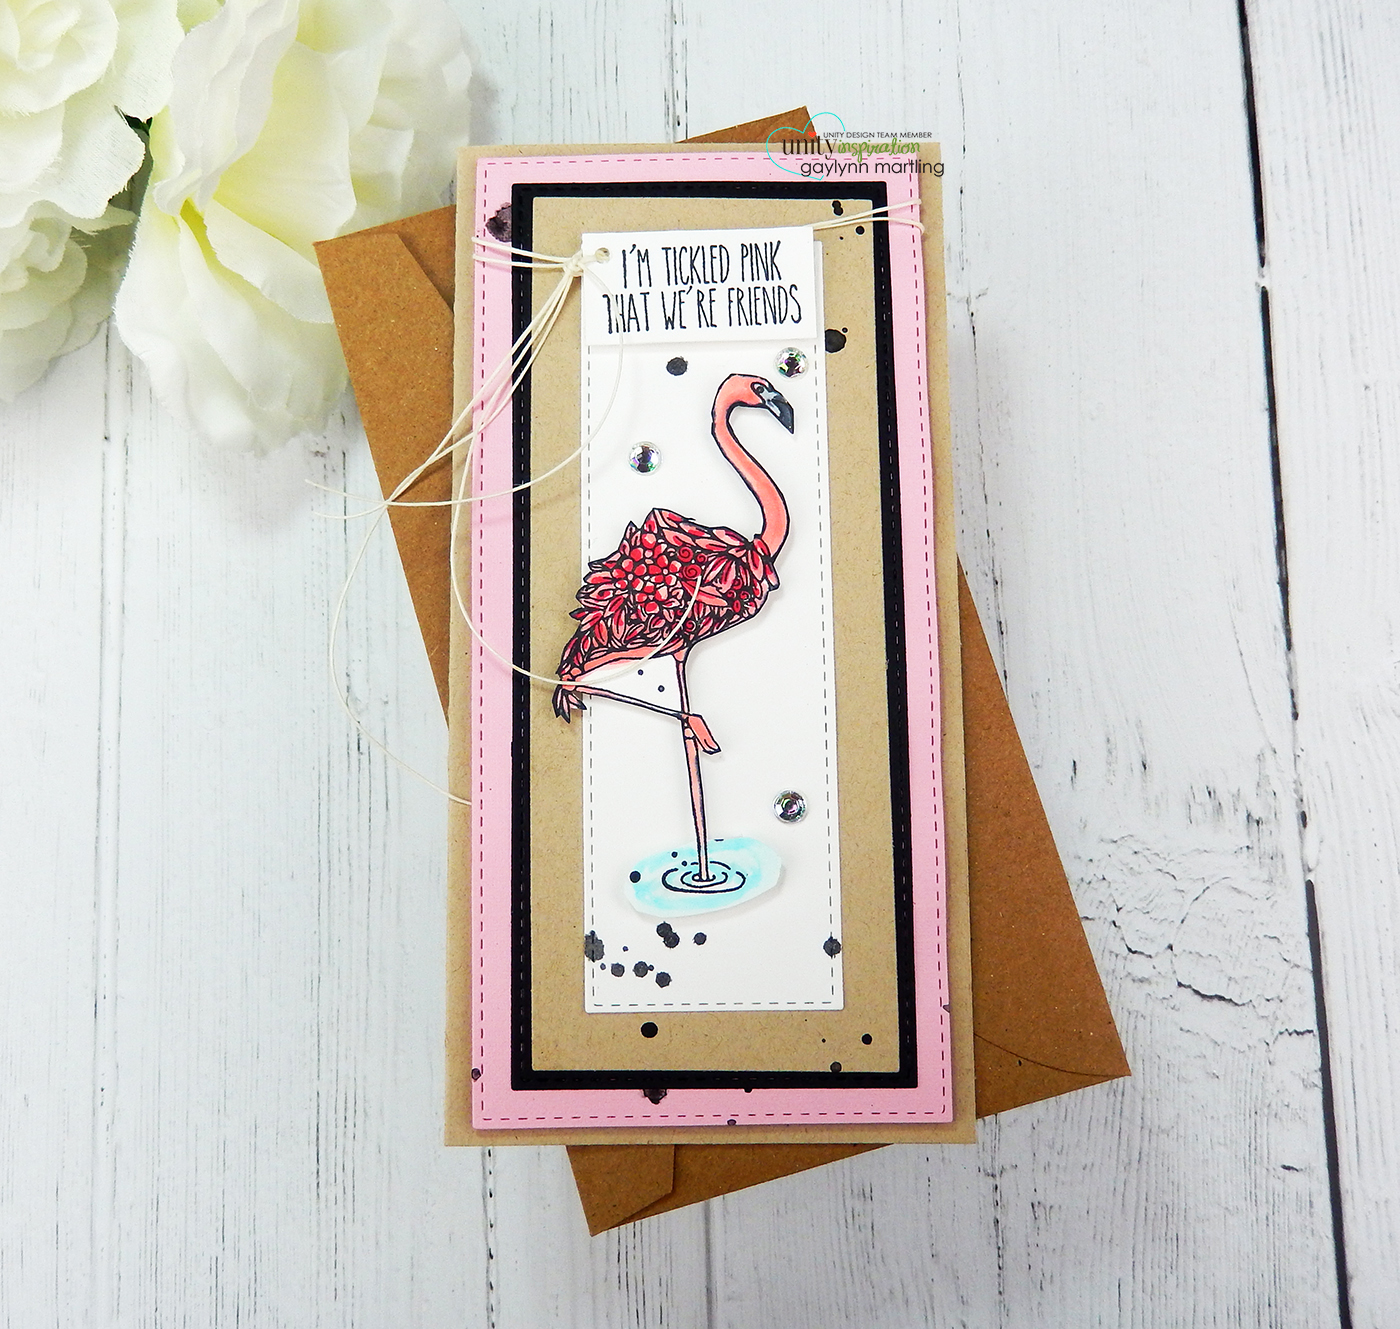
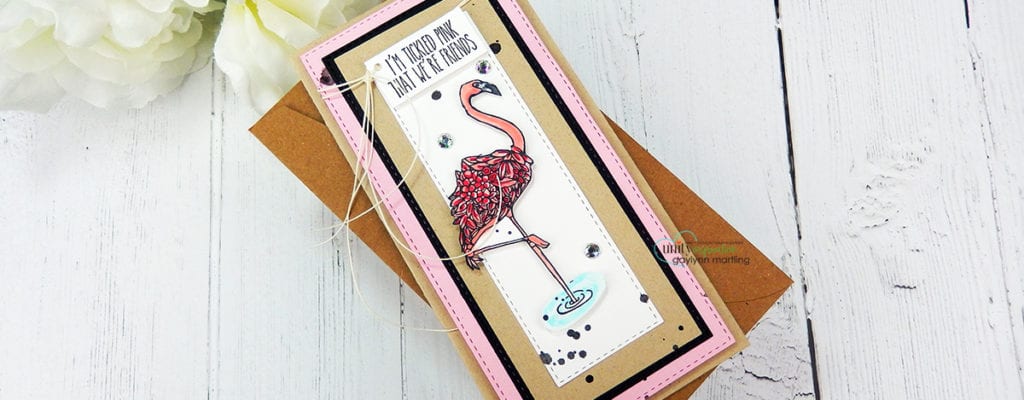
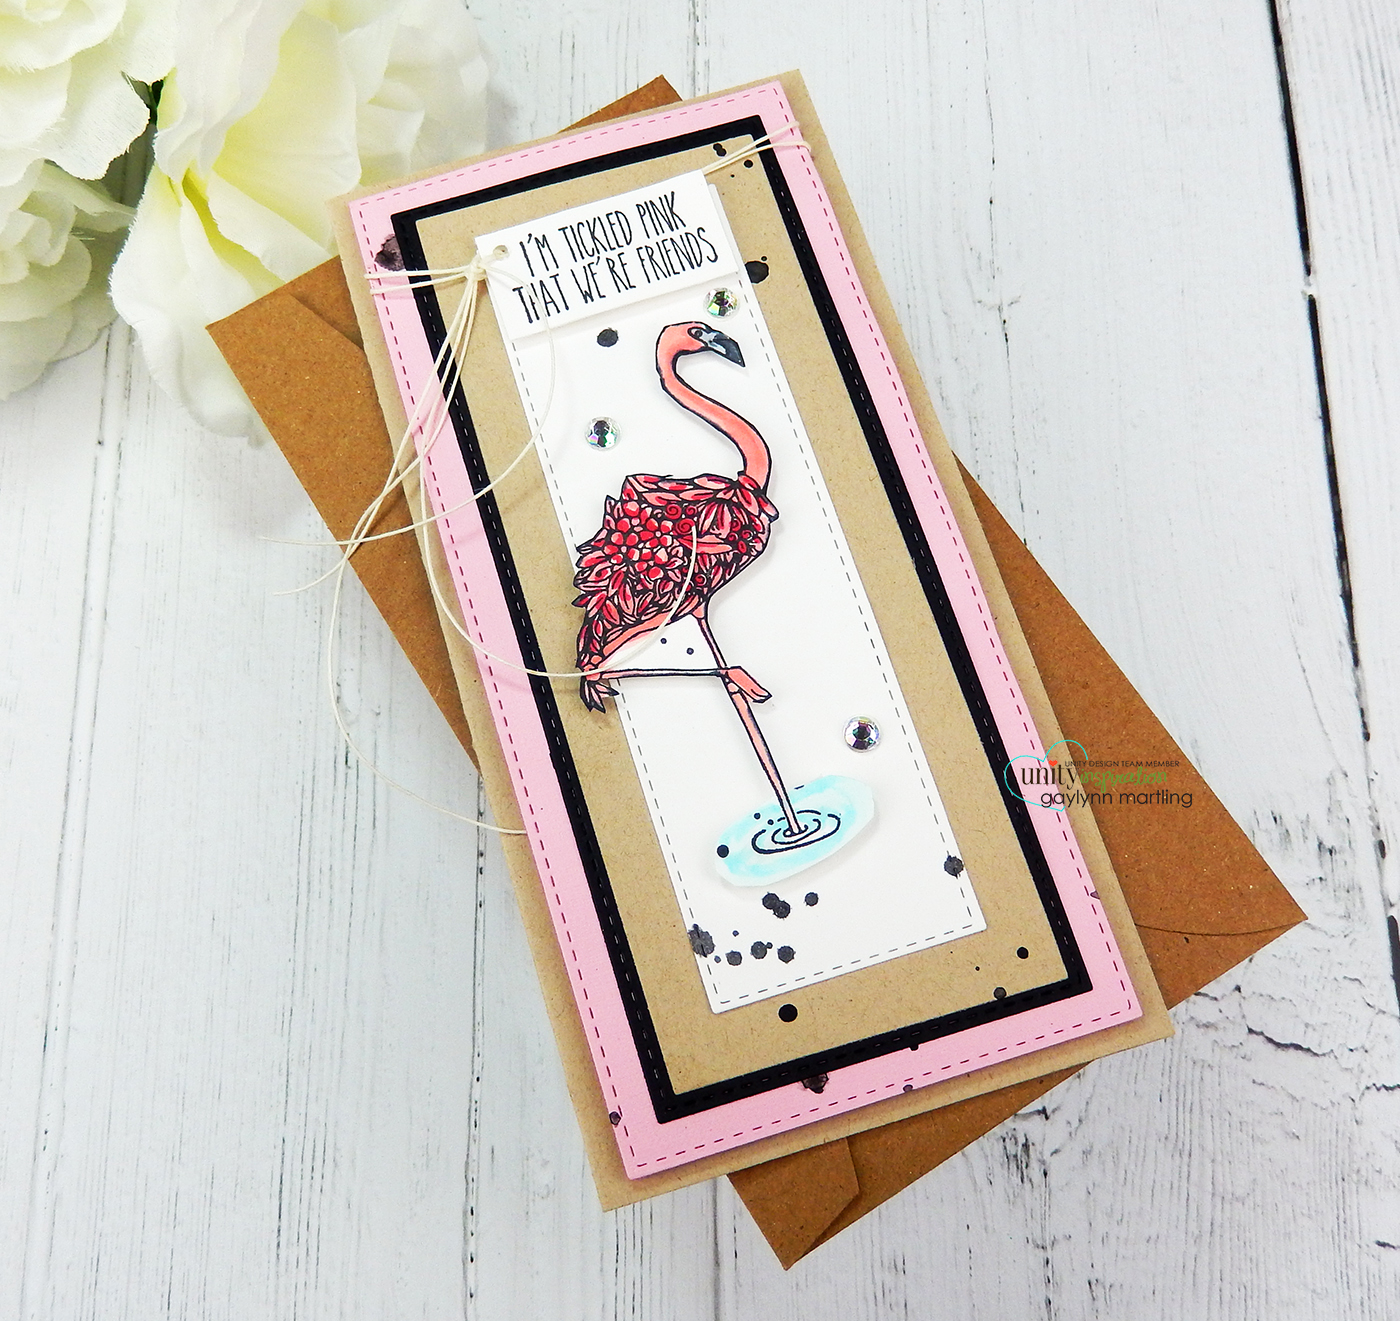
Sentiment:  I’m tickled pink that we are friends.

Here are the sizes that I use most often for slimline card bases & envelopes.   Please reference the video for the process and details for this project.

First, largest:

Envelope #10 size 4 1/8″ x 9 1/2″

Card base cut 9 1/4″ x 8″, Score on short end at 4″

Card size 9 1/4″ x 4″
—————————————————

Second, medium:

Envelope size 4 1/8″ x 9″

Card base cut 7 1/2″ x 7 1/2″, Score at 3 3/4″

Card size 7 1/2″ x 3 3/4″

————————————————–

Third, smallest

Envelope size 3 7/8″ x 7 1/2″

Card base cut 7 1/4″ x 7 1/4″, Score at 3 5/8″

Card size 7 1/4″ x 3 5/8″

These card base and envelope examples were made using envelopes that I happen to have on hand.  For card base sizes, I like to begin with the envelope size first.  Then, I cut the card base a bit smaller than the envelope size.  Next, I choose dies that fit best onto the trimmed card front.  Finally, dies are not necessary.  A paper trimmer can be used to trim the desired card base and the layers.

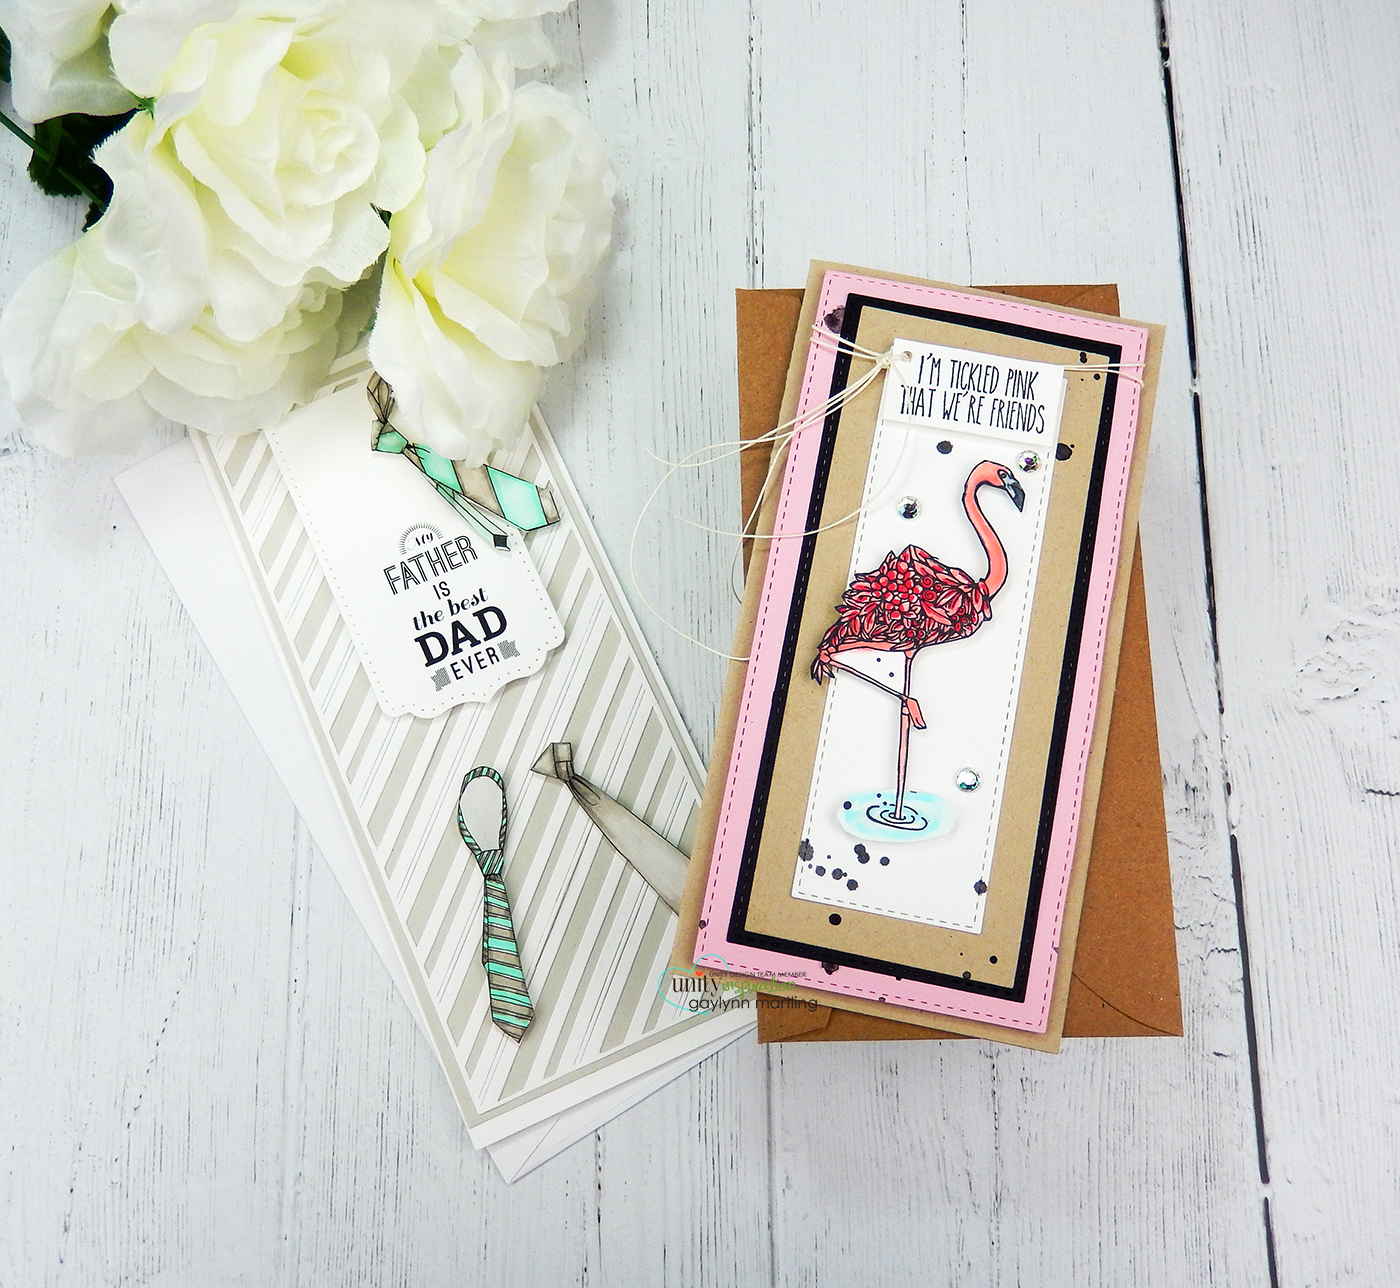
Here is another look:

Here is my video tutorial for this project.  It will detail the full process.

Supplies include Unity Stamp Co. Fabulous Flamingo.
Also, Simon Says Stamp intense black ink, cardstock, hole punch, twine, flat and foam double-sided clear tape, My Creative Time tall frame dies, tall frame die layers and tall kraft envelope; Pink Fresh Studio slim fancy diagonal stripes and slim ornate banner dies; Misti, Copic markers RV29, R32, R20, B0000, B01, C3, C7; Sakura Koi watercolor, paint brush, adhesive gems, Fiskars paper trimmer, MSC scoring board, bone folder.

Remember, if you want to view my other projects on the Unity blog, see my features linked below.

Technique Time
Watercolor Wednesday
.

Please, tune in next Wednesday with a new project for Technique Time.
Thanks for visiting.

Gaylynn

EmailPrintFriendlyFacebookTwitterPinterest

Filed Under: Stamping Fun Tagged With: card base size, Copic Coloring, envelope, Gaylynn Martling, slim card, slim card base, slimline, Technique Time

Footer

100 W Central AVE, New London, MN 56273  |  (320)354-4450  |  [email protected]

facebook pintrest instagram youtube

© 2023 Unity Stamp Co. Developed by Vivid Image. Privacy Policy. Log in