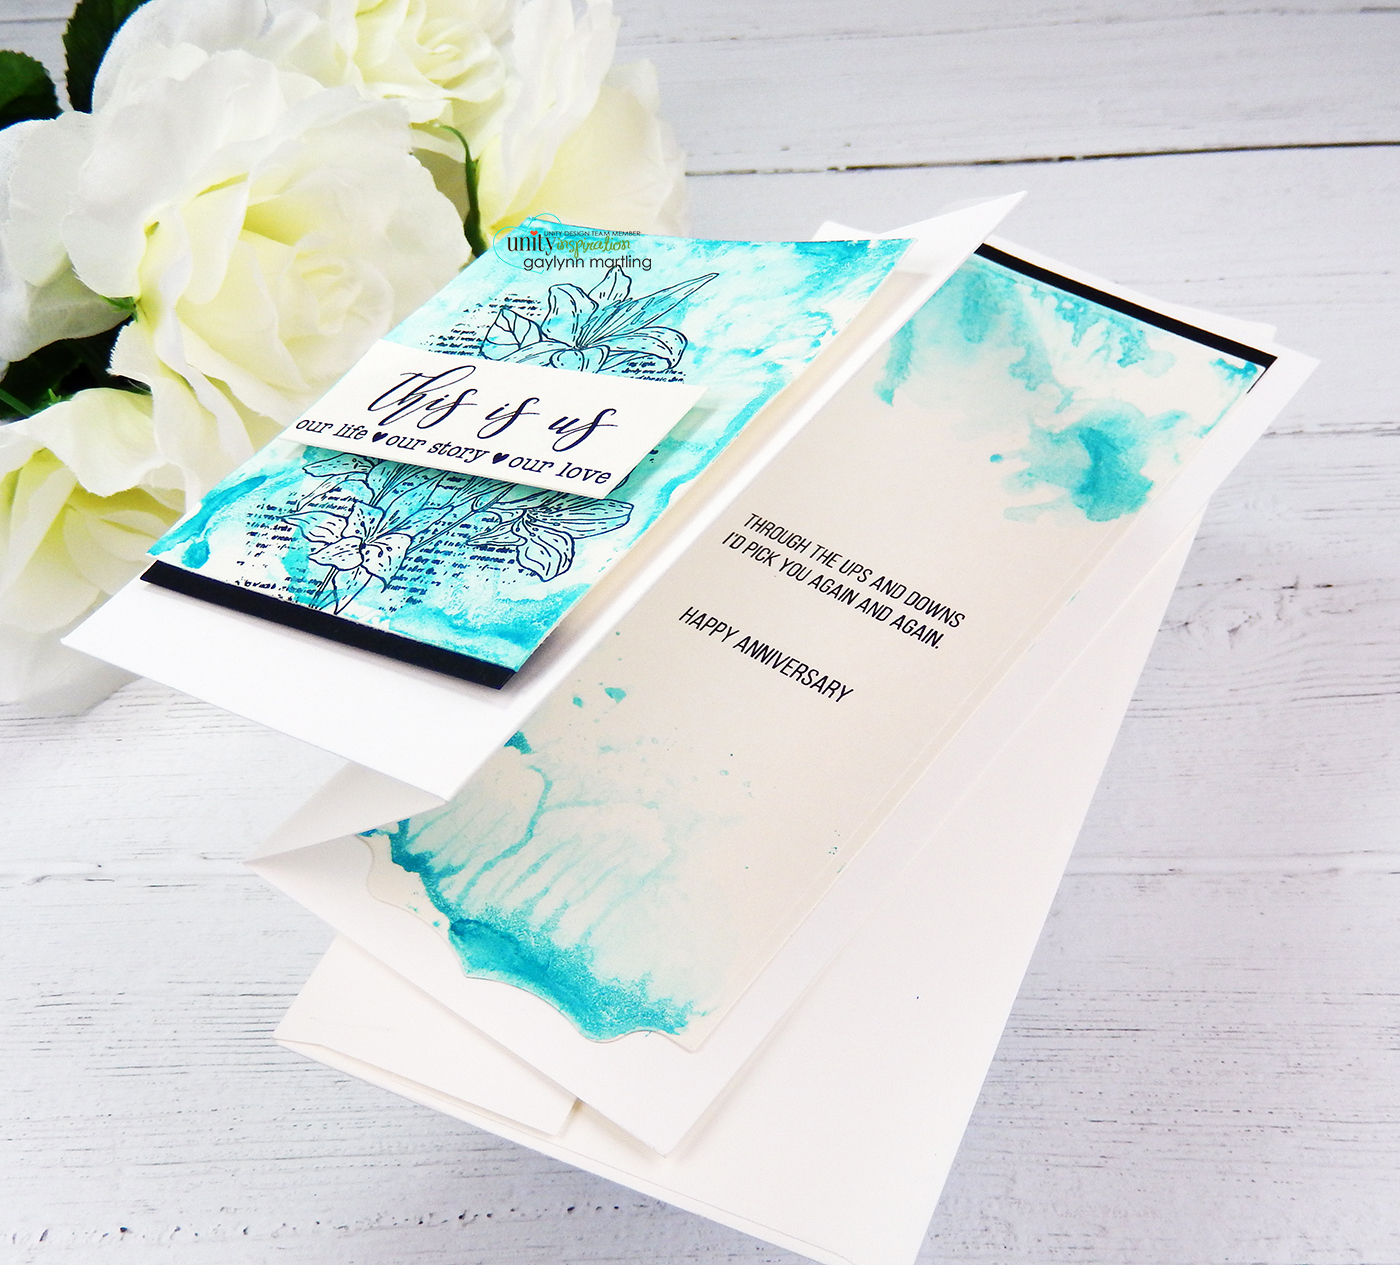
Hello, Gaylynn here. For Technique Time, I am sharing my tri-fold slim card made using watercolor and diagonal cut detail.

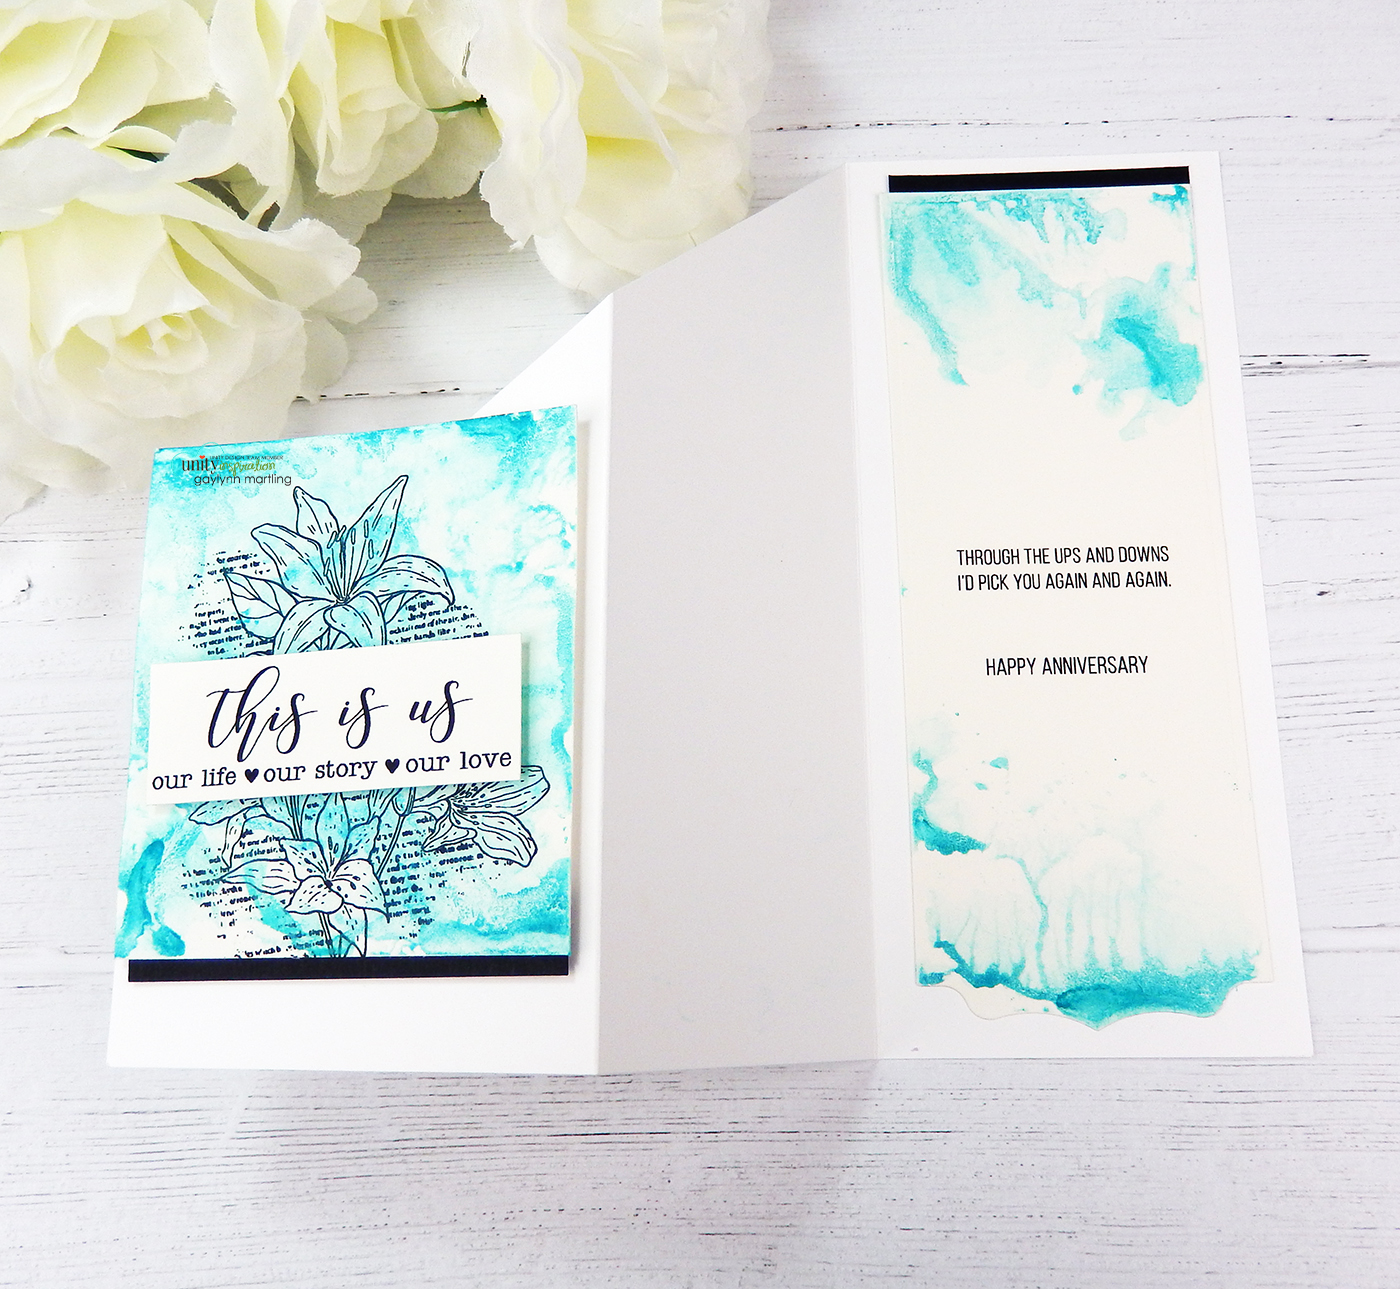
This tri-fold slim card is interactive, with art on the front and on the inside. It was easy and fun to make. It is an interesting design and interactive.
Sentiment:
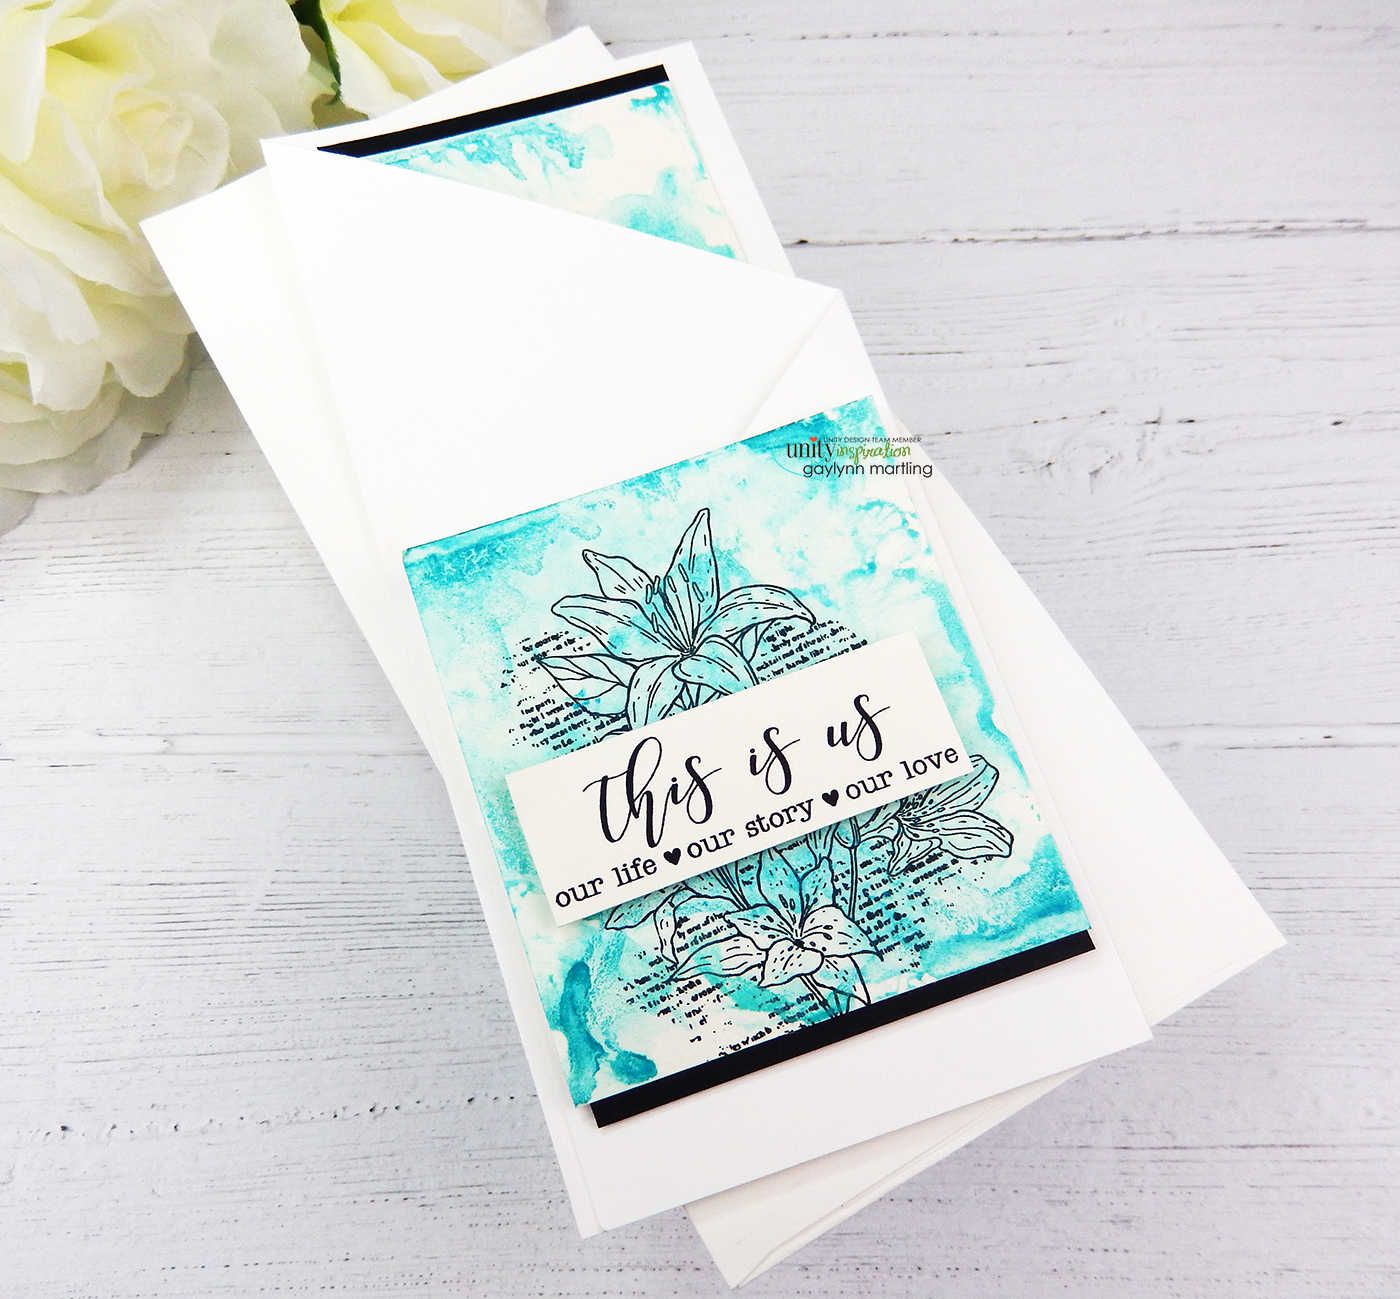
This is us, our life, our story, our love
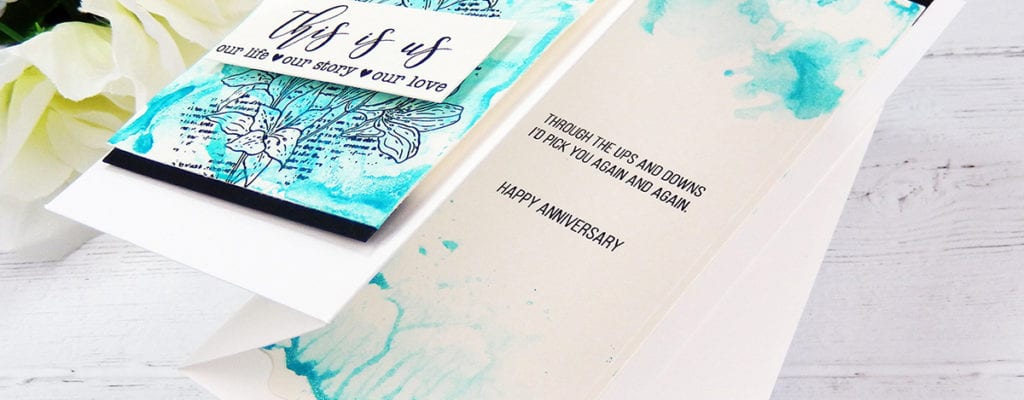
Through the ups and downs, I’d pick you again and again.
Happy Anniversary
Here are the measurements that I used for this trifold slim card base & envelope. Please reference the video for the process and details for this project.
This tri-fold slim card size folded is approximately 3 5/8″ x 8 1/2″.
First, use an envelope #10 size or a 4 1/8″ x 9″ size.
Also, use one sheet of 8 1/2″ x 11″ cardstock for the base.
Score on one end of the long side at 3 5/8″.
Now, rotate the paper to score the other side of the long end at 3 5/8″.
You should have two vertical score lines on a horizontal sheet of cardstock.
Next, using a paper trimmer, align the cutting from about 2″ from the bottom left of the horizontal cardstock piece upwards to the top of the second fold line. Then, cut a diagonal section from the cardstock, from those points.
Now, fold back the small cut section at the first fold line and fold inward at the second fold line.
Finally, decorate the front and the inside with stamping, watercolor and embellishments.
This card base and envelope example was made using an envelope that I happen to have on hand.
Please note, dies are not necessary. A paper trimmer can be used to trim the desired card base and the layers.
Here is another look:
Here is my video tutorial for this project. It will detail the full process.
Supplies include Unity Stamp Co. You Are My Always.
Also, Ranger archival jet black ink, cardstock, flat and foam double-sided clear tape, My Creative Time tall frame dies, tall frame die layers and tall kraft envelope; Pink Fresh Studio slim ornate banner dies, Altenew watercolor half pans and palette mat; watercolor brush, envelope, Canson watercolor paper, Fiskars paper trimmer, MSC scoring board, bone folder.
Remember, if you want to view my other projects on the Unity blog, see my features linked below.
Technique Time
Watercolor Wednesday.
Please, tune in next Wednesday with a new project for Technique Time.
Thanks for visiting.