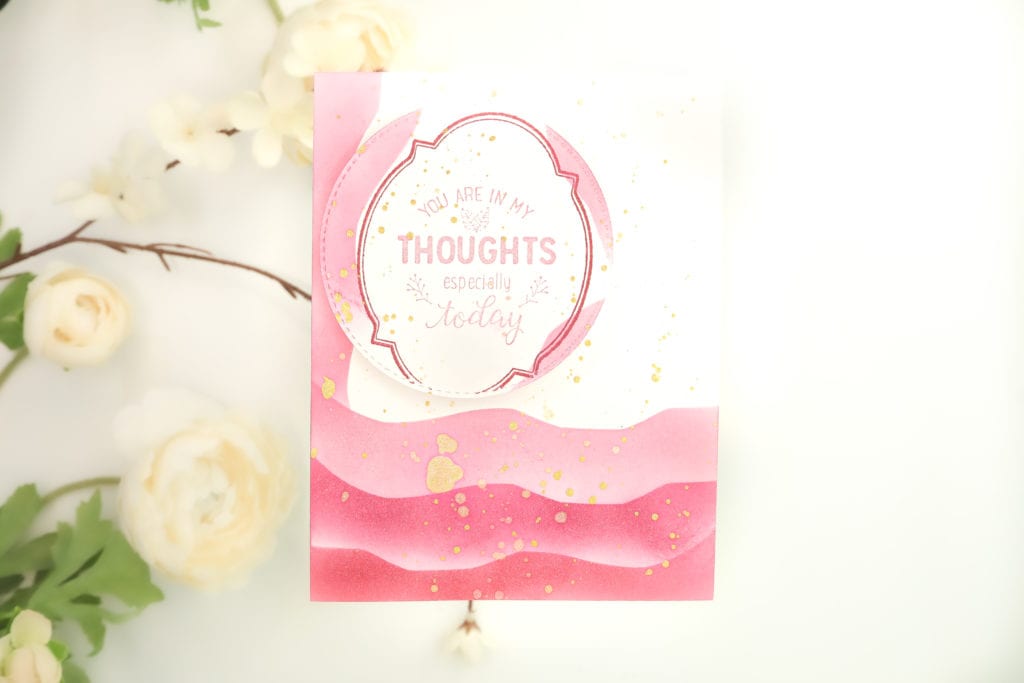
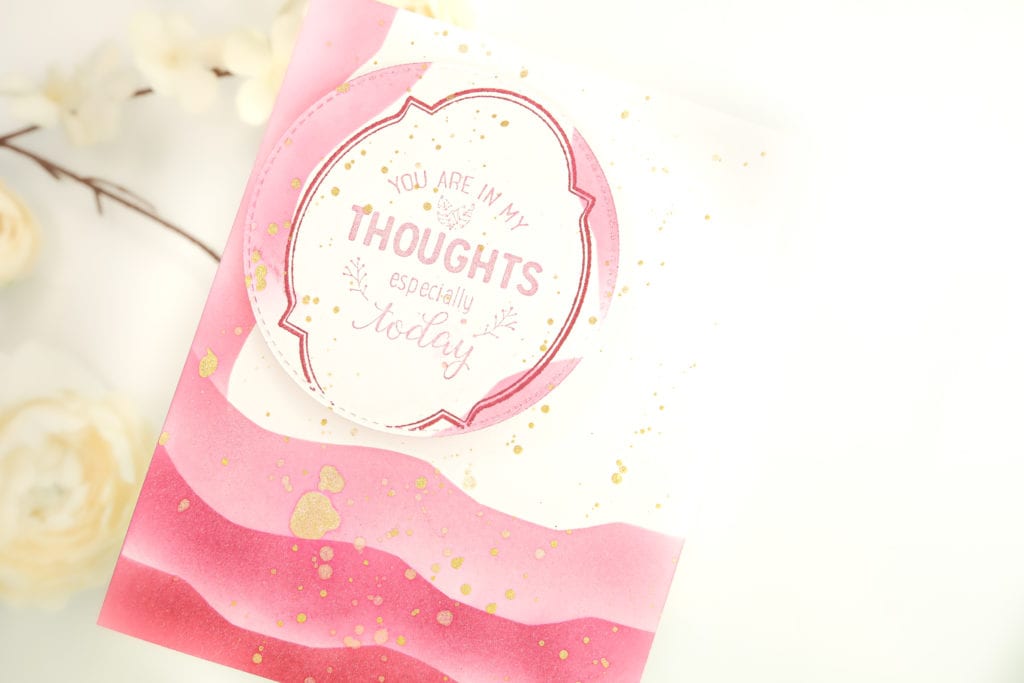
Hi there! Today, I have a tutorial creating a fun card using abstract layers and stamping with ink blending in one color family. I have been wanting to make something with fun lines and wonky layers without having to do a ton of cutting and pasting. So with that in mind, we will be ink blending using a DIY stencil, fun colors, neat older but goody stamps.
To start you will l need the following items:
- Unity’s Everything Comes Full Turn (sentiment)
- Everything Easter (frame)
- 3 Ink Colors
- Extra Cardstock
- Scissors
- Gold Watercolor or paint

To begin, trim your card panel 4.25 x 5.50 inches.
With the extra piece of cardstock, create a nice wonky edge to be used as the DIY stencil.
Then grab your ink bleidng brush and flip the edge of the diy stencil to be faced down and start the the top of the layer. Start with the lightest color. Once that ink blending is done, bring the cardstock down about 1 inch, blend the mid range color. I did use the same ink blender for this color.

For the bottom layer of the card, I flipped the stencil to use the other side and use the darkest of the colors. Remove the stencil and blend.
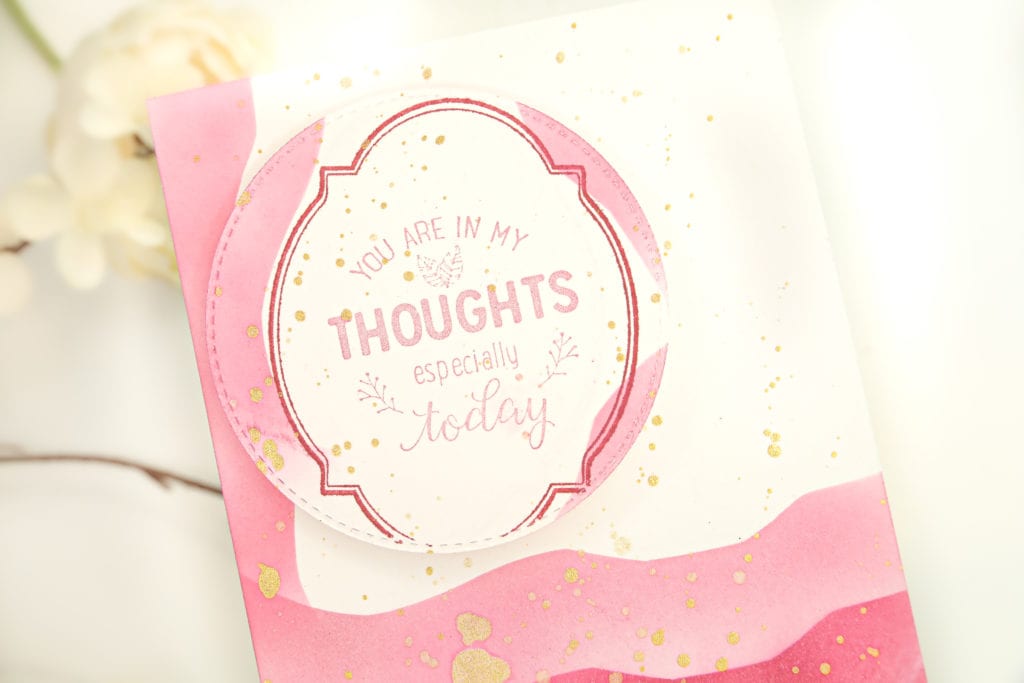
I then am using a circular die cut, stamp the frame with the darkest color, then stamp the sentiment with the lightest of ink colors.
Now to continue with the wonky edgest grab the diy stencil and ink blend the edge of the card base and the edge of the circle die cuts. It makes it look 3d!
Splatter the card with gold paint, then add your circular sentiment with foam adhesive.

That does it, here is the full video tutorial.
Thanks so much for joining me!
Crystal


