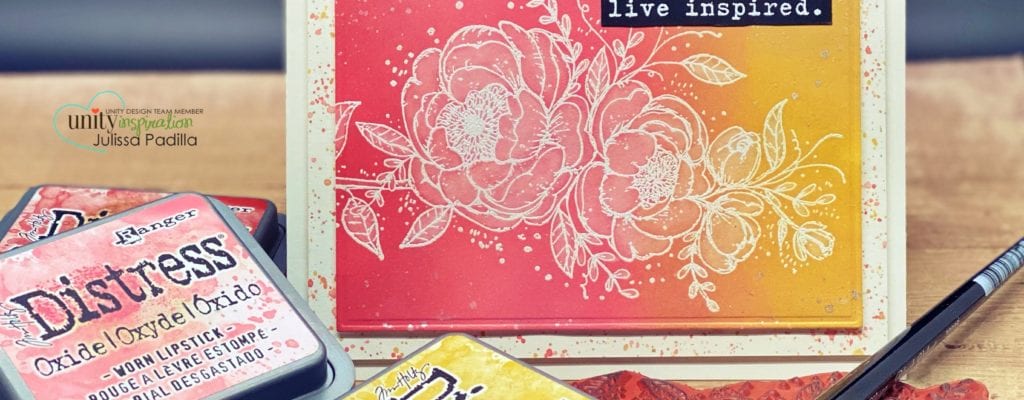
Hi crafty friends! It’s Julissa of Paper Gems by Jules back on the Unity Blog today hoping to set off your weekend full of inky fun! But today’s technique is about removing ink (say whaaaat?!). Yep, today we’re going to be playing with Distress Oxide inks and all their magic!
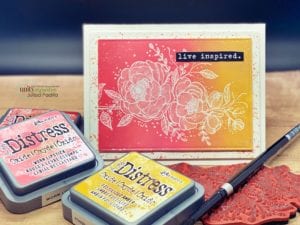
I used some white card stock, but if you have Bristol Smooth, that would be recommended as it’s a much smoother surface and Oxides love to glide on smooth paper. The three Distress Oxide colors used are : Fired Brick, Worn Lipstick and Fossilized Amber (in that order). Follow along to see each step.
Step 1: The floral image stamped was the “You Are Forever Beautiful” stamp set using VersaMark embossing ink and heat emboss them using ultrafine white embossing powder by Ranger. (You can see a slight shadow in the photo above.)
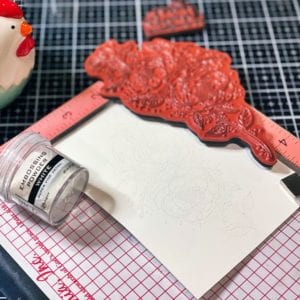
Step 2 (prep): Find three Oxide colors that blend well… and they can all pretty much blend well, but I chose Fired Brick, Worn Lipstick and Fossilized Amber for this card.
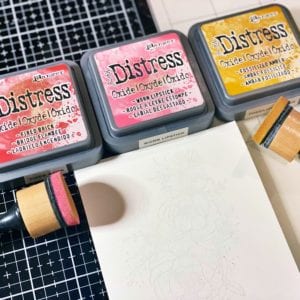
Step 3a: Add the lightest Oxide first (Fossilized Amber). Starting with the lightest, I figured using a darker color over it would be easier to come back and blend later. Don’t you just love this yellow?!
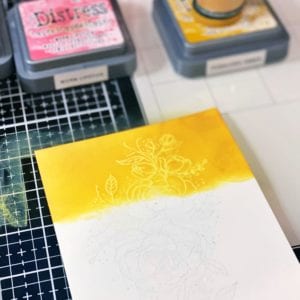
Step 3b: Next color is Worn Lipstick. This rick pink actually creates a warm orange color when blended in. We’ll go back over this to make the transition smooth at the end.
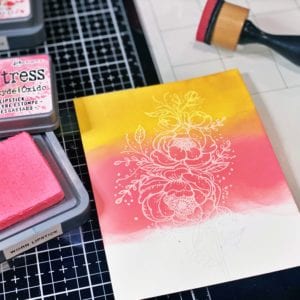
Step 3c: Last color is Fired Brick. This bold red easy blends in with the pink and goes on smoothly. If you’re doing splatters on here, you could probably leave it, but I went back with each color to blend in the colors more smoothly. Once you’re done, wipe off the ink from the embossed area to brighten the white.
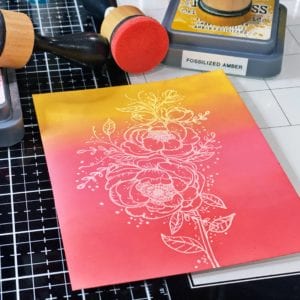
Step 4. Now that the colors are blended in… time to remove the color. The magical part of Oxide inks (beyond their buttery blending abilities) is the way they react with water. For this technique I’ll be using water to create a bleaching effect. Using a water brush, I lightly brushed over the petals causing this reaction. Blotting it with a dry paper towel, helped set it quickly so the paper doesn’t pill (because it’s not watercolor paper).
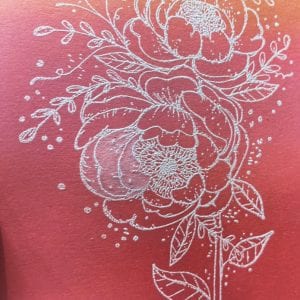
Step 5: Continue this “coloring” over all of the image. Removing the color or creating this bleached reaction gives this almost a velum look.
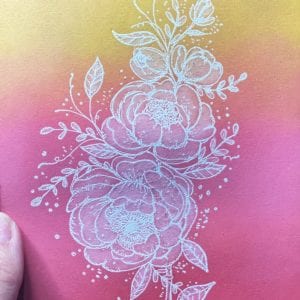
Step 6: Once the paper is dry (and you can heat set it to speed up the process), I used a Kat Scrappiness die called “Embossed Edge Rectangle” die to trim down the piece. I wanted to use splatters, but didn’t want mess with the image. Rather than making a mask, the stamp served as my mask while I splattered Perfect Pearls and water over it.
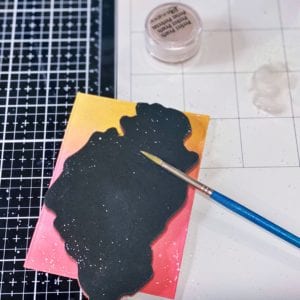
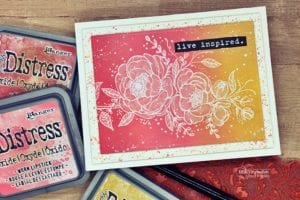
Step 7: Because there was almost an inch of white space around the image on the card base, I added another layer and splattered the same oxide inks to give it a border. Using foam tape, I adhered all the layers to the card base. And for the sentiment, I kept it simple with “live inspired” from the “Empowered Words” stamp set using white heat embossed on black card stock.
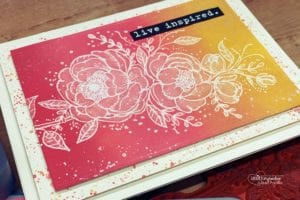
The great part of this technique is that it has a lot of detail without the fuss of all the coloring that goes into some of our cards. This is a great technique to use when you’re in a pinch. Thanks so much for stopping by the blog today. Feel free to ask any questions and make sure to subscribe for all the great ideas on the blog!
Until next time… Happy Crafting!
Jules


