Hi there! Happy Tuesday, today on Color Combos with Crystal I have a fast tutorial on how to create an EASY Fall Birthday Card. For today’s card, we are using some previously released stamp sets and basic supplies.
You will need:

Change Can Be Beautiful Stamp Set
Kraft Cardstock
Brown Ink
Burnt Orange Cardstock
Copics or Markers
Foam Adhesive
Scissors.

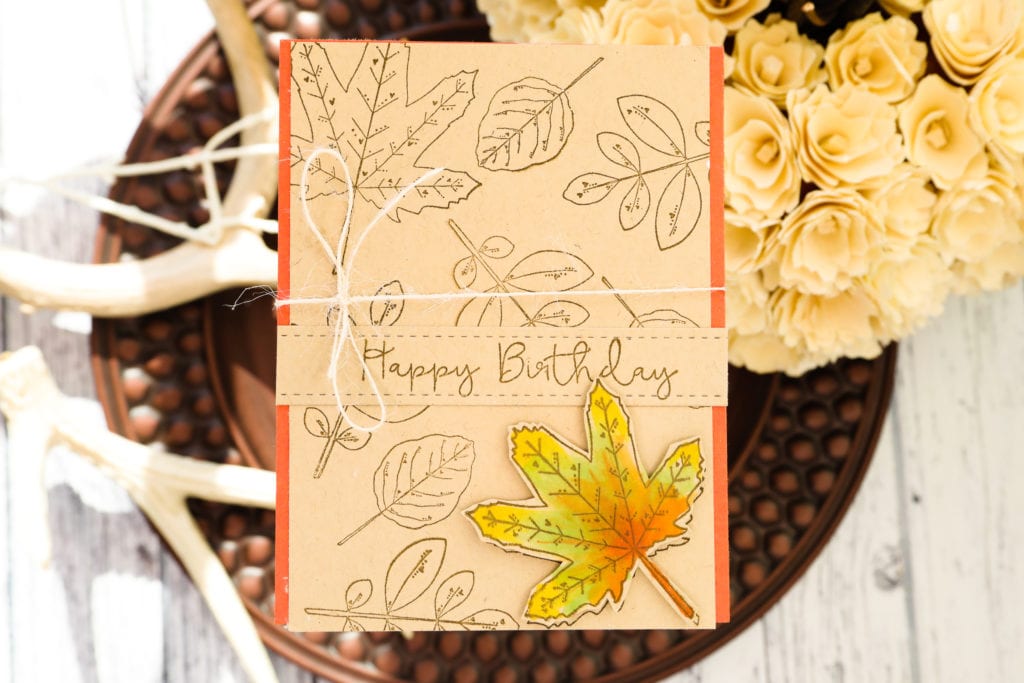
Let’s start by trimming the Burnt Orange to 5.50x 4.25 inches. The Kraft will be 5.50 x 4 inches. Then we are stamping the leaves from the Change Can Be Beautiful Stamp Set using brown ink on to the kraft cardstock repeating yet turning the stamp.
On a separate kraft cardstock re-stamp the Maple leaf, and fussy cut around it.
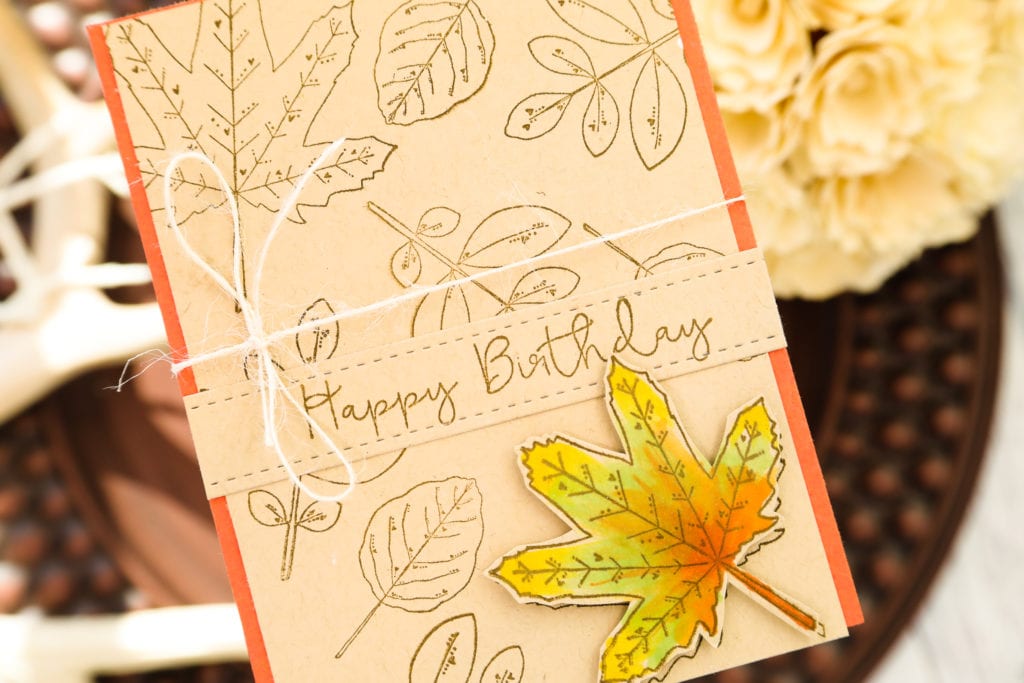
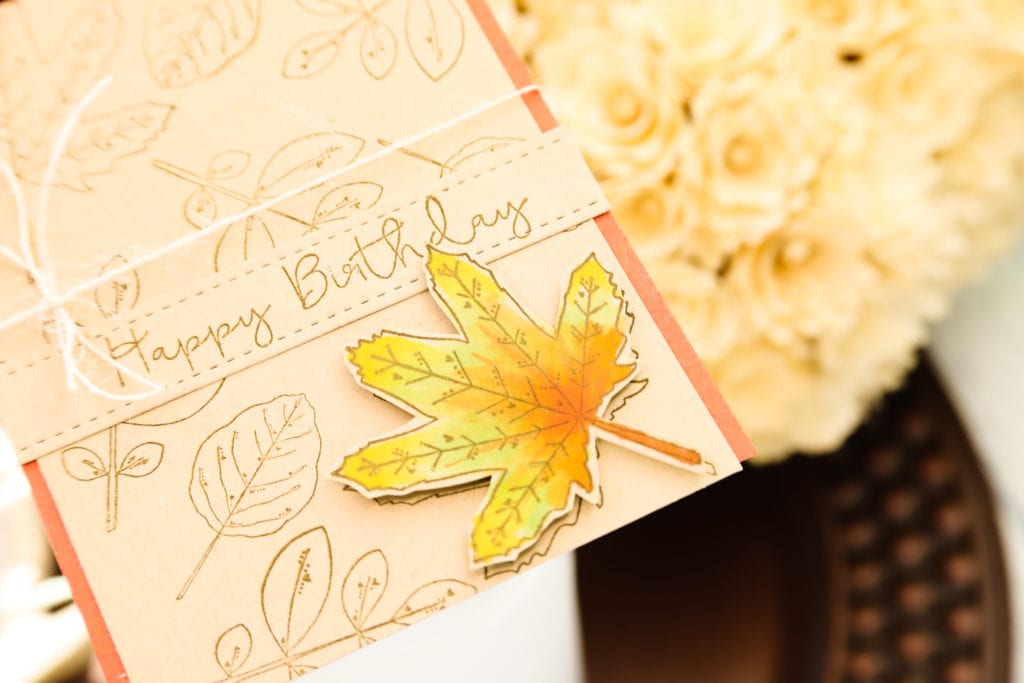
Now to the coloring, grab your markers and start with the yellow on the tips of the leaves, then the green for the middle blender. Have two shades of orange ready to go, blending the light orange into the green and finishing up with the dark burnt orange for shadowing.
Layer the stamped kraft cardstock over the orange with roller adhesive.
Add some foam adhesive to the back of the leaf and place it over the stamped kraft.

For the sentiment, I have a stitched strip of kraft and stamped the Happy Birthday from Change Can Be Beautiful Stamp Set, then using adhesive placed it over the entire card. To finish up I added a piece of twine and tied if just above the sentiment.
Now you know I have a video tutorial for you, and the full coloring process is there too!


