Hi, Gaylynn here. For Technique Time at Unity, I am showing a way to make a festive and fun night sky background for a celebration card. Extra accents were added to make the scene.

Making a night sky background scene is easy with stamps, ink and embossing. Plus, fun celebration details and stamps make it extra festive.

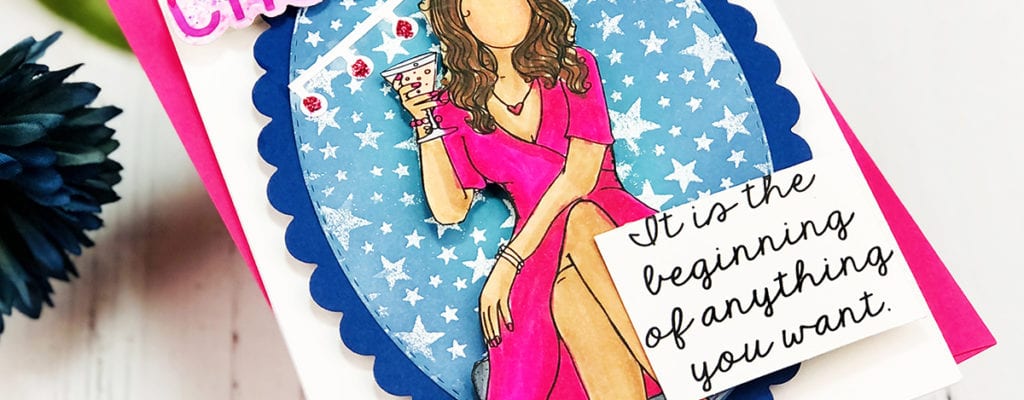
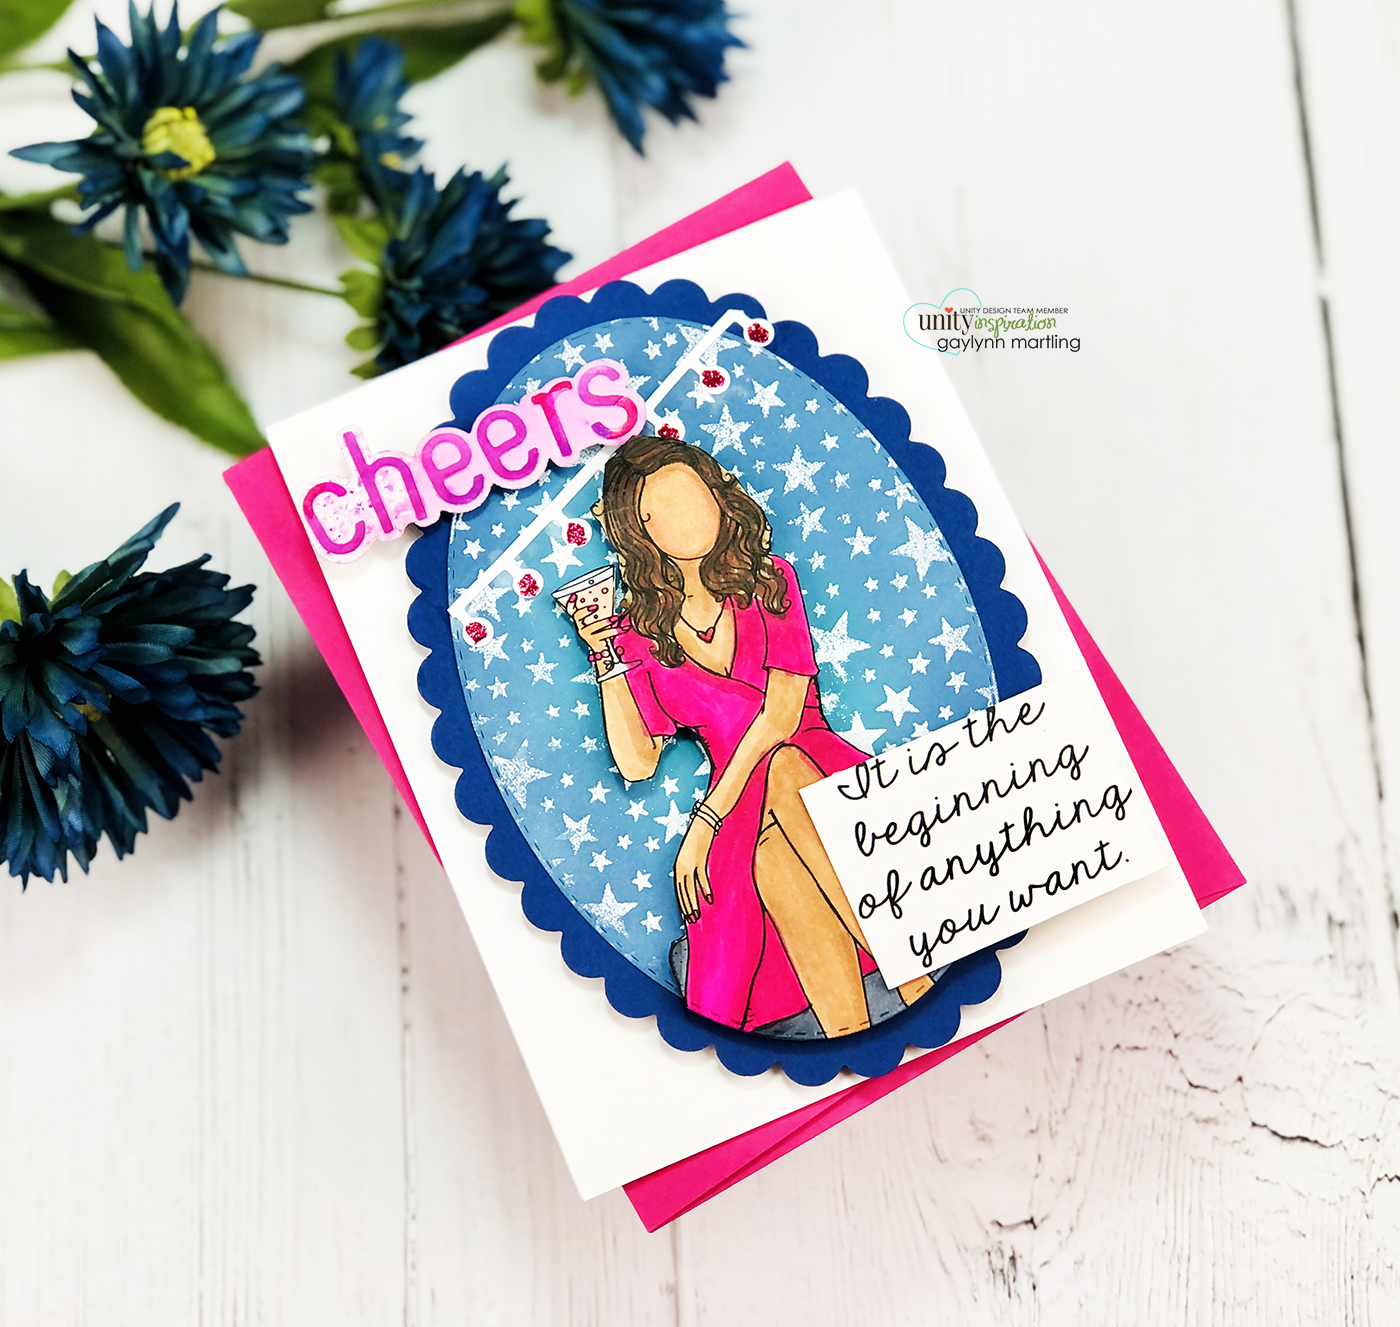
Sentiment: Cheers. It is the beginning of anything you want.
Helpful tips:
Here are helpful tips for creating this night sky background card. To begin, die-cut or paper trim all of the background and accent layers and panels. Next, stamp the girl and the sentiment. Then, add color to the girl with Copic markers or others. Also, make a strand of lights and add glitter glue to make them sparkle. Next, fussy cut (cut out) the girl. Then, onto the oval white cardstock panel, stamp the stars with embossing ink and then heat emboss the stars in white. Next, blend distress ink in two blue colors, dark enough for a night sky. Then, with a dry paper towel, wipe the inked panel lightly to make the stars appear brighter. Finally, assemble the scene building card layers, to finish.
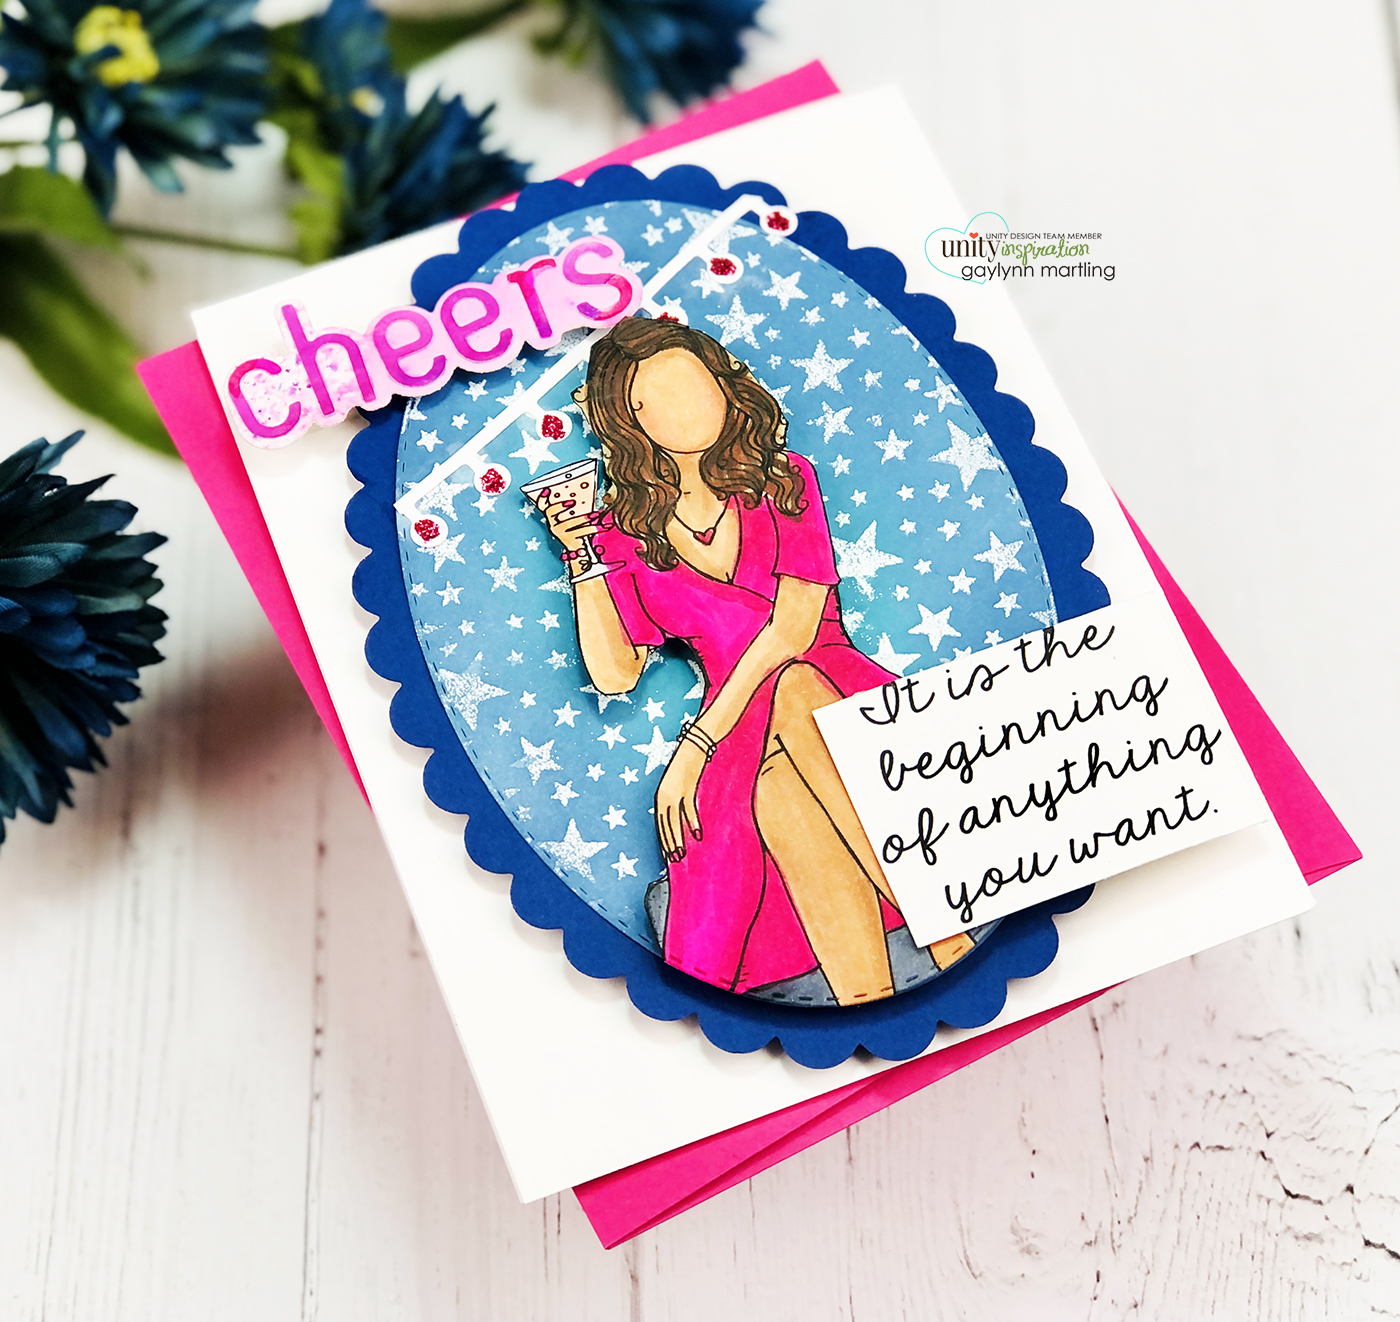
Here is another look.
Here is my video tutorial for this project. It will detail the full process.
Supplies: Unity Stamp Co. New Year Girl and Star Burst {background}.
Also, foam and flat double-sided tape, cardstock, MCT Scalloped Stitched Oval Dies; MFT sentiment die, distress oxide ink in broken china and faded jeans; Ranger multi medium matte glue, Original Misti, glitter glue, Copi markers 100, C9, C5, C7, C3, C00, YR00, E00, W1, 0, E49, E29, E44, R02, E13, E33, E11; ink blending brush, white embossing powder, heat tool, Wow embossing pad.
Remember, if you want to view my other projects on the Unity blog, see my features linked below.
Technique Time
Watercolor Wednesday.
Please, tune in next Wednesday with a new project for Technique Time.
Thanks for visiting.