
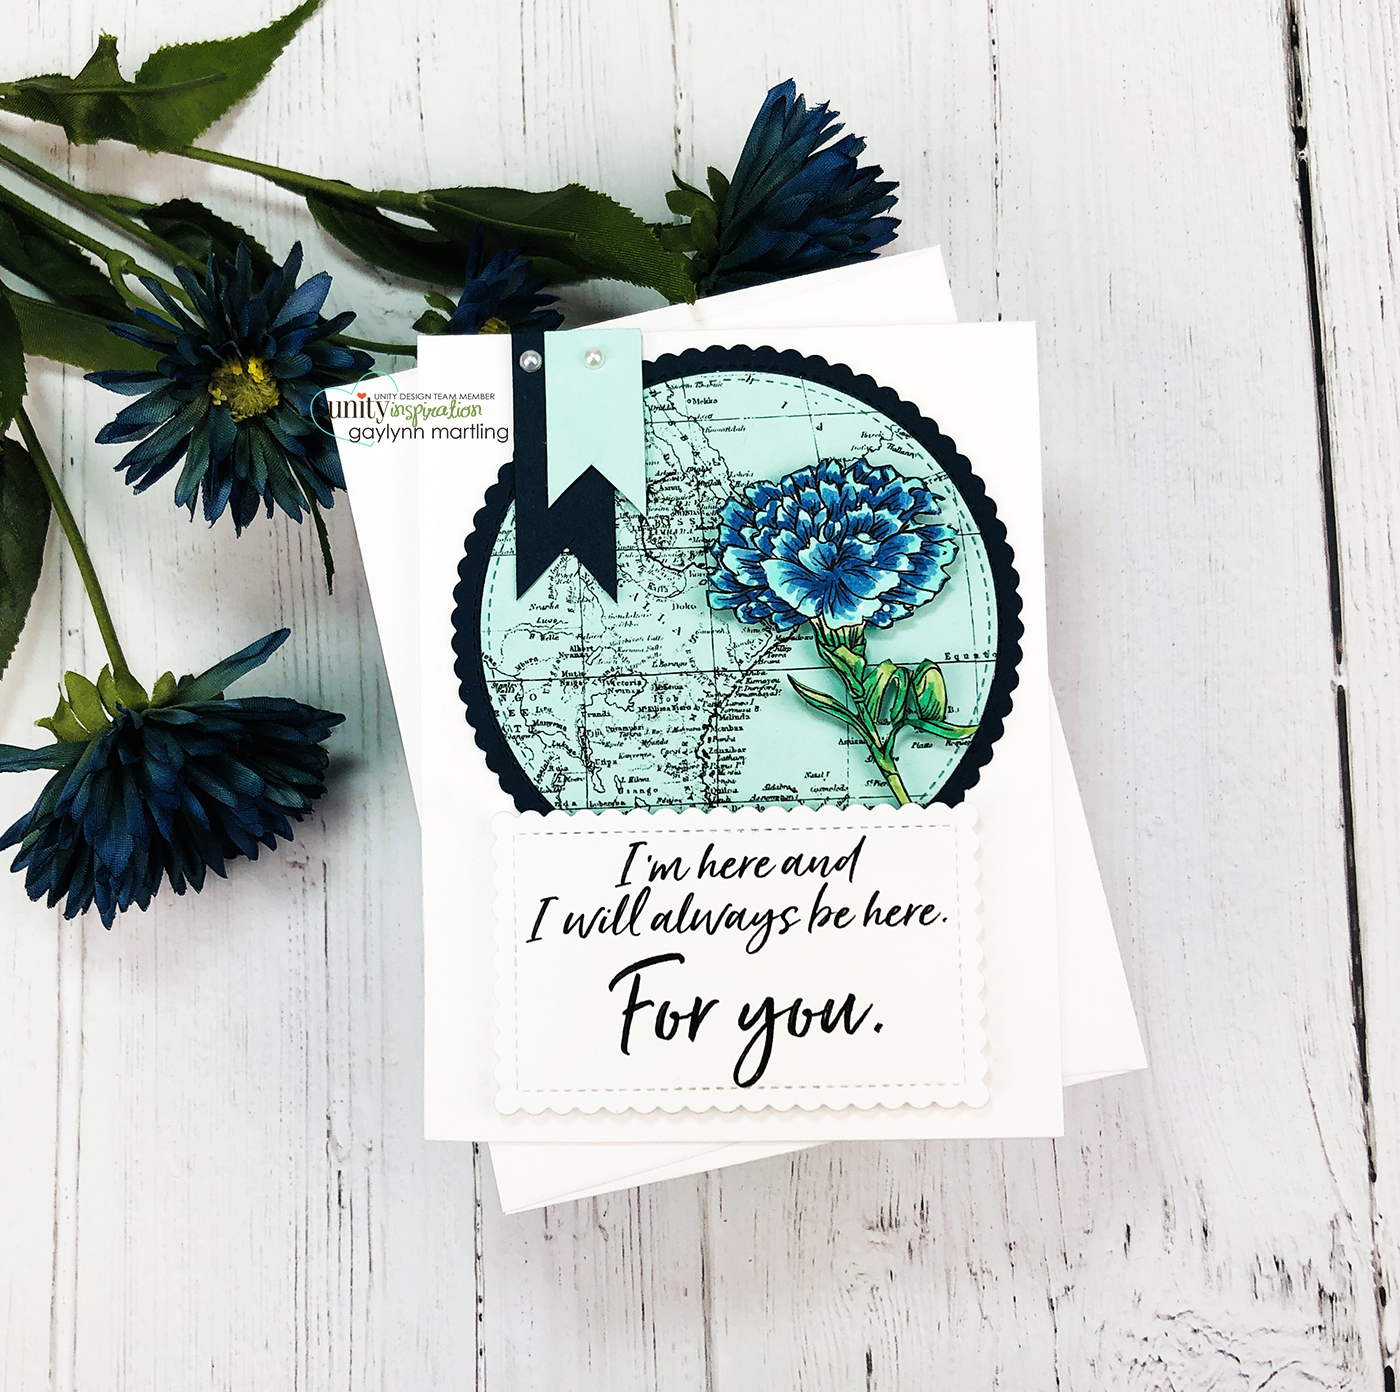
Hi, Gaylynn here. For Technique Time at Unity, I show a way to make a framed background with a map and a flower accent. This is a card for support or encouragement.

For this card, I used layers to make the framed background, sentiment, flower and flag elements.
Sentiment:
I’m here and I will always be here for you.
Helpful tips:
Here are helpful tips for creating this framed background card. To begin, stamp the map background onto color cardstock. Also, stamp the flower and the sentiment on white. Next, trim or die-cut the map to make a background. I chose to use a portion of the larger map stamp and a portion of the floral stamp for this card. Then, trim or die-cut the sentiment panel, the frame layer and the flags. Next, color in the flower section that you want to use on the card. I used Copic markers for color, but any will do. Then, fussy cut (cut out) the flower to use as an accent. Finally, to finish, arrange and layer everything.
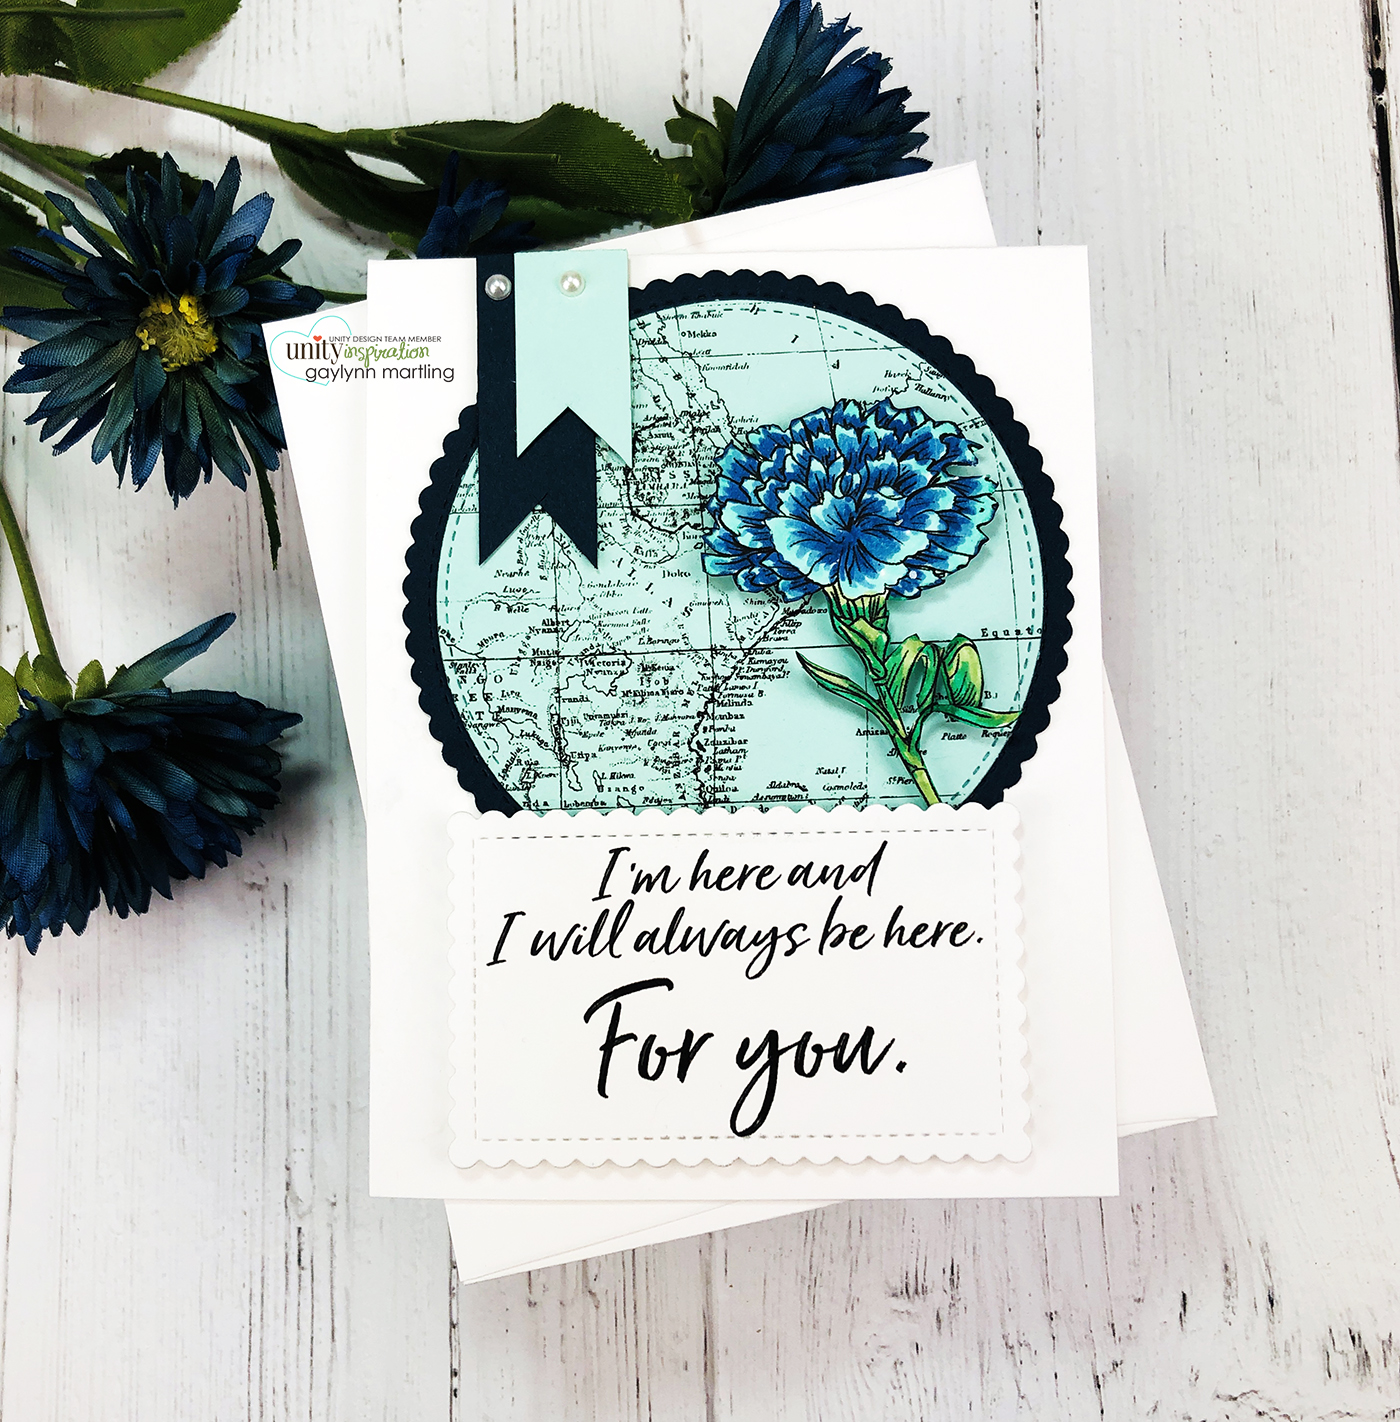
Here is another look.

Here is my video tutorial for this project. It will detail the full process.
Supplies: Unity Stamp Co. Explore and Just Hold On.
Also, foam and flat double-sided tape, cardstock, MFT A2 Stitched Circle, Stitched Mini Scallop Circle and Stitched Mini Scallop Rectangle STAX die-namics; Fiskars paper trimmer, Copic markers BG32, B37, B14, G16, G21.
Remember, if you want to view my other projects on the Unity blog, see my features linked below.
Technique Time
Watercolor Wednesday.
Please, tune in next Wednesday with a new project for Technique Time.
Thanks for visiting.