


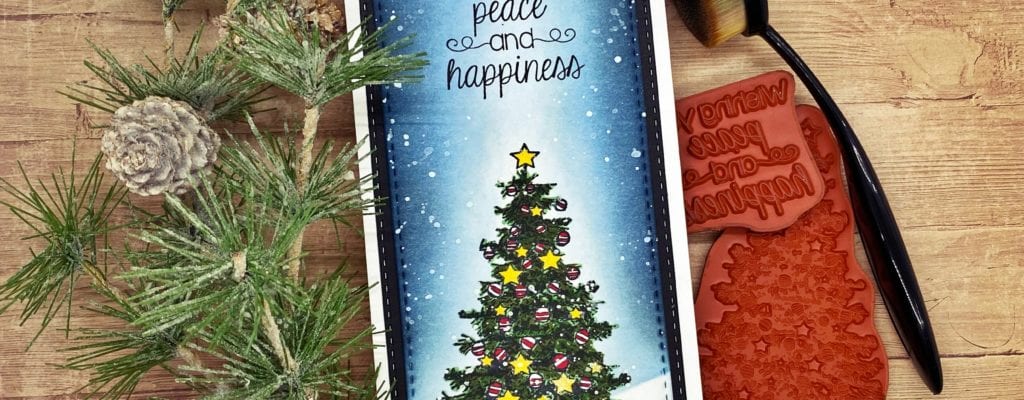
The holidays are here and there is so much still going on. I wanted to make a card that I could send to anyone right now…. and I wish I could make a thousand of them to send to you all. Hi everyone, this is Julissa of Paper Gems by Jules on the blog today sharing a slimline card made with hope using the stamps from the September 2015 Kit of the Month: Our Hearts to Yours.

When I saw this Christmas tree I just love the subtle details. Embedded in this beautiful red rubber image, there are words of hope… “believe, blessings, love, christmas” and many more. I wanted to make a card that would highlight this image so I used white space to highlight it. Below I put some step by step details and photos in case you’d like to try this idea.
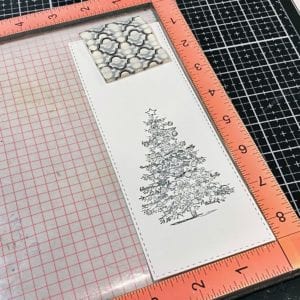
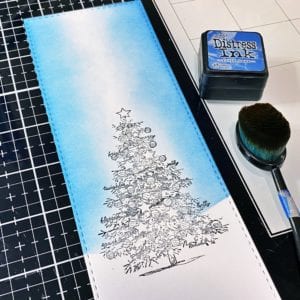
Step 1. Lightly stamp the image. Just so you can place it on the card and get some ideas of the background. A Misti is perfect for restamping, but you can use any of your stamping tools.
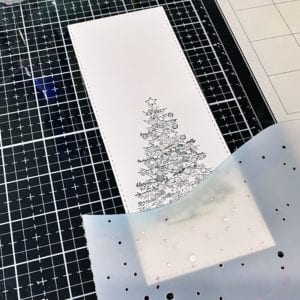
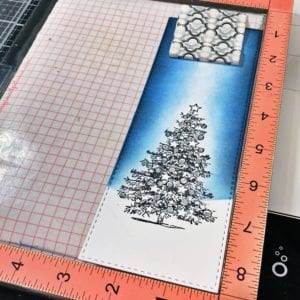
Step 2. Using a hillside stencil, I added a little snowmound in the background with Tumbled Glass Distress Ink.
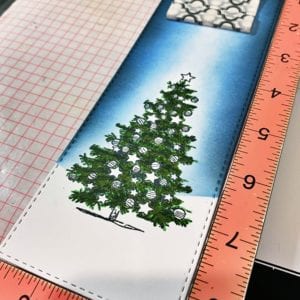
Step 3-A. Using that same Tumbled Glass Distress Ink on the left and right edge of the slim line piece. Make sure not to color in the top center as this will be a source of light.
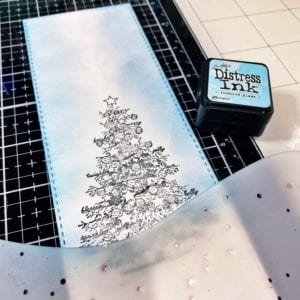
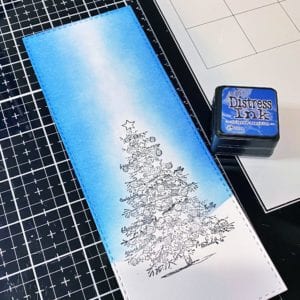
Step 3-B. Next, using Faded Jeans Distress Ink, color the left and right side again just a little less further in than the first layer. Again, not coloring in the center.
Step 3-C. Doing the same thing, but this time using Chipped Sapphire Distress Ink.
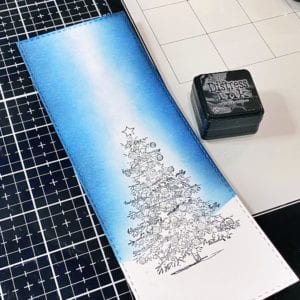
Step 3-D. Last color is Black Soot Distress Ink. This color makes the white space in the middle light up and give you more of that late night feeling.
Step 4. Put this piece back into your Misti and restamp. This time, make sure the image is crisp and all lines get inked.
Step 5-A. Time to color our tree. Starting with the greens: YG45, YG67 & G29. I started by coloring the whole tree with the lightest color and added layers of the darker colors.
Step 5-B. Now to light the tree with Y08 on every single start. So cheery already!
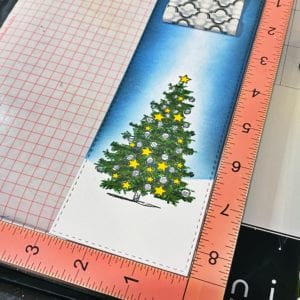
Step 5-C. To color the ornaments, I kept it simple and colored each of the balls with a little R29. I also added a little shadow of the tree using B41.

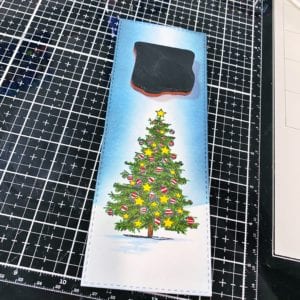
Step 6. Red rubbers stamps has one disadvantage, they can be tough to line up because we can’t see through them. I use an acetone grid to see where the words fall. I can realign the stamp and just test it out before making that FINAL stamp.
And this is the result…
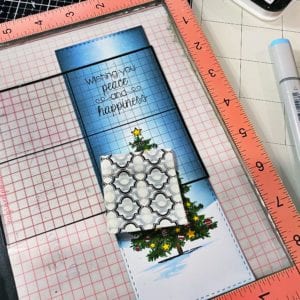
Step 7. Don’t feel like making a mask… here’s a secret tip. Clean the stamp and then lay it down over the sentiment or image of that said stamp.
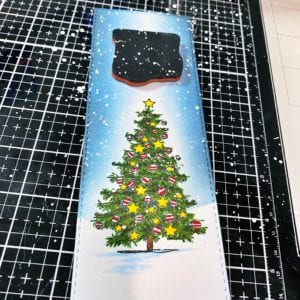
Boom… you’ve got a mask. Next, I splattered white Distress Spray Paint over the entire card.
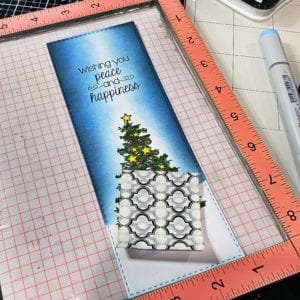
Step 8. Layer it up. I added another layer of black card stock to frame the image and then adhered it to the card base.

The dark edges light this card up and make this beautiful tree come to life. Now, if you’re not a Kit of the Month Member, you can also get this beautiful Christmas tree with the Spruce Up the Season stamp set. However, if you are a KOM member and don’t have this kit, you can purchase it at a discount!

My next blog will be after Christmas, so know that I’m wishing each of you peace and happiness this holiday season. I hope you are blessed with health and love for this season and all the days that follow. Until next time, happy crafting!
Jules


