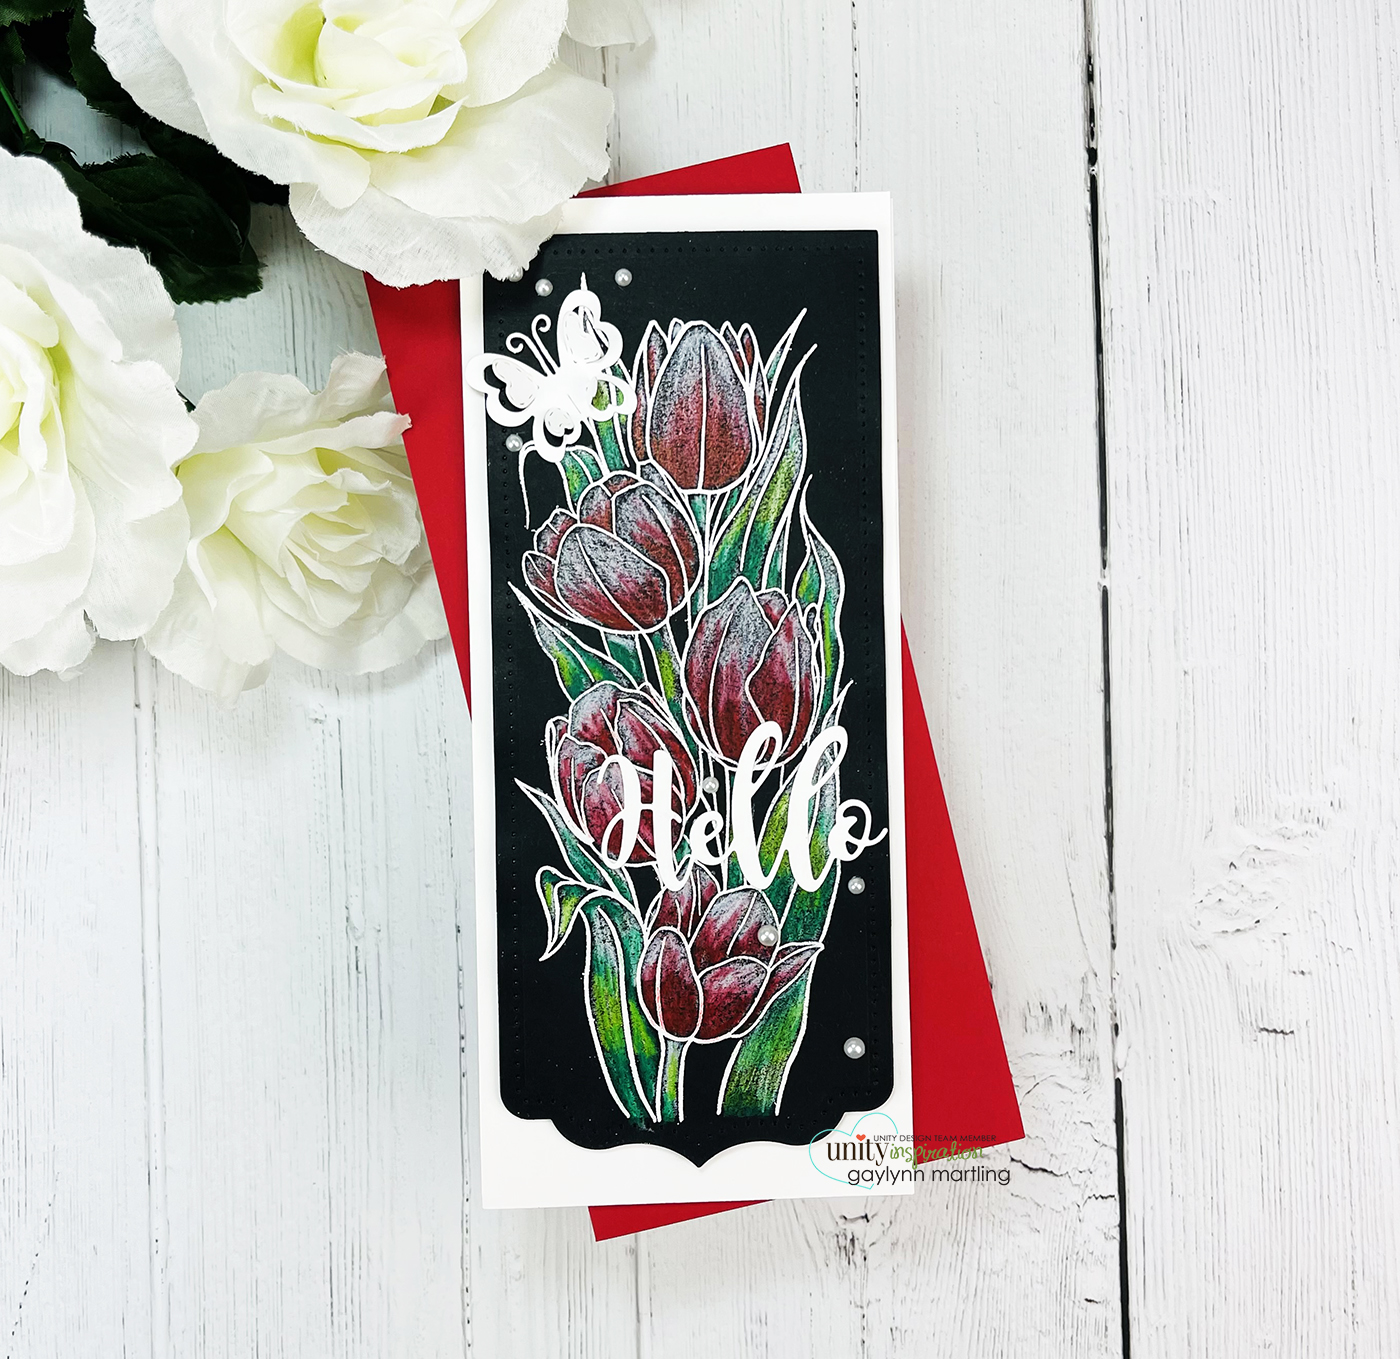
Hello, Gaylynn here. Tulip stamping and stenciling work great together. Today, on the Unity blog, I am sharing one way to accent tulips with colored pencils on black cardstock. Most smooth dark cardstock provides a similar look.

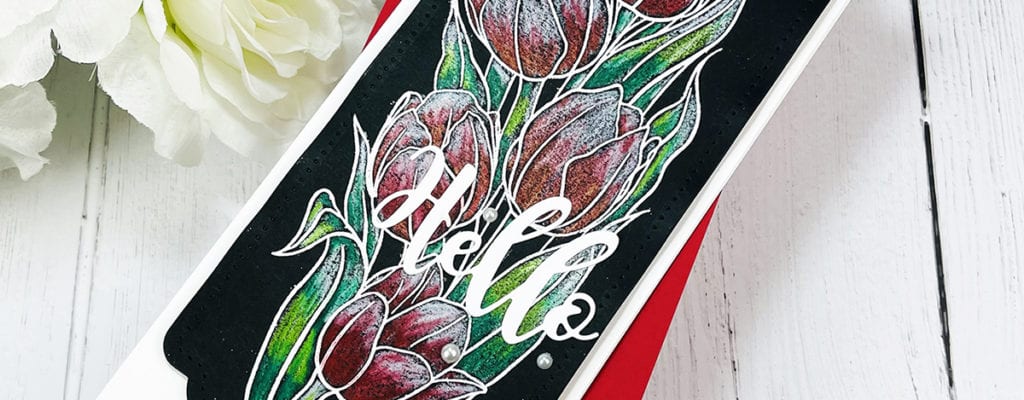
For this card, I used colored pencils on black cardstock with tulip stamping, white heat embossing and stenciling. This creates a vibrant look on dark cardstock.
Sentiment: Hello
Helpful tips:
Here are helpful tips to create using colored pencils on black cardstock. To begin, trim or die-cut a black slimline cardstock panel to fit over the card base. Next, cut and score a slimline card base. Also, add powder to the stamping panel. Then, stamp and heat emboss the slimline tulips in white. Next, choose colored pencils in red, green and white or different colors of the same color family. Using a white color pencil, lightly color the flowers and the leaves. Then, using the tulip stencil and direct coloring, add red at the base of the petals and green shades on the bottom of the leaves. Also, leave white space at the tops of the petals and leaves. And, blend the colors together with the white pencil. (Optional, blend the penciling with Gamsol fluid, which I elected not to do for this card.) Finally, layer and embellish it all, to finish.
For this particular slimline card:
Envelope: #10 or 9 1/2″ x 4 1/8″.
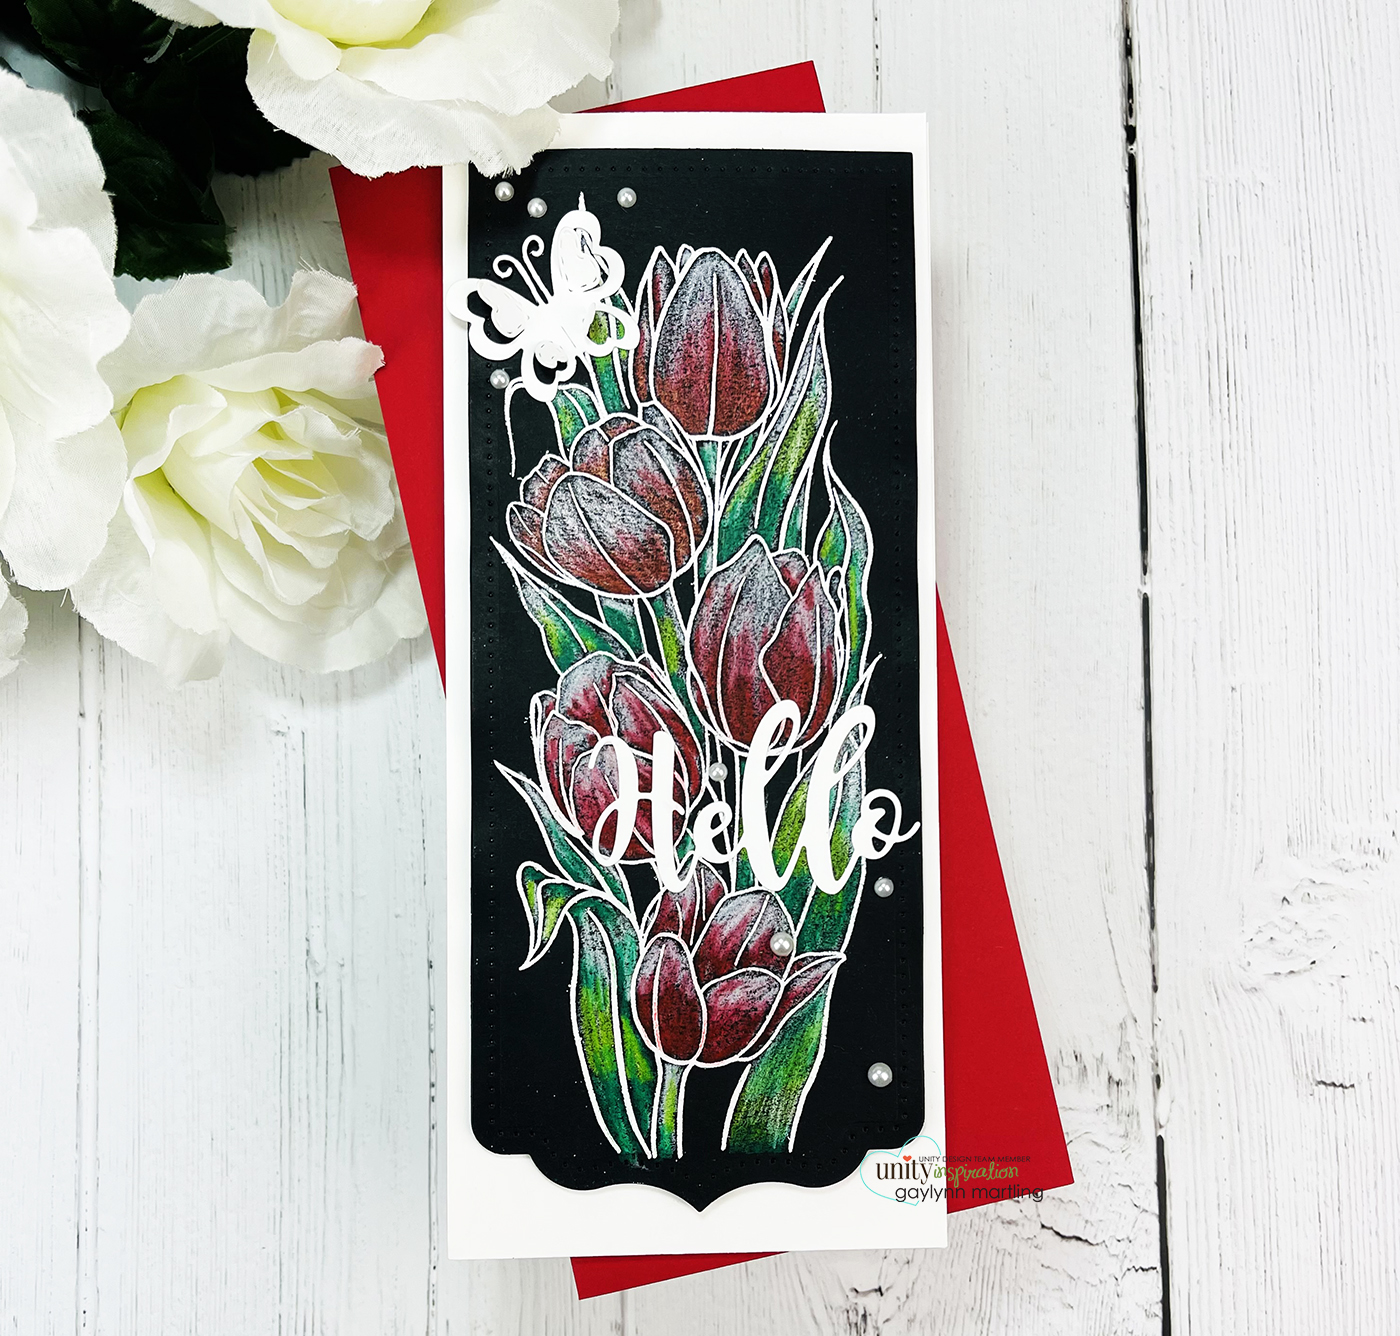 This is another look.
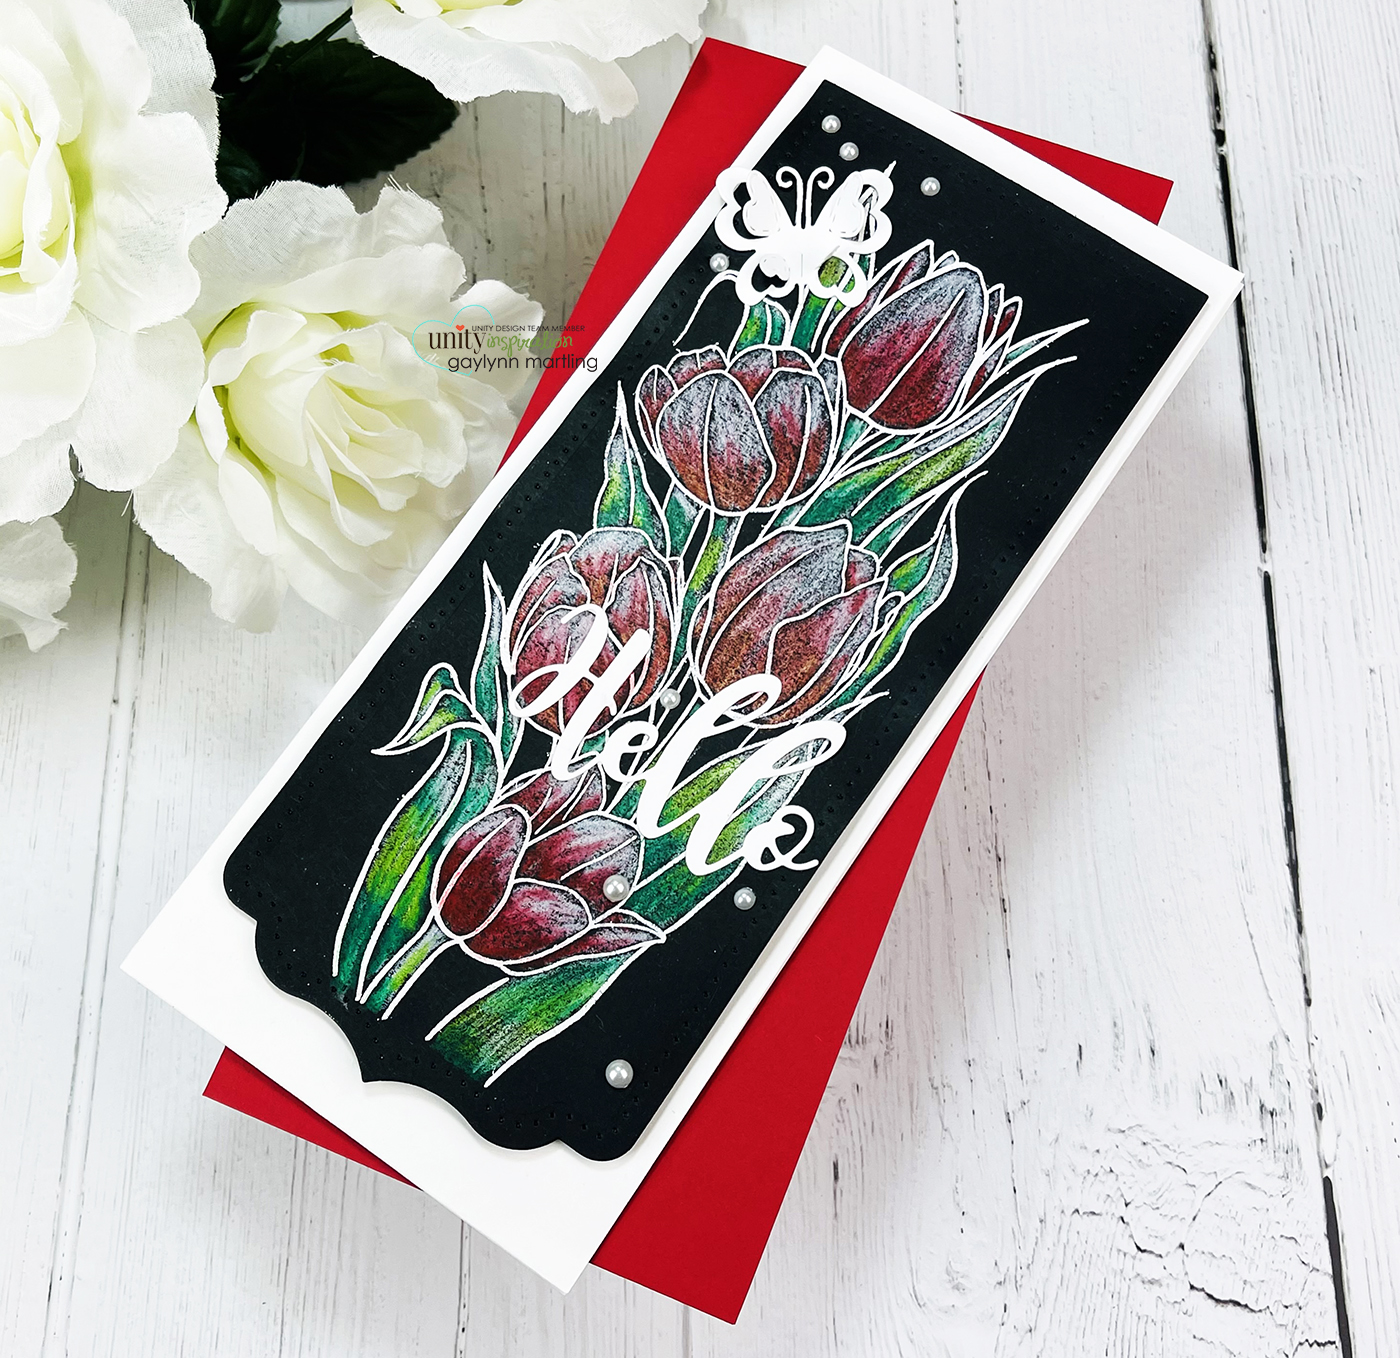
Here is my video tutorial for this project. It will detail the full process.
Supplies: Unity Stamp Co. Slimline Layering Tulips, Layering Tulip Stencil, Hello die.
Also, foam double-sided tape, black and white cardstock, original Misti, Wow embossing pad; white embossing powder, EK powder tool, heat tool, My Creative Time Amazing Things dies, paint brush, adhesive pearls, Pink Fresh Studio slim ornate banner dies, MFT black cardstock, envelope, Fiskars paper trimmer, Ranger multi medium matte glue, Prismacolor color pencils PC938, PC909, PC913, PC924.
Remember, if you want to view my other projects on the Unity blog, see my features linked below.
Technique Time
Watercolor Wednesday.
Please, tune in next Wednesday with a new project for Technique Time.
Thanks for visiting.