• Skip to primary navigation
  • Skip to main content
  • Skip to footer
facebookpintrestinstagramyoutube

Unity Blog

account
Menu
  • Sale
  • Shop Products
      • SHOP Supplies
        • ALL Supplies
        • Adhesives
        • Blending Tools
        • Ink
        • Card Bases
        • Embellishments
        • Embossing
        • Stamp Storage
        • Stamping Tools
        • Tags {Kraft & Manilla}
        • Clothing
      • SHOP Stamps
        • 2018 Newest Releases
        • Cuddlebugs
        • Itty Bitty Line
        • Sentiment Kits
        • ANGIEgirls
        • SHOP by THEME
        • SHOP by ARTIST
      • Gift Cards
    • Close
  • Memberships
    • Memberships
    • Kit of the Month
    • Layers of Life
    • S.M.A.K
    • Uniquely Unity
    • Close
  • Blog
    • Blog
    • Design Team
    • Artistas
    • Close
  • About
    • About
    • Terms & Conditions
    • Angel Policy
    • Shipping Policy
    • Contact Us
    • Close
  • Custom Stamps
DIY Easy Ink Blending Background on Kraft with Matching Die! Color Combos with Crystal

May 11, 2021 - by Crystal Thompson

DIY Easy Ink Blending Background on Kraft with Matching Die! Color Combos with Crystal

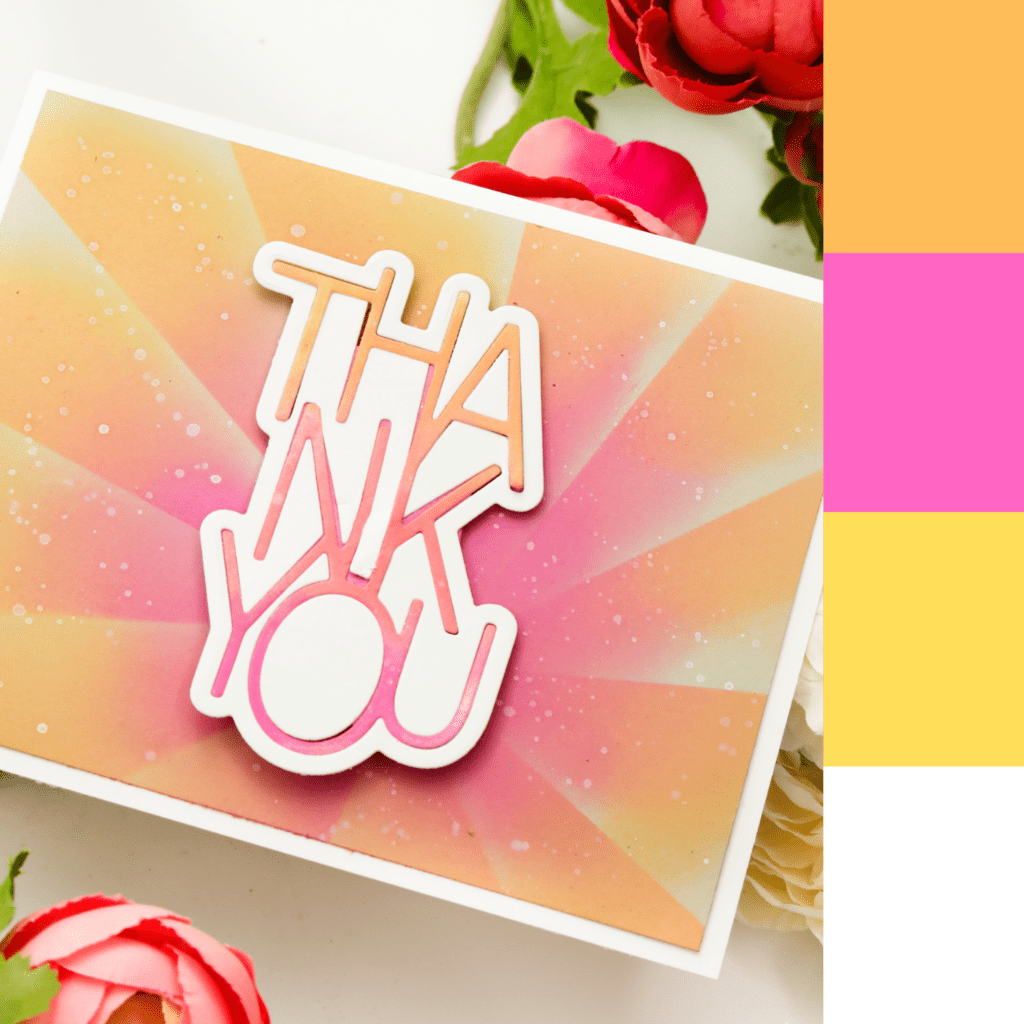
Hi there! Today I have a fun and summer vibe inspired Color Combos with a Matching die! For this card we are using the ever popular kraft and showing you how easy is to make it bright!

For this project I used the following products:

  1. Say it big die set from Unity
  2. White Cardstock
  3. Kraft Cardstock
  4. Foam Adhesive
  5. Ink Blending
  6. Distress Oxide in Worn Lipstick, Dried Marigold, and Picked Raspberry.
  7. White Watercolor

To start this project I trimmed the white cardstock 5.50 x 4.25, then trimmed the Kraft cardstock to 4.00 x 5.25 inches.

Then ran a piece of white cardstock over the Thank You, “Say It Big” though my die cutting machine then separated them.

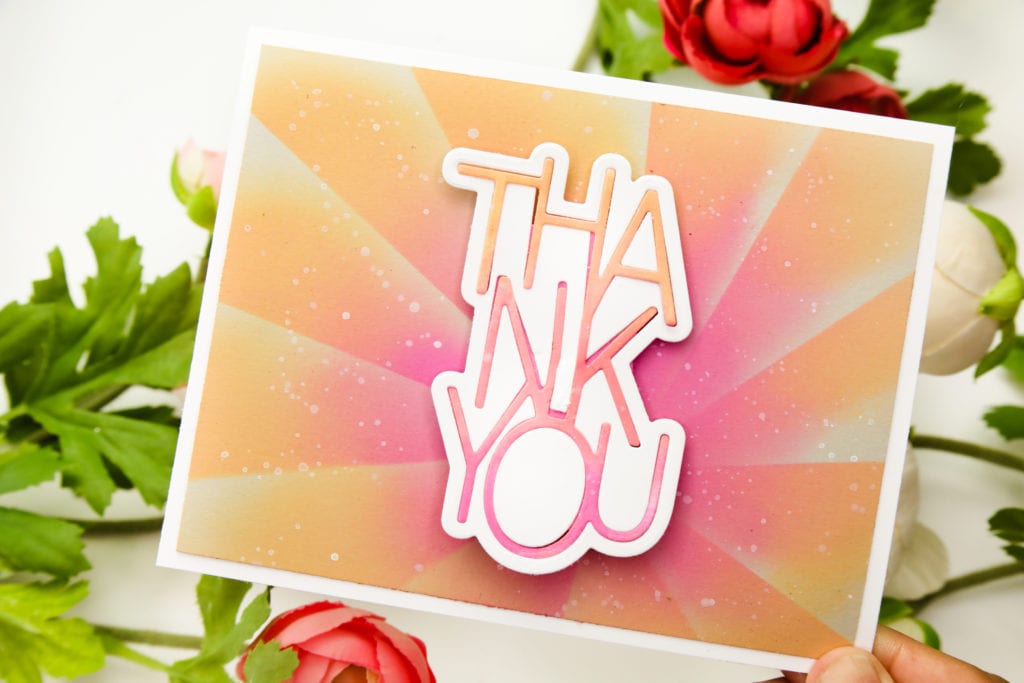
With an extra sheet of cardstock, I started blending the three colors of distress oxide from the line of cardstock and blending out.

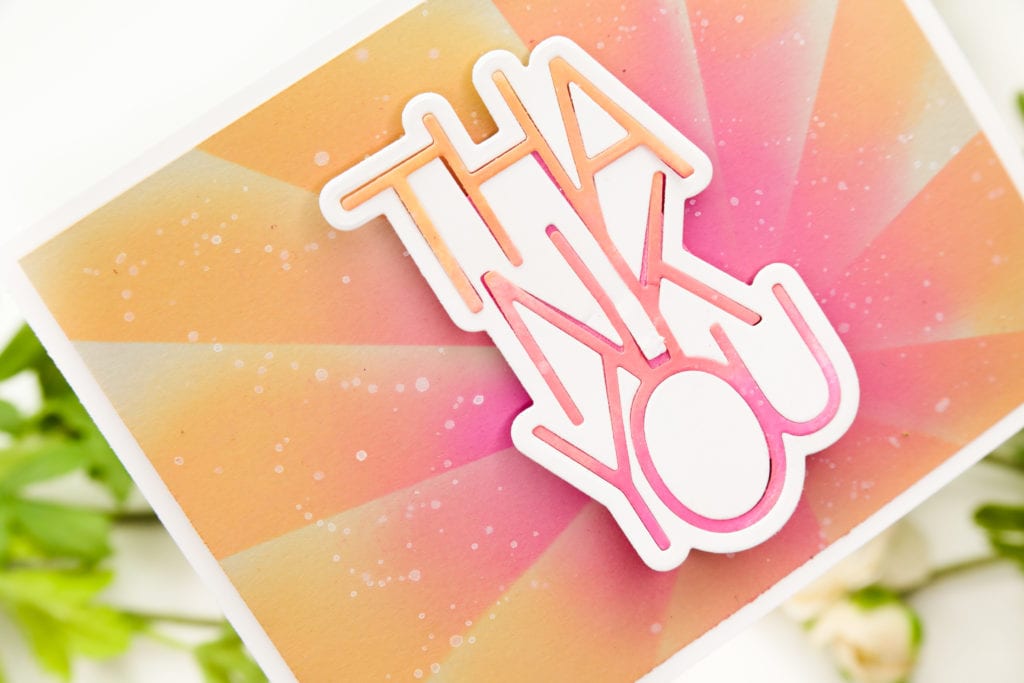
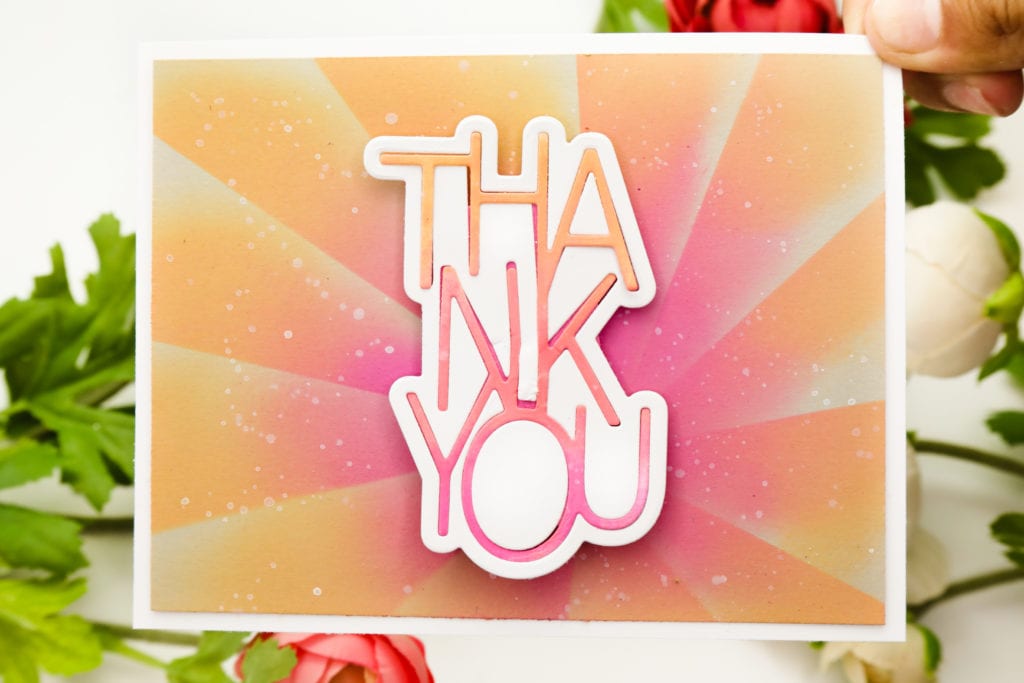
I moved the cardstock counterclockwise and repeated the ink blending.  With the blending brushed already out, I dabbed the color over the Thank YOU inner part of the Say It Big Die to create an hombre look.

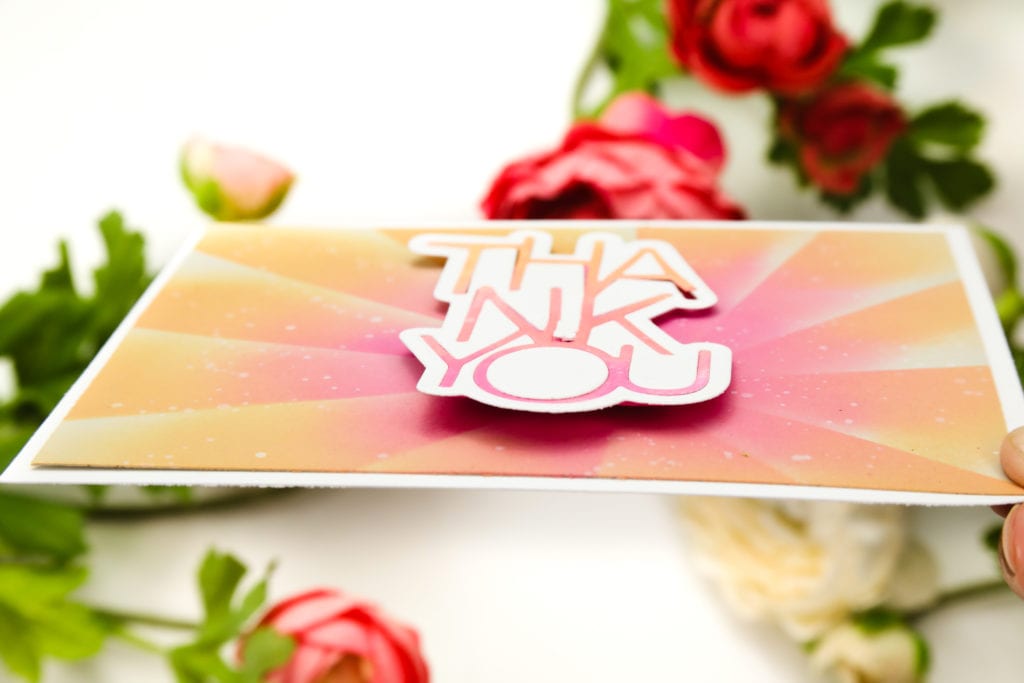
Using a foam adhesive, I placed the inner Thank You in the white outline background. To finish the whole thing, I used the white watercolor and splattered the whole thing.

I have a full video on how to make this background without dies or stencils.

https://youtu.be/YeqQG4iohvU


Let me know your thoughts!  Have a great day!

Crystal


EmailPrintFriendlyFacebookTwitterPinterest

Filed Under: Stamping Fun

Join Our Email List

You can expect: Videos filled with new techniques, samples using each kit, and exclusive offers just for you! (We promise - we only send the best stuff!)

Footer

100 W Central AVE, New London, MN 56273  |  (320)354-4450  |  [email protected]

facebook pintrest instagram youtube

© 2022 Unity Stamp Co. Developed by Vivid Image. Privacy Policy. Log in