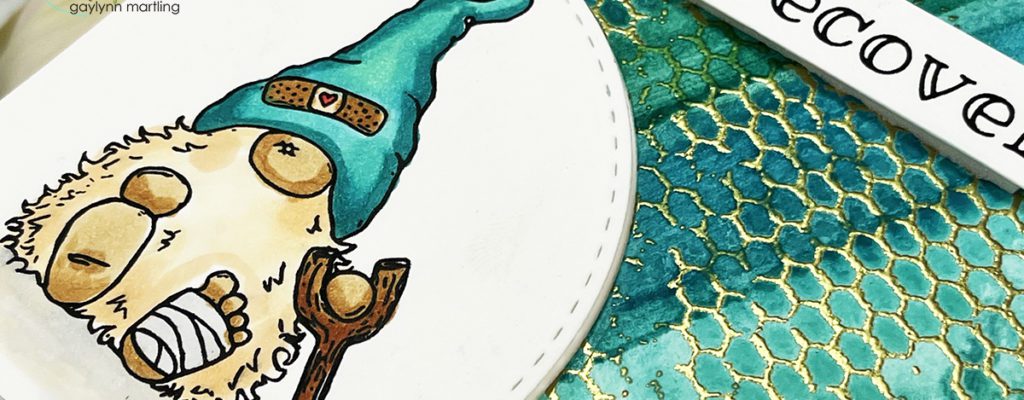
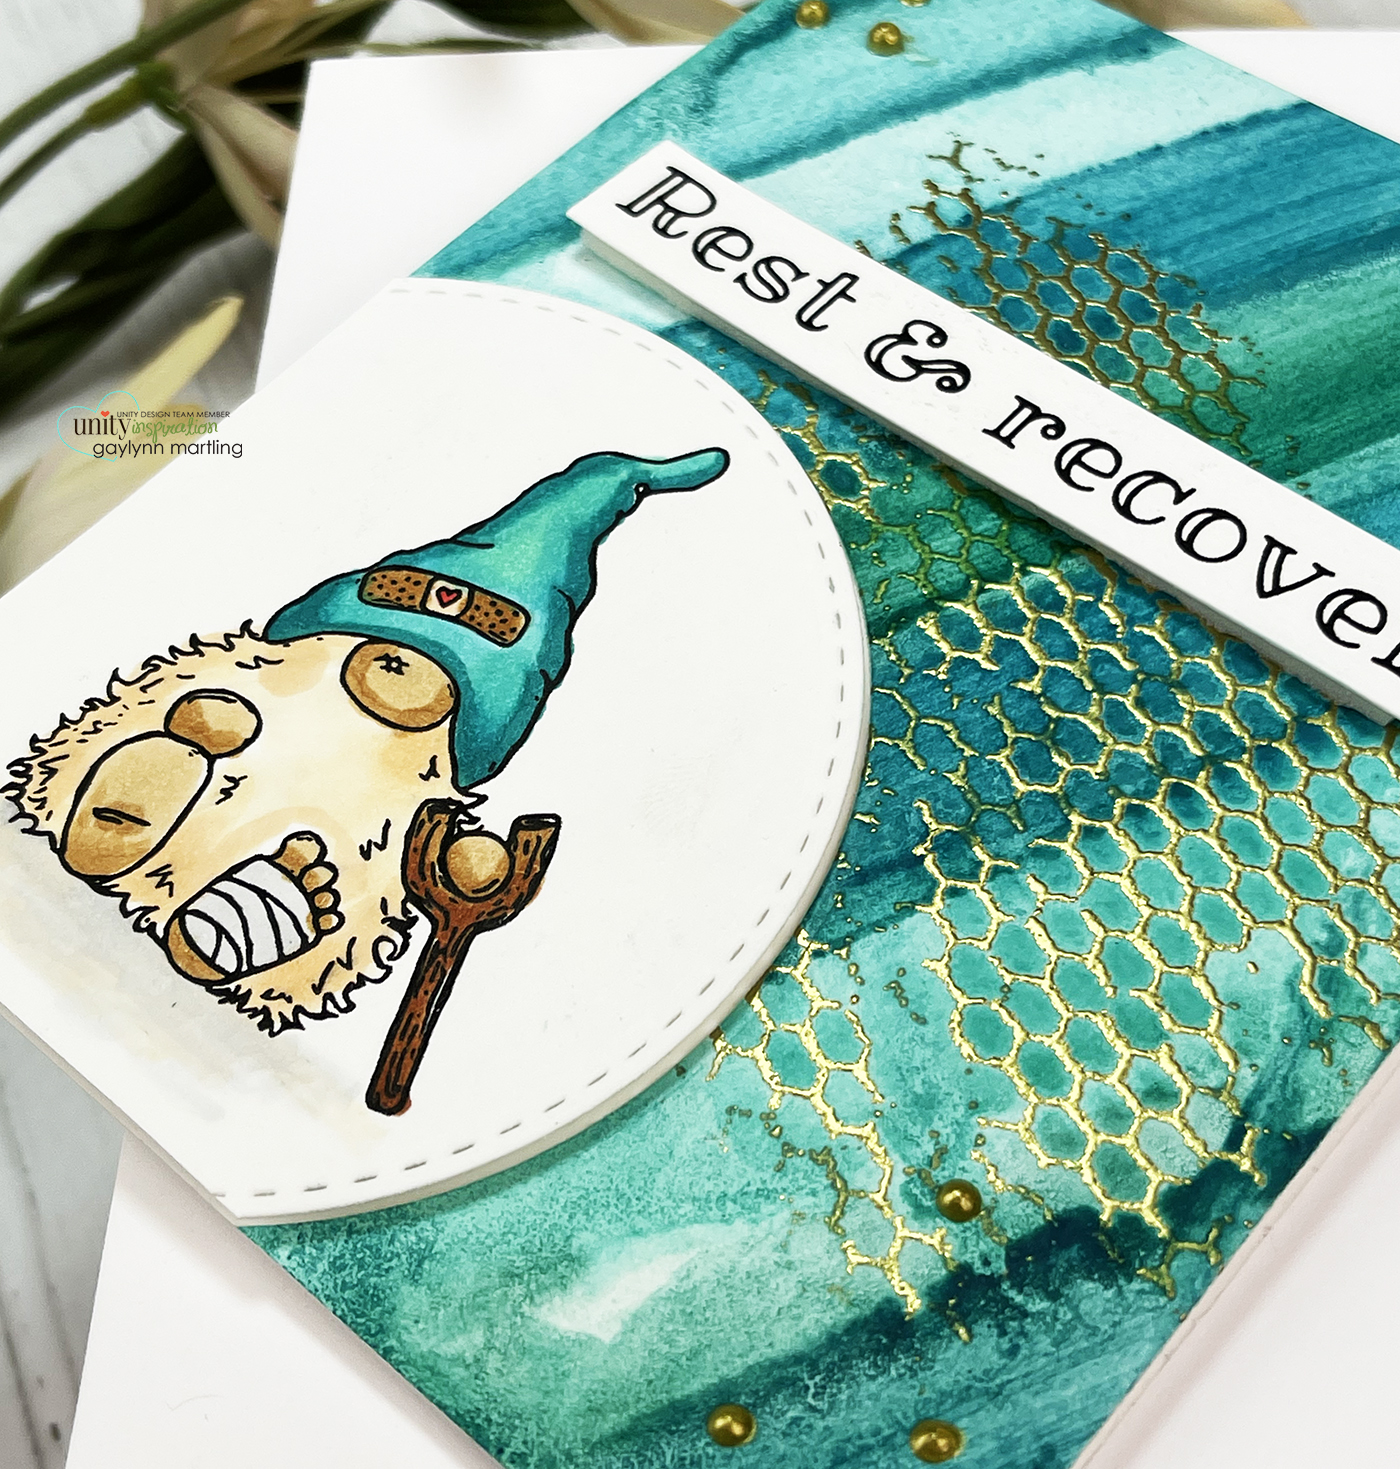
Hello, Gaylynn here. The watercolor wash background technique makes for an easy card background. Today on the Unity blog, I am sharing one way to incorporate this watercolor effect in teal shades and swatches for a card background.

Making this watercolor wash background is an easy way to create your own paper design. I used coordinating teal, green and blue colors, matching the stamped gnome colors.
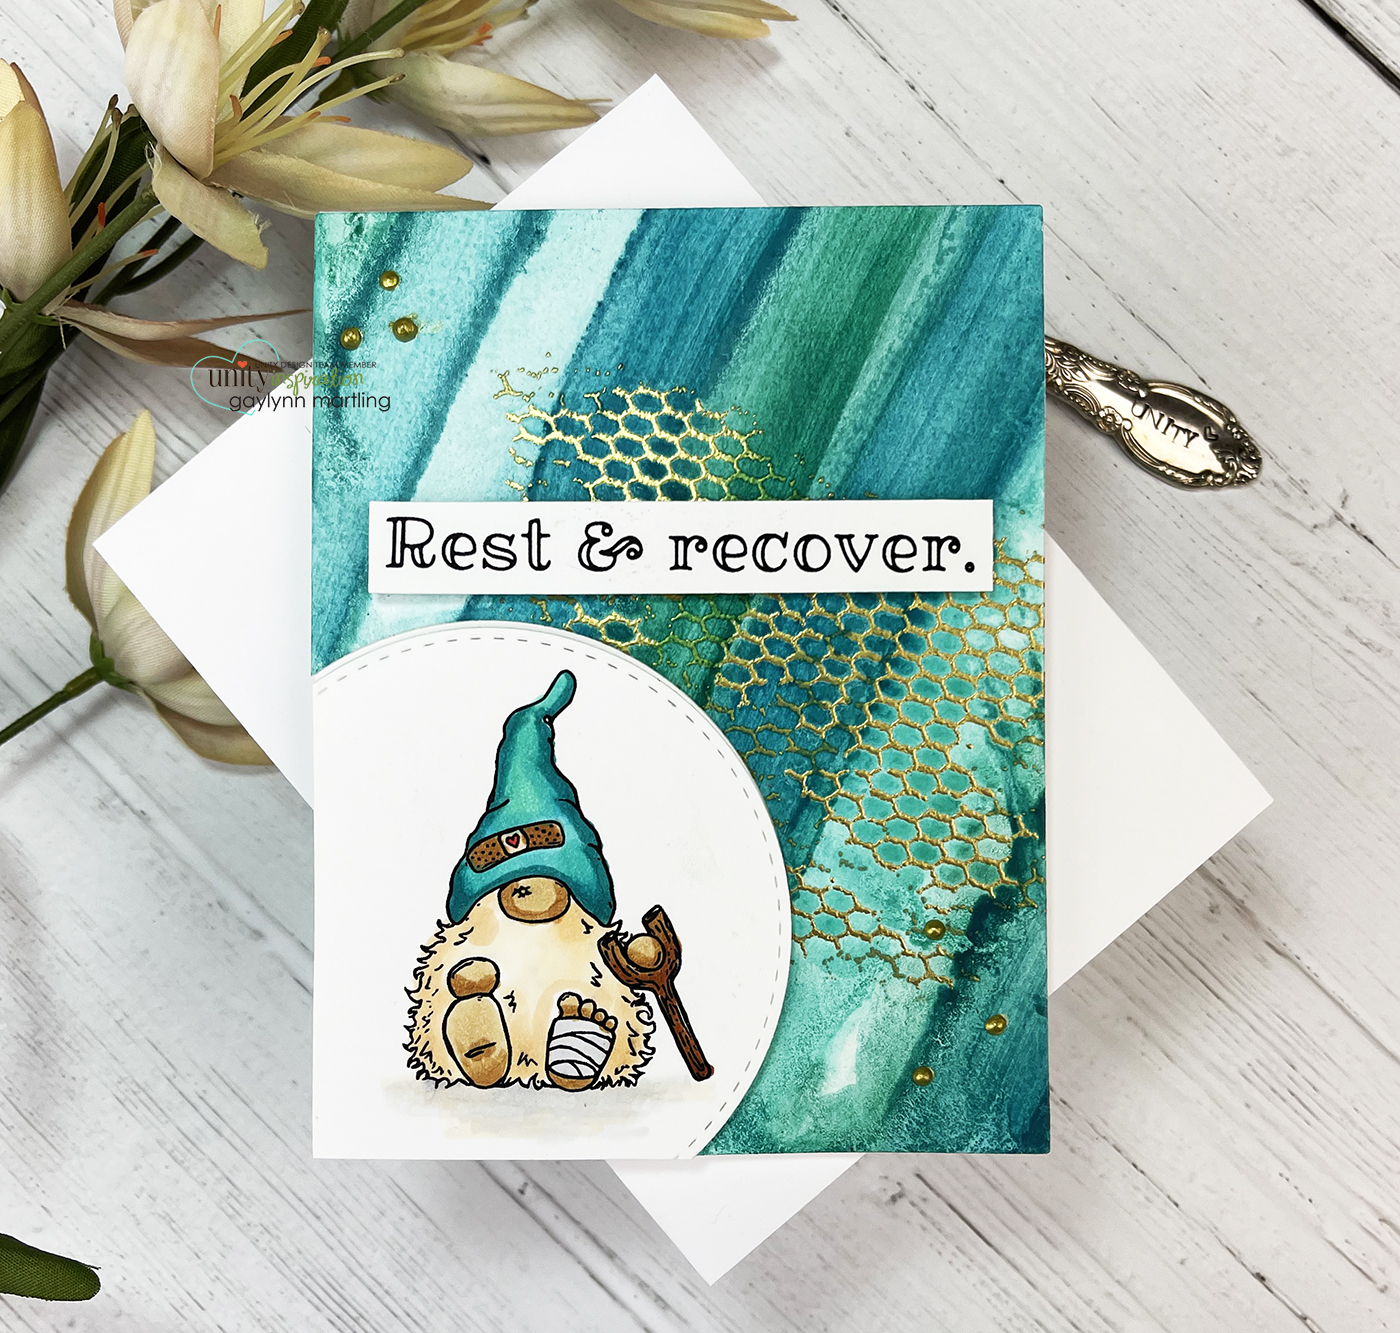 Sentiment: Rest & recover.
I made a quick video tutorial showing the process for this project.
The background gold embossing shimmers and shines, even over the watercolor.
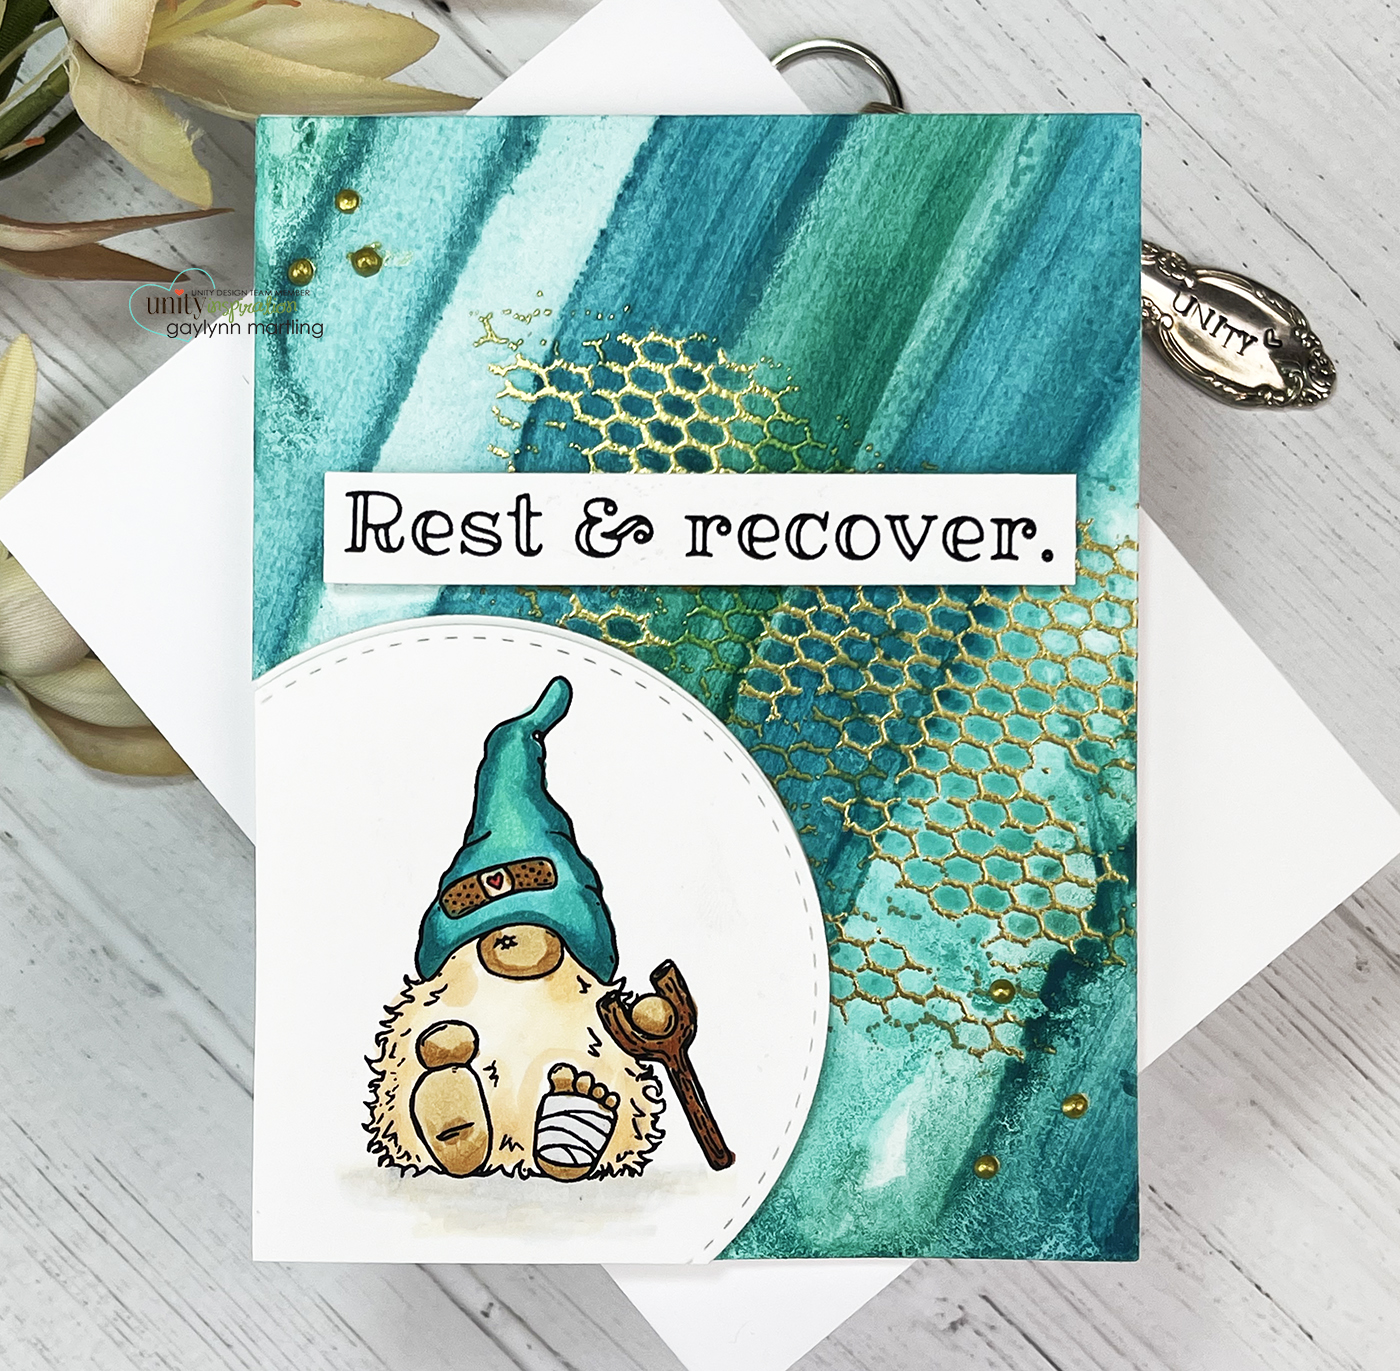
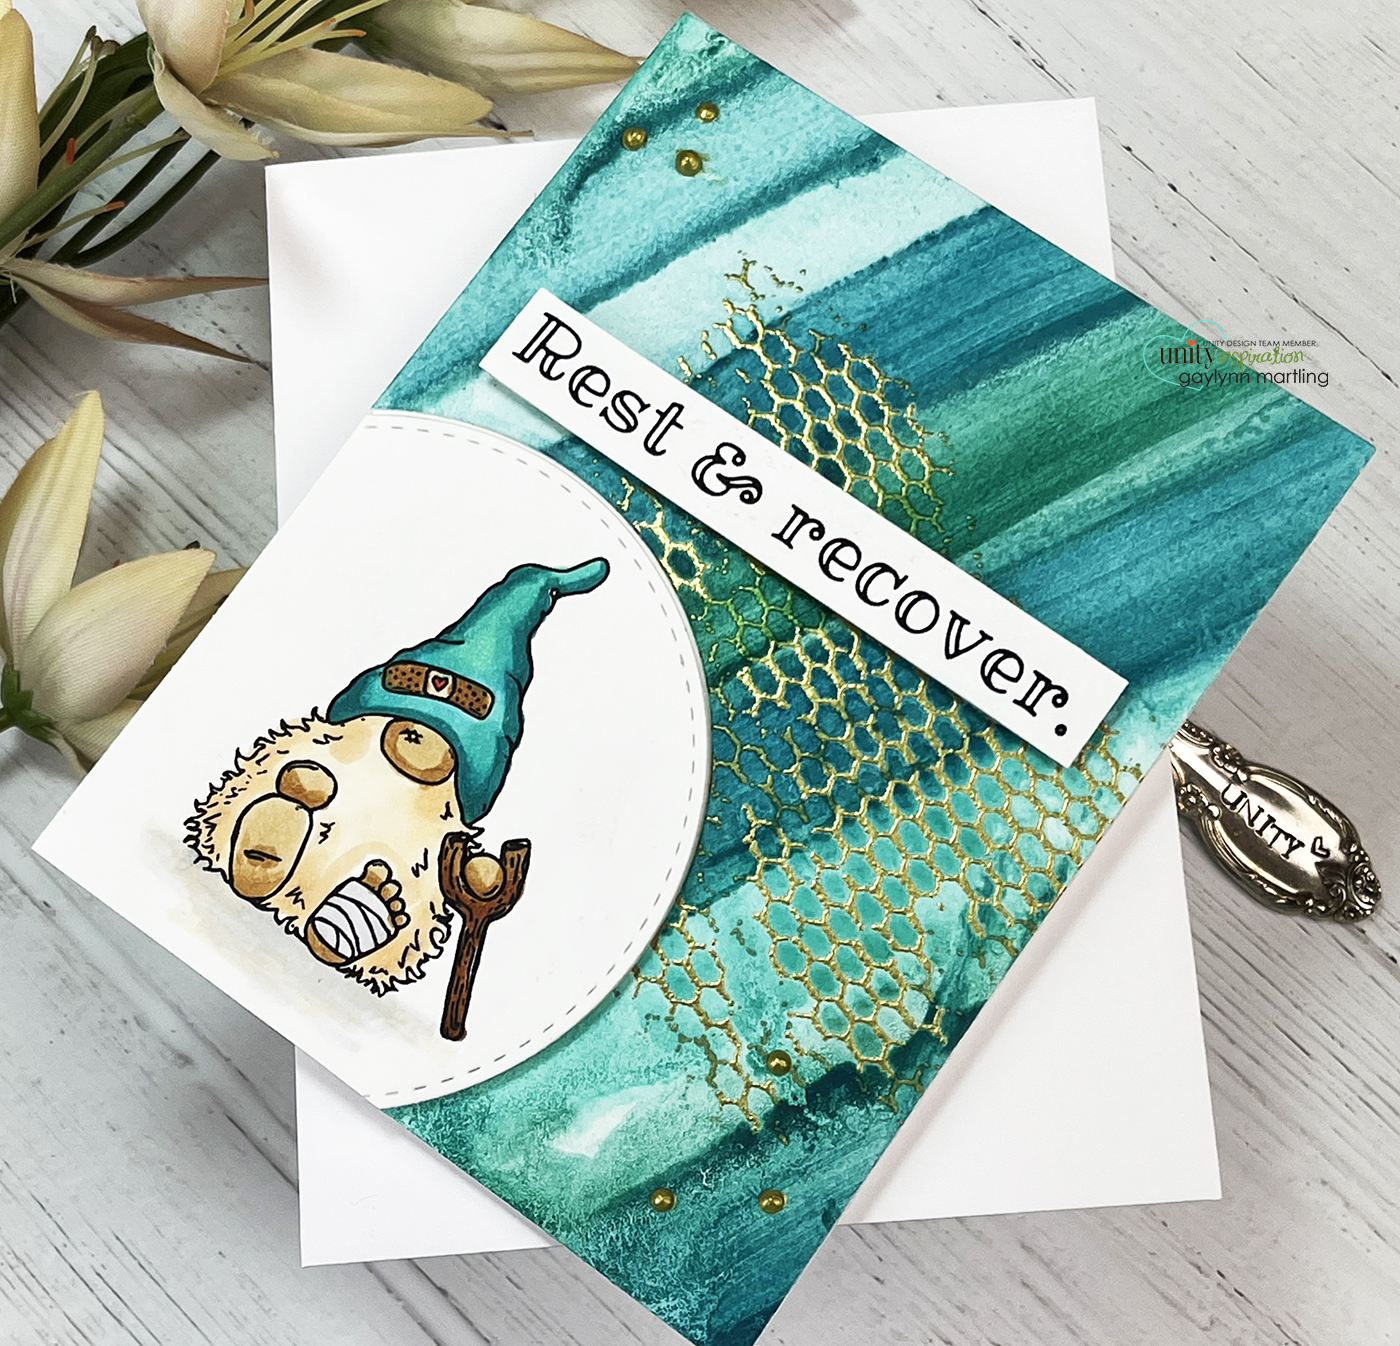
Helpful tips:
Here are helpful tips for getting this watercolor wash background effect. To begin, stamp and color the gnome onto white cardstock. Also, stamp and trim the sentiment label. Next, stamp and heat emboss the chicken wire onto the smooth side of watercolor paper. Then, using a wide brush, add watercolor in strips or swatches using coordinating teal, blue and green layers. Allow dry time or heat set. Trim or die-cut the dried watercolor panel. Also, die-cut or trim a corner window onto the watercolor panel and around the gnome. To finish, layer it all with a pop-up of the gnome and sentiment panels.
Here is a closer look.


Supplies: Unity Stamp Co.
Oops… Gnome You Didn’t
Chicken Wire Background
Also, score tape, foam double-sided tape, Ranger gold embossing powder & watercolor paper; Altenew watercolor half pans, paint brush, heat tool, Wow embossing pad, Original Misti, Nuvo crystal drops in bright gold, My Creative Time rectangle frame dies and 4″ circle card dies; Copic markers
Remember, if you want to view my other projects on the Unity blog, see my features linked below.
Technique Time
Watercolor Wednesday.
Please, tune in next Wednesday with a new project for Technique Time.
Thanks for visiting.
