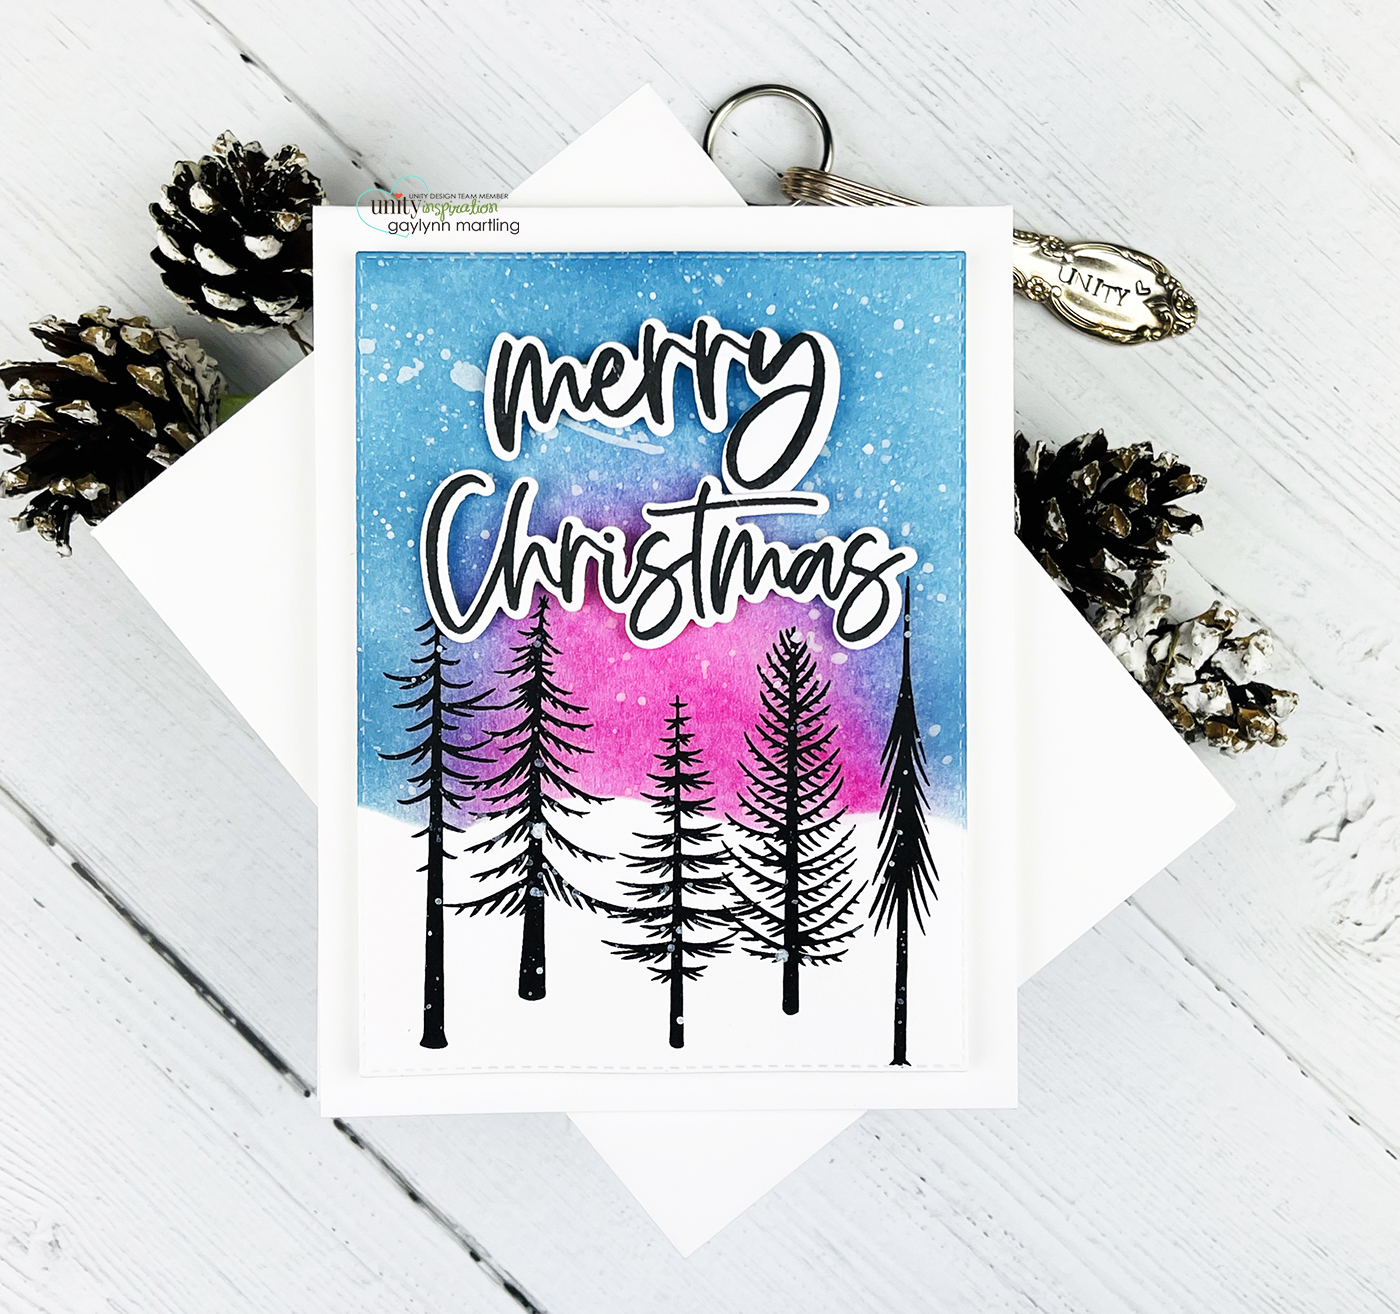
Hello, Gaylynn here. Building a winter card scene is easier by using a handmade stencil slope. Today on the Unity blog, I am sharing a way to build a winter scene with pretty night sky colors and the look of snow slopes.

Adding different sky colors changes the look of the scene. And, scene building is easy with a handmade stencil slope.
 Sentiment: Merry Christmas
I made a quick video tutorial HERE showing the process for this project.
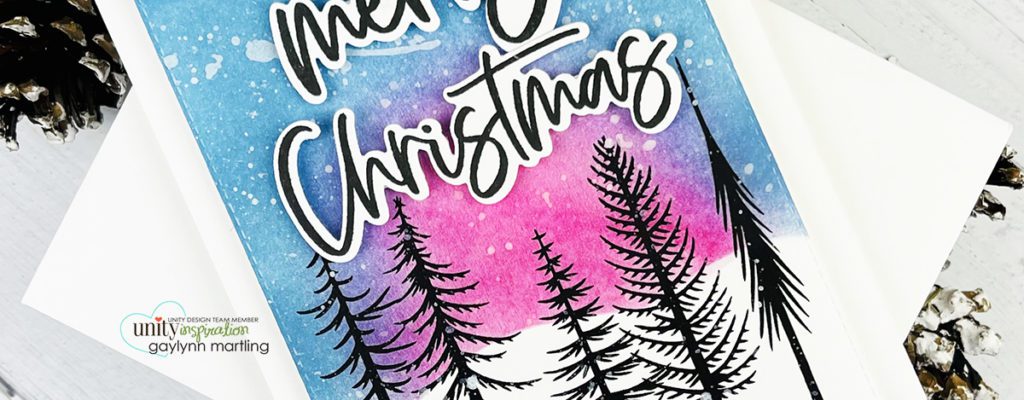
This is a closer look at the card.
These are helpful tips for making this night sky card scene with a handmade stencil slope cut-out. To begin, stamp the trees close together onto a vertical trimmed card panel. Also, stamp and die-cut the big sentiments. Next, hand-cut a wavy slope using card stock and scissors. Then, prepare the panel and the stencil for ink blending. I layered the stencil panel over the bottom of the tree scene using repositionable tape. Next, add ink blending using pink then blue shades. Then, heat set the ink. Finally, layer it all onto the card base, to finish.
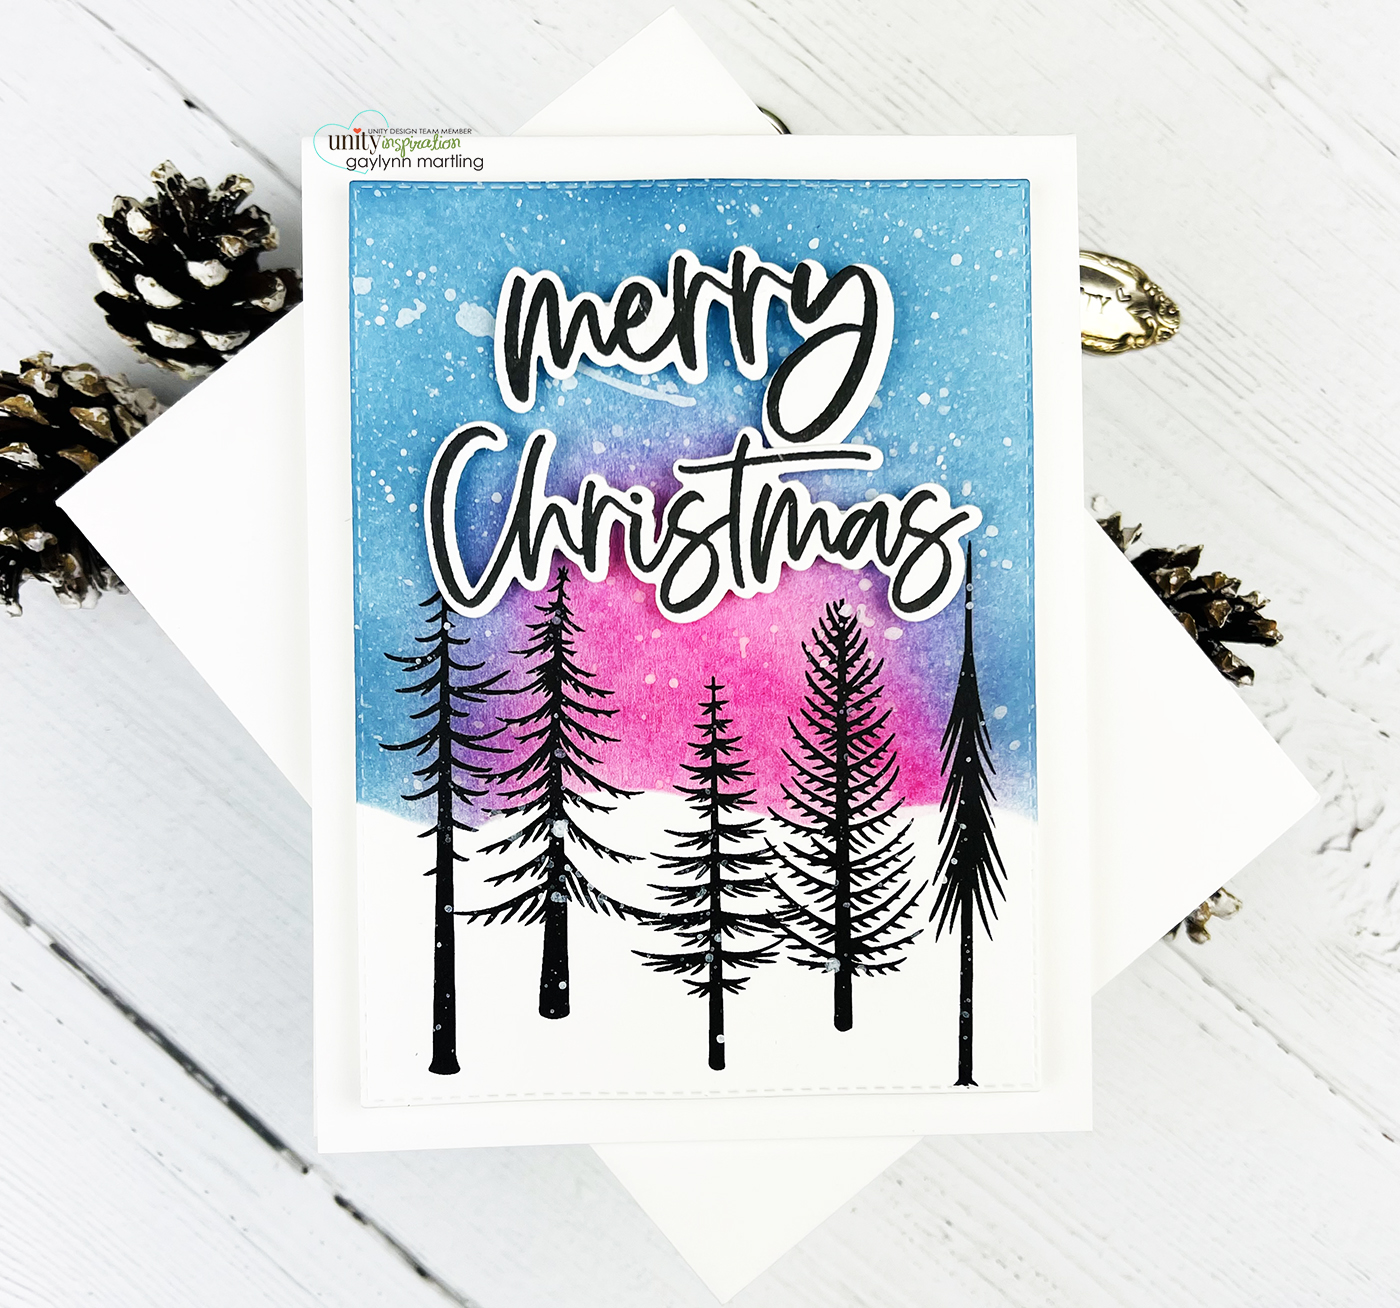
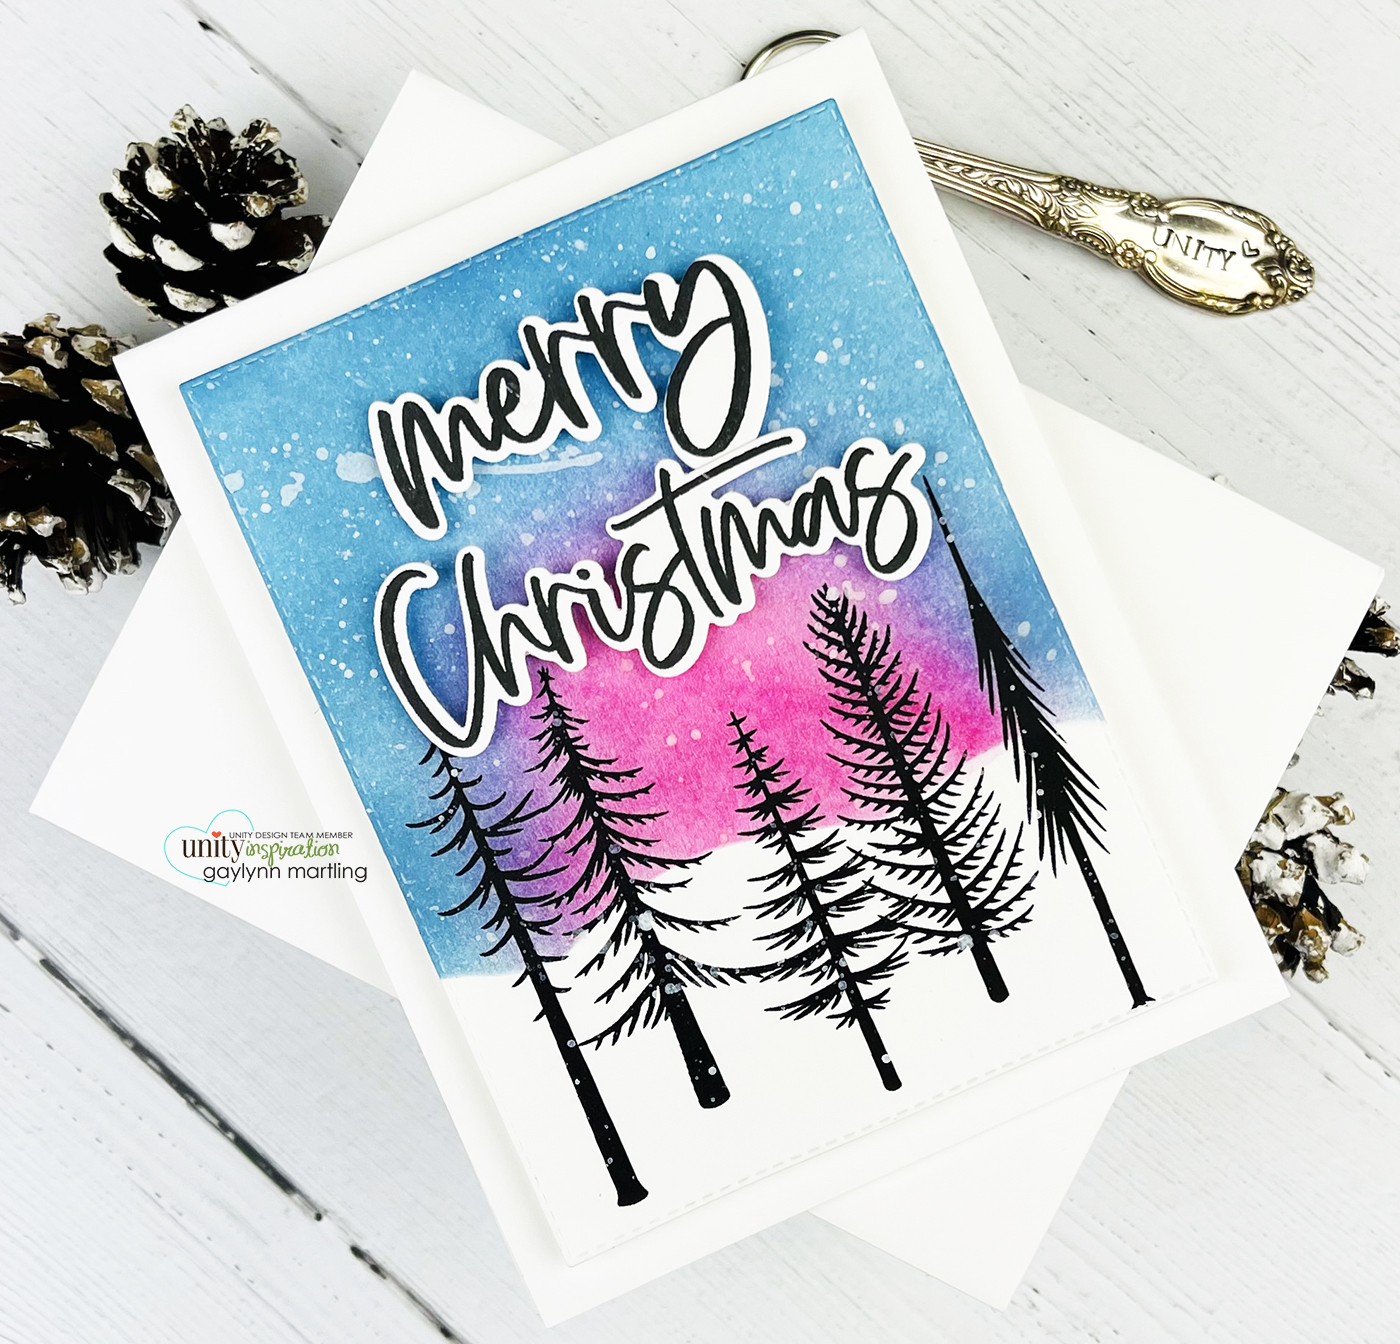
And, this is another look.
 Supplies:
Unity Stamp Co.
Winter Wonderland Walk
Heart Of Christmas Stamps
Heart Of Christmas Coordinating Die Set
Also, foam double-sided tape, mini Misti, Simon Says Stamp ink blending brushes, Liquitex acrylic paint in white, paint brush, Ranger plastic craft mat, My Favorite Things lazy day and poppin’ pink premium dye ink cubes and extreme black hybrid ink pad; My Creative Time rectangle frame die layers; card stock.
Remember, if you want to view my other projects on the Unity blog, see my features linked below.
Technique Time
Watercolor Wednesday.
Please, tune in next Wednesday with a new project for Technique Time.
Thanks for visiting.