
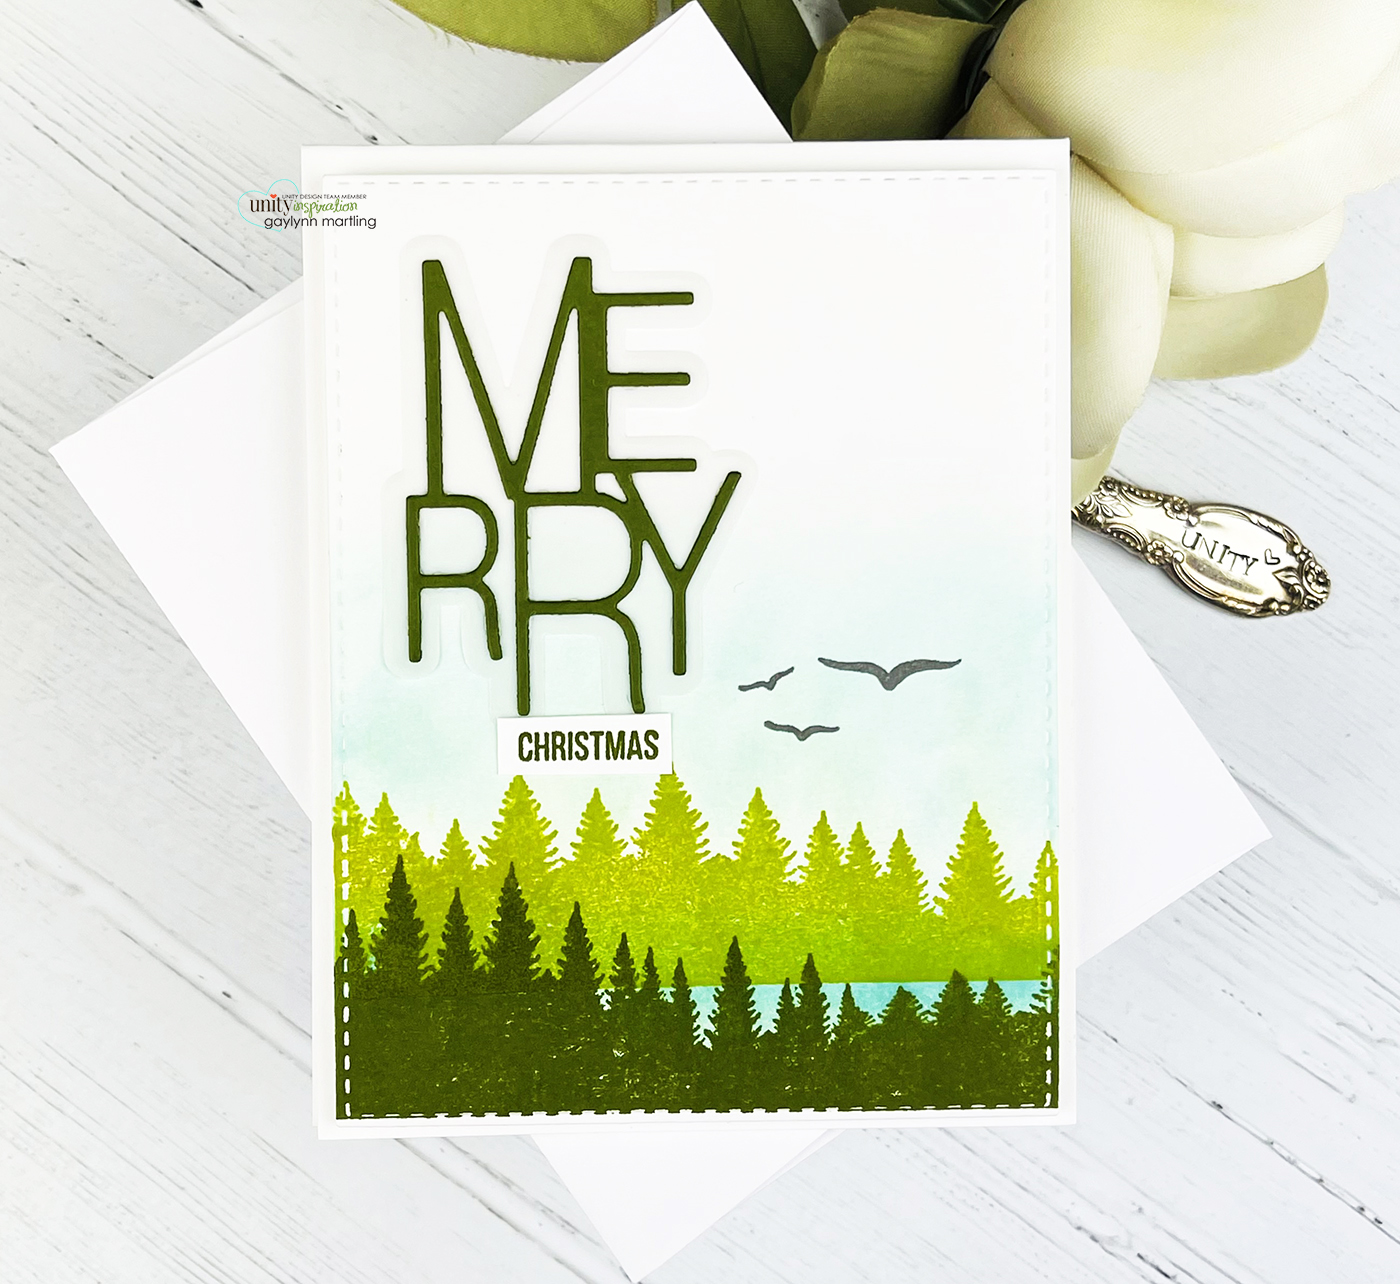
Hello, Gaylynn here. Here are steps for woodland lake scene building. Today on the Unity blog, I am sharing a way to make this a beautiful outdoor lake scene and holiday card in one. Some of us do not get snow at Christmas but evergreen scenes like this are found.

For this woodland lake scene building project, I used a mix of stamping and ink blending. The possibilities are endless with these layering stamps.
 Sentiment: Merry Christmas
I made a quick video tutorial HERE showing the process for this project.
Helpful tips:
These are helpful tips for making this card using woodland lake scene building. To begin, precut a card front panel in white. Next, using a stamp positioning tool like the Misti, begin stamping the bottom row of trees in dark green ink. Then, heat set the ink. Also, add a small layer of light blue ink blending above the dark green tree layer. Next, add another tree layer above the blue lake layer, enough to overlap the trees a bit. Then, dry and add ombre ink blending just above the top tree layer. Also, blend the blue lightly, into the white space. Next, add the bird stamping and the sentiment layers. Finally, layer it all onto the card base, to finish.
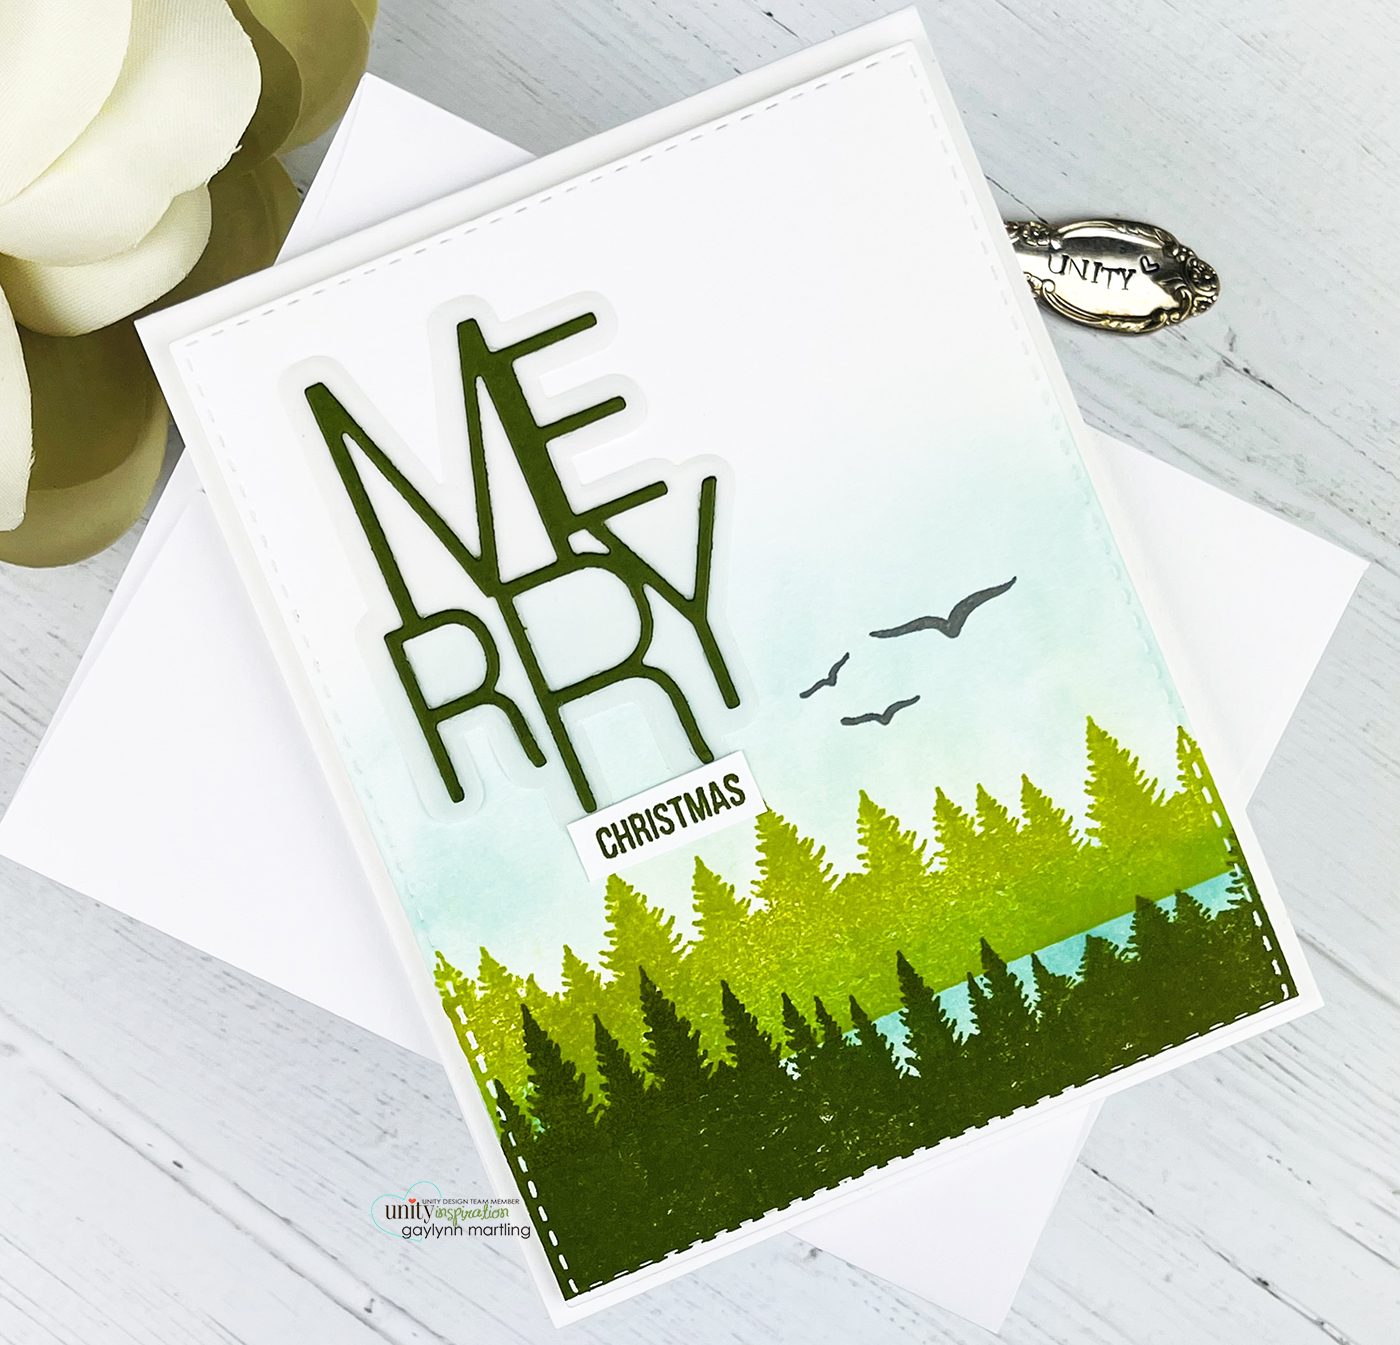
And, this is another look.


Supplies:
Unity Stamp Co.
Woodland Layers stamps
Say It Big Holiday {coordinating die set}
Heart Of Christmas stamps
Also, foam double-sided tape, original Misti, Gina K. Designs connect glue, Simon Says Stamp ink blending brushes, Ranger plastic craft mat, Papertrey Ink vellum cardstock, My Favorite Things jalapeno popper, prickly pear, sno cone, gravel gray & summer splash premium dye ink cubes and jalapeno popper card stock; My Creative Time rectangle frame die layers; card stock.
Remember, if you want to view my other projects on the Unity blog, see my features linked below.
Technique Time
Watercolor Wednesday.
Please, tune in next Wednesday with a new project for Technique Time.
Thanks for visiting.