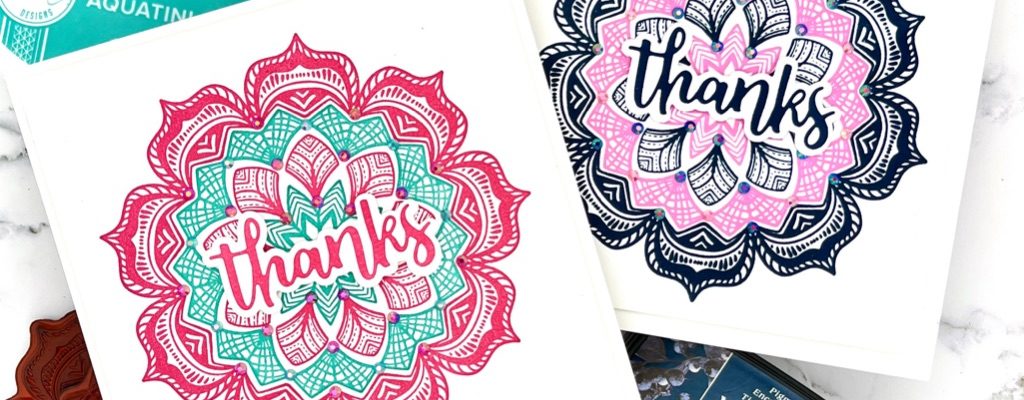
Hello friends! This is Sandhya, and today I am sharing a couple of thank you cards featuring the Layered Mandala illustrated by our super talented Angie Blom. However, instead of jumping straight into the steps I followed, I am going to share a little story. I have to be honest, my relationship with this stamp went through a love-hate phase before it became my absolute favorite! Let me explain myself now … ha ha … as I am sure many of you may feel the way I did.
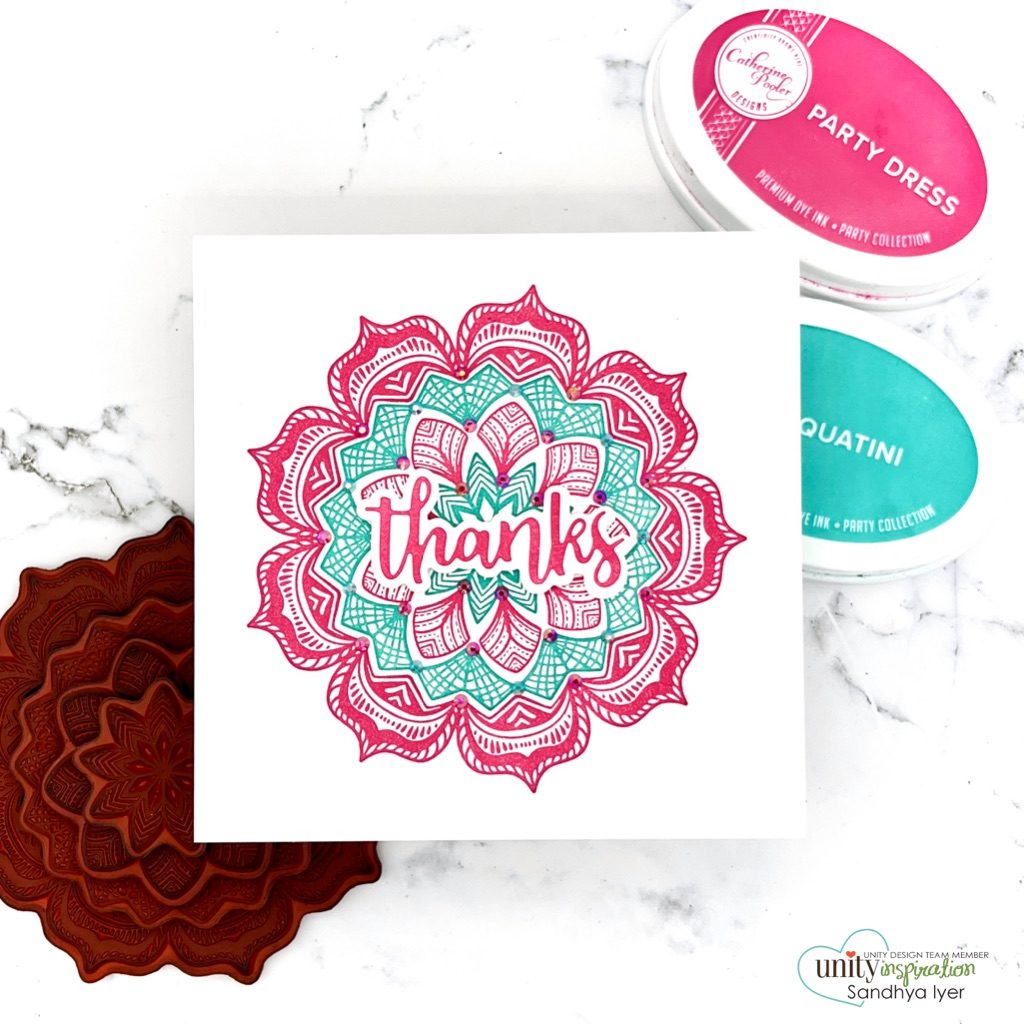
When I saw the stamp design, it was love at first sight. I was already imagining different color combos in my head, and then the possibilities of heat embossing and all that jazz. But then, I started to play with it and realized that I couldn’t get the opaque rubber stamps to align. I spent a lot of time trying to figure out some way to make it work. My love turned into hate, and I went back and said I can’t make this work. But wait…. then comes the good part.
The next morning, Nic explained how it works and actually did a demo showing how easy it was to align only if you tilt your head sideways to make sure the raised portion of the stamp is aligned. It was like a light bulb went on! I tried again and BHAM! Got it right the first time!
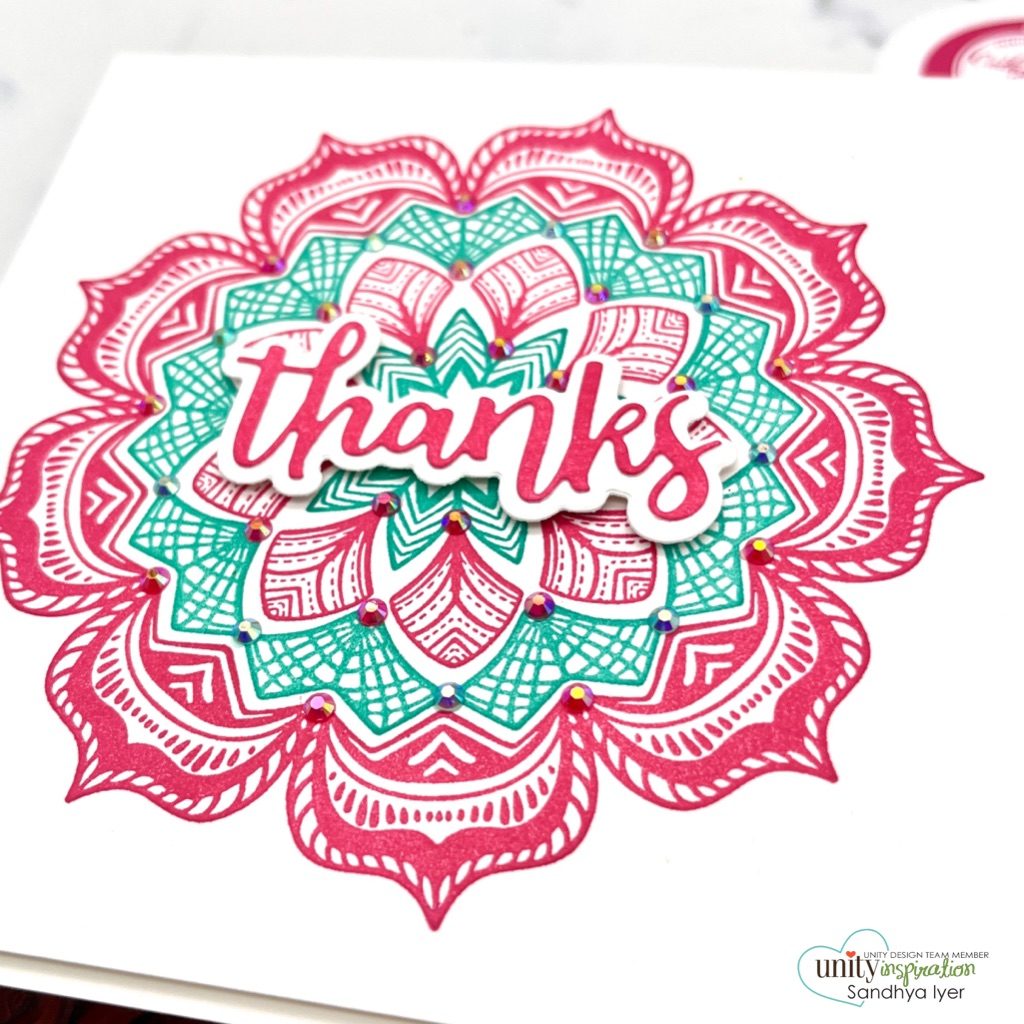
I pulled out the stamps from my MISTI and tried to align them, again and again, to make sure it was working and not a fluke. Imagine my joy when the hate turned back to love. So my dear friends, when in doubt don’t give up. Just ask the experts!
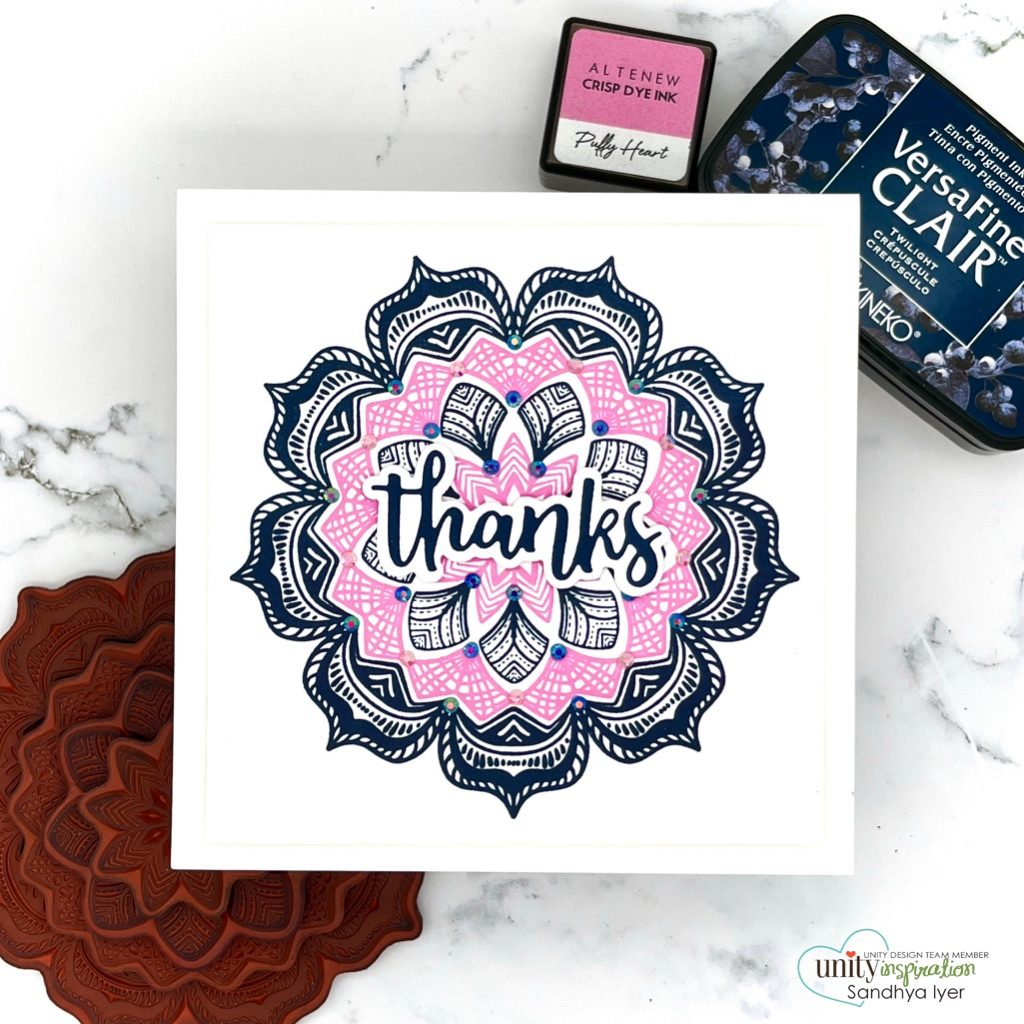
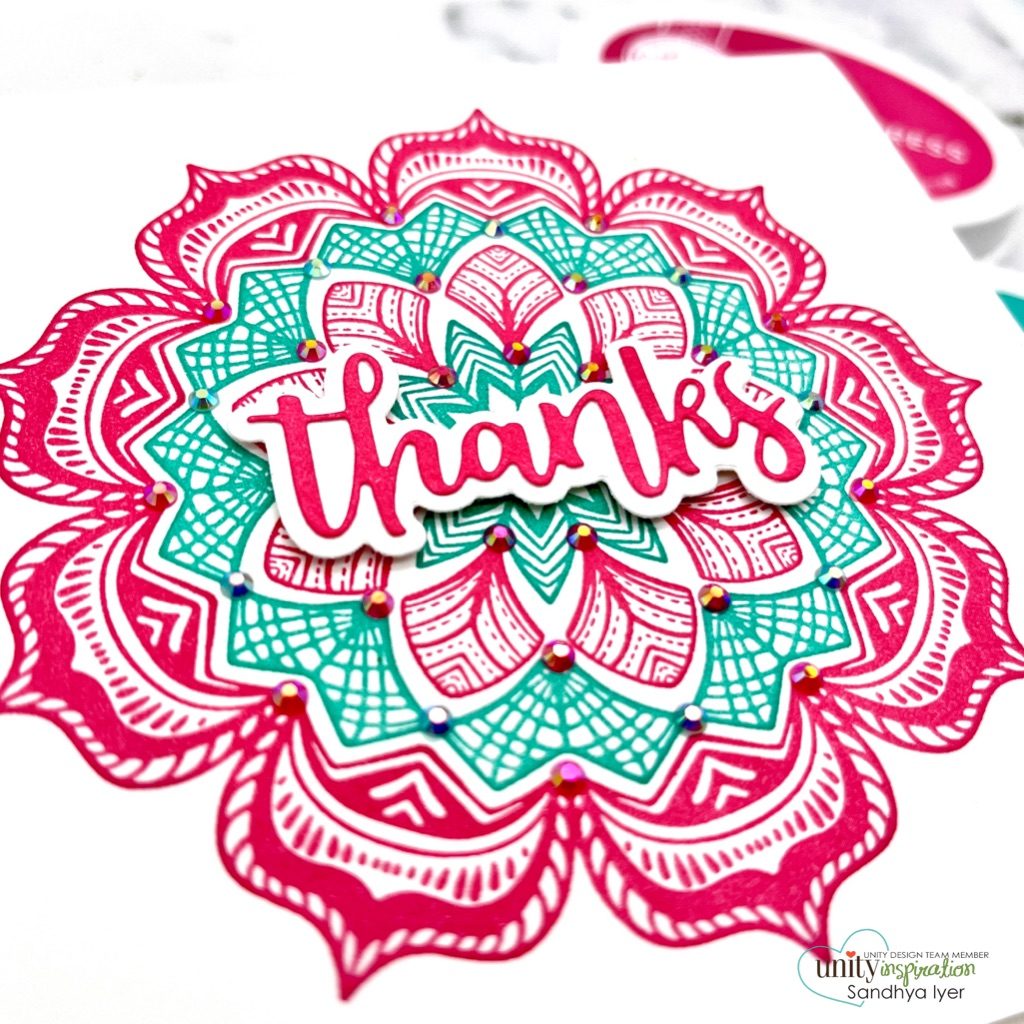
I grabbed a couple of square card panels and went on to stamp out the mandala in 2 different color combos. Then, I added some gems for added oomph and finished off with a die-cut sentiment.
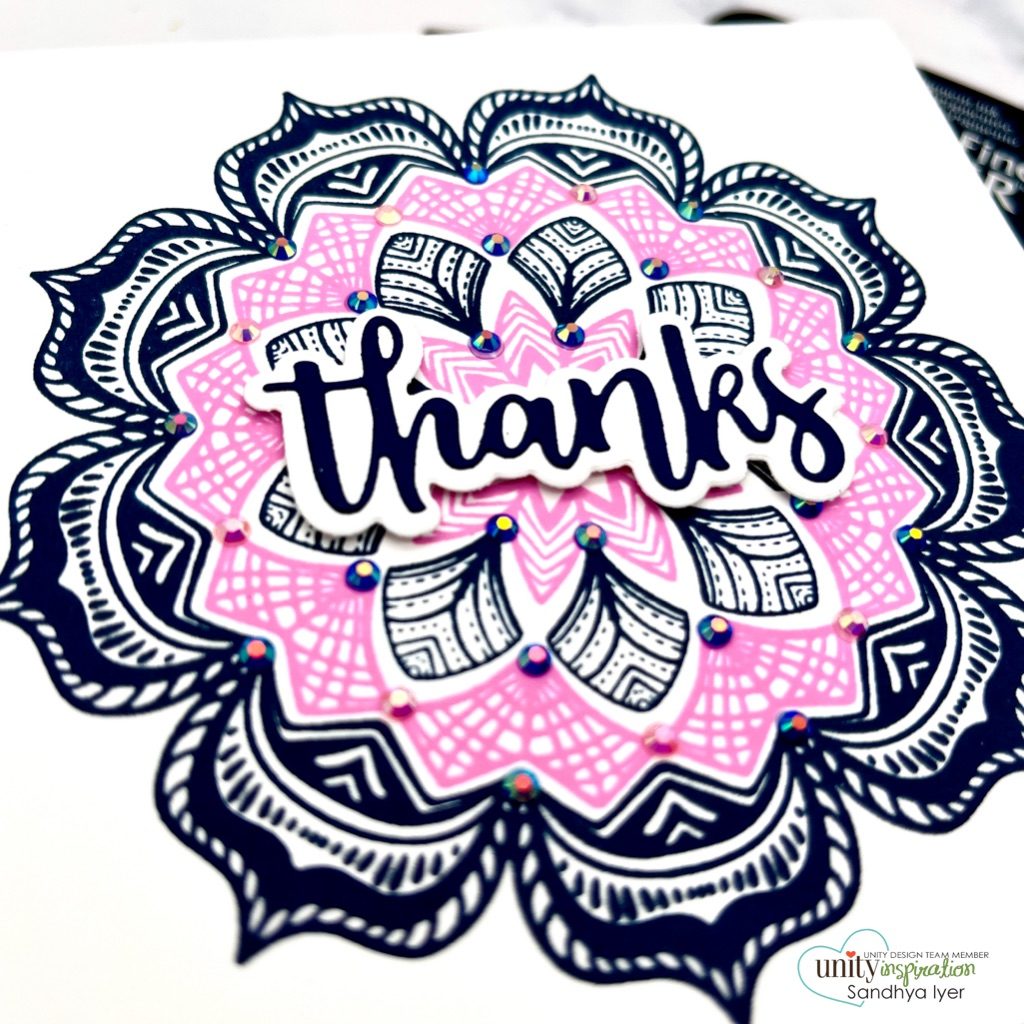
My tips for lining up easily is to start with the outermost ring or layer of the mandala and work your way inwards. Position the next inner layer to align the shape within the stamped image. Tilt your head sideways or get down to the level of stamp and see if the raised area is aligned right. It sounds crazy, but once you get the hang of it it works like a charm. If you still don’t get what I am saying, do go back to watch Whit demonstrating the layering technique in yesterday’s live.
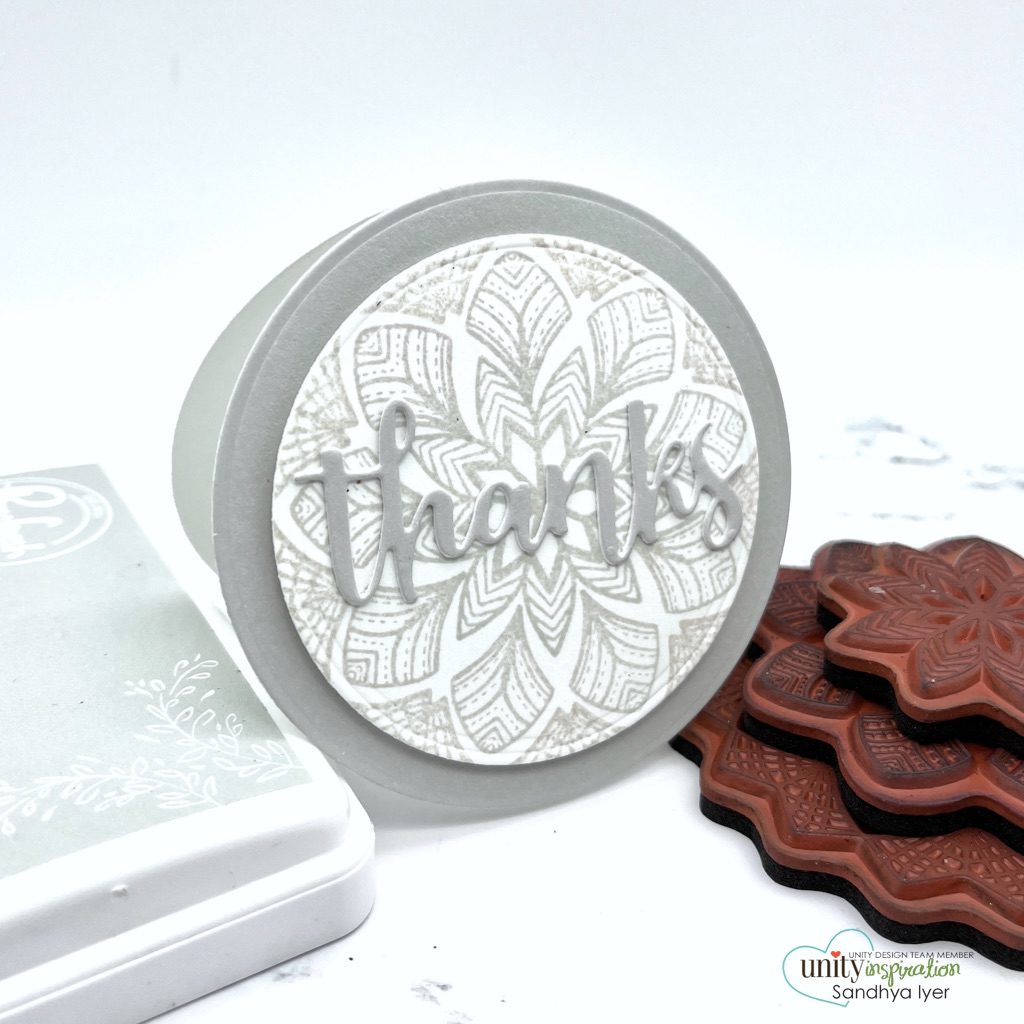
Finally, I also did a bonus 3″ circle card with just the 3 inner rings.
Thank You
This brings us to the end of today’s post. Thank you so much for stopping by! As always, I have included a supply list below if you are interested in checking out the products I used. Affiliate links are included wherever possible to help me earn a tiny commission at no additional cost to you. Thanks again for your support, have a wonderful day!


