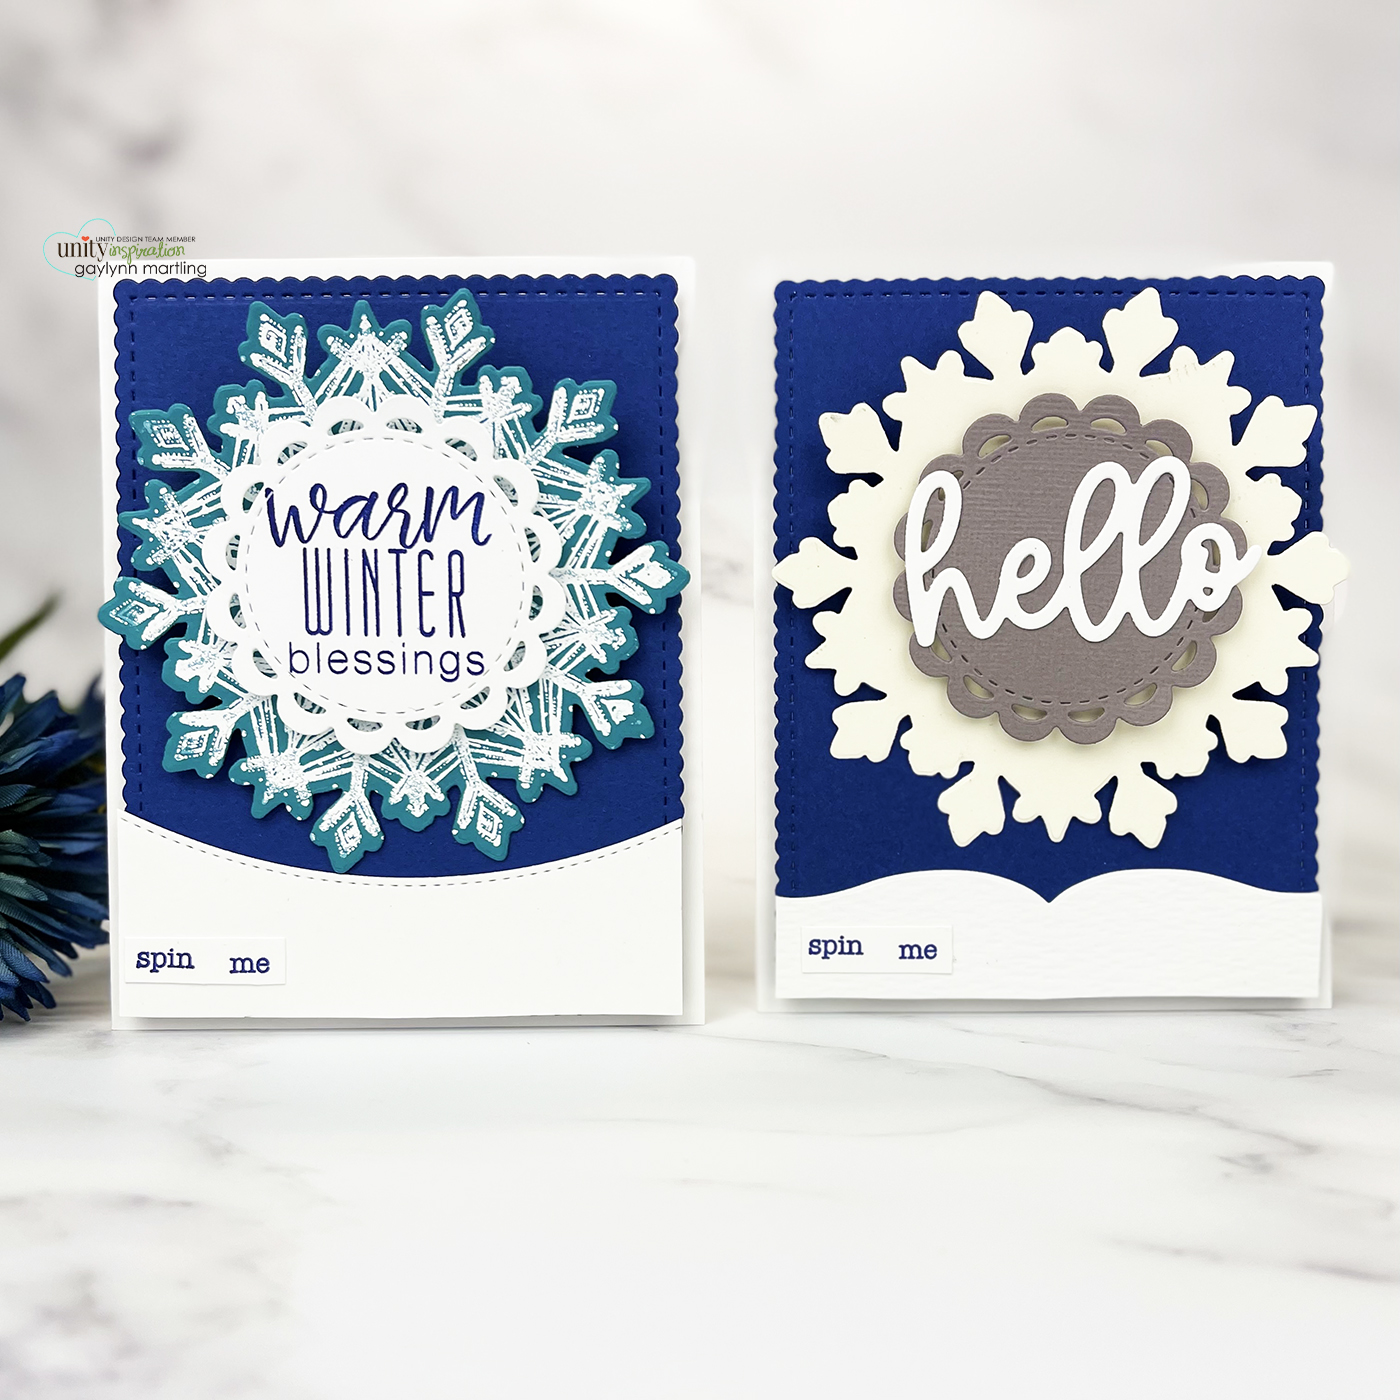
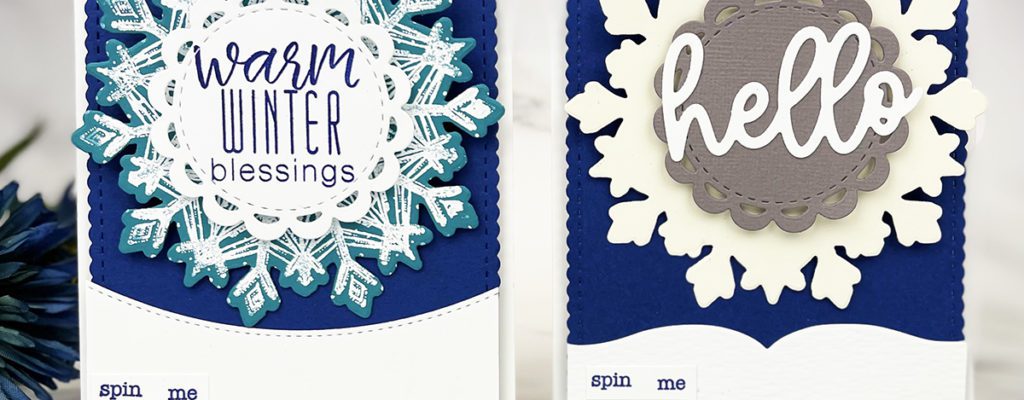
Hello, it’s Gaylynn. Spinner cards using a brad are fun to make and to receive. Today, on the Unity blog, I am sharing one technique for making interactive spin around cards.

For these two spinner cards using a brad, the moving element is used in a creative way to provide fun interactive spin around results. The spin card is best if hand-delivered instead of mailing unless it is mailed in a protective package.

Sentiments:
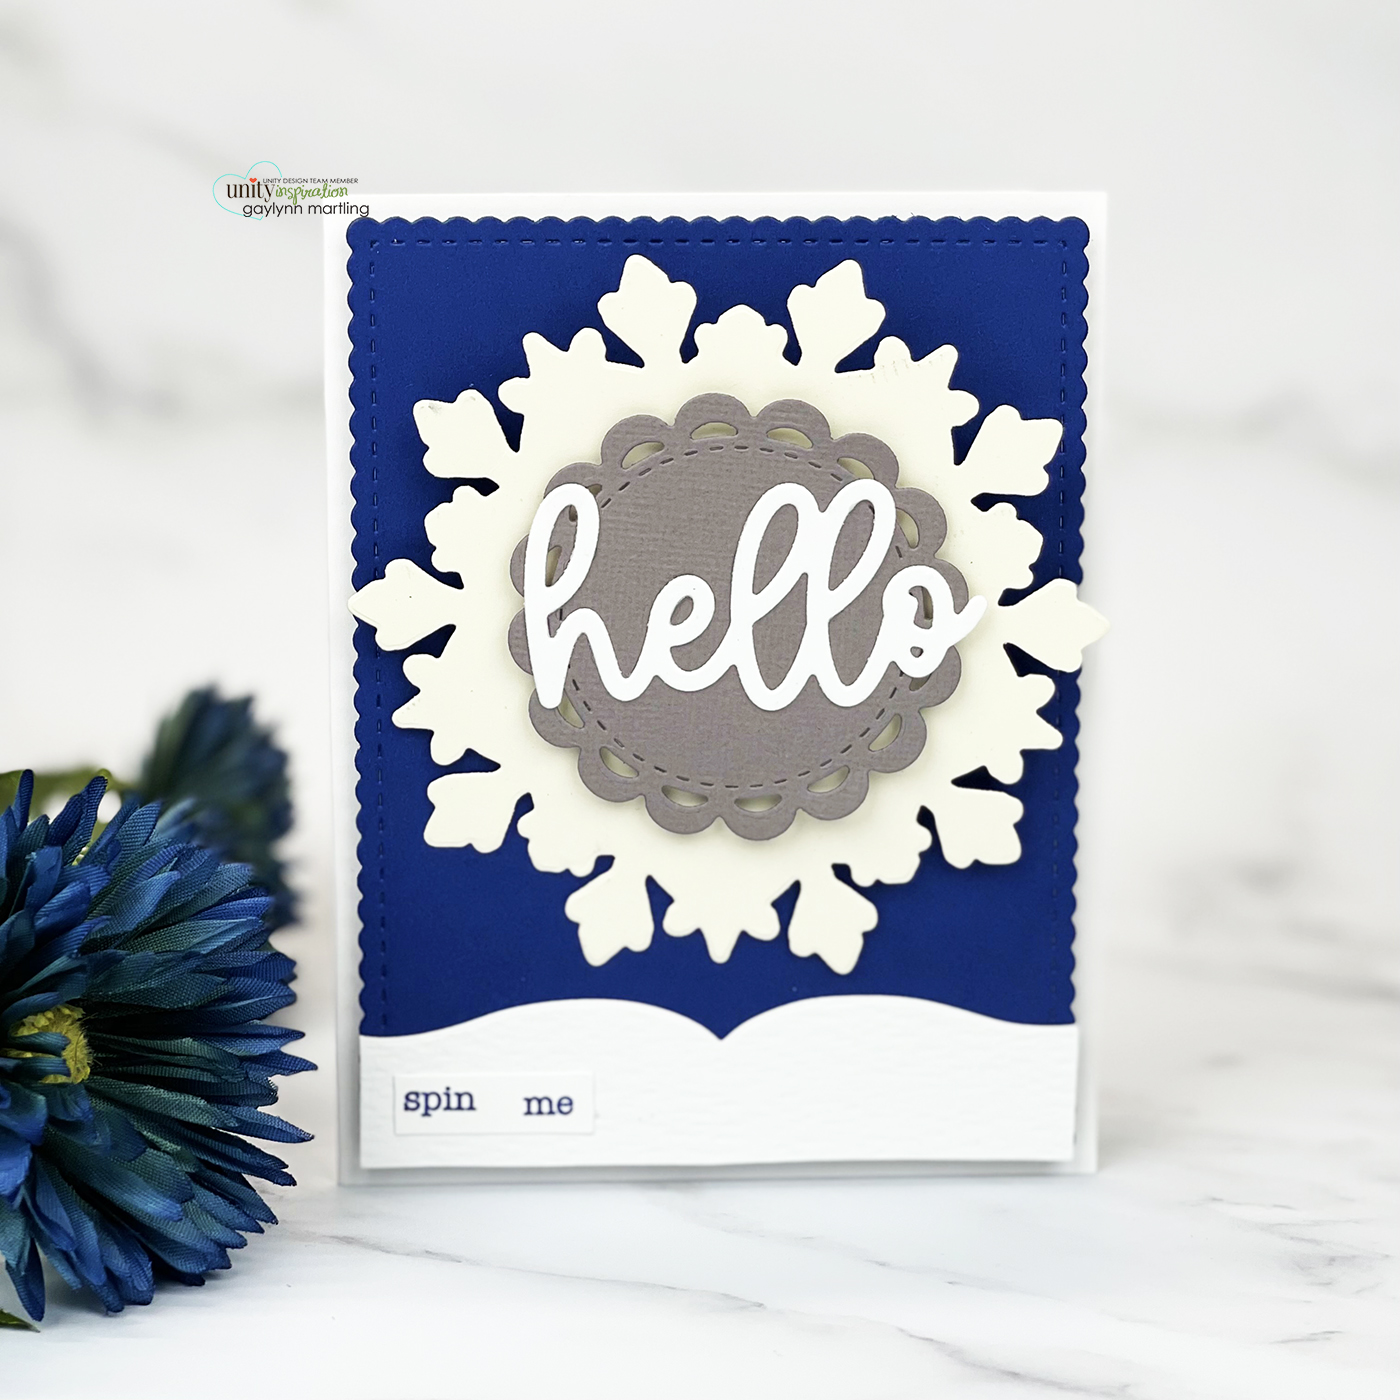
Hello.
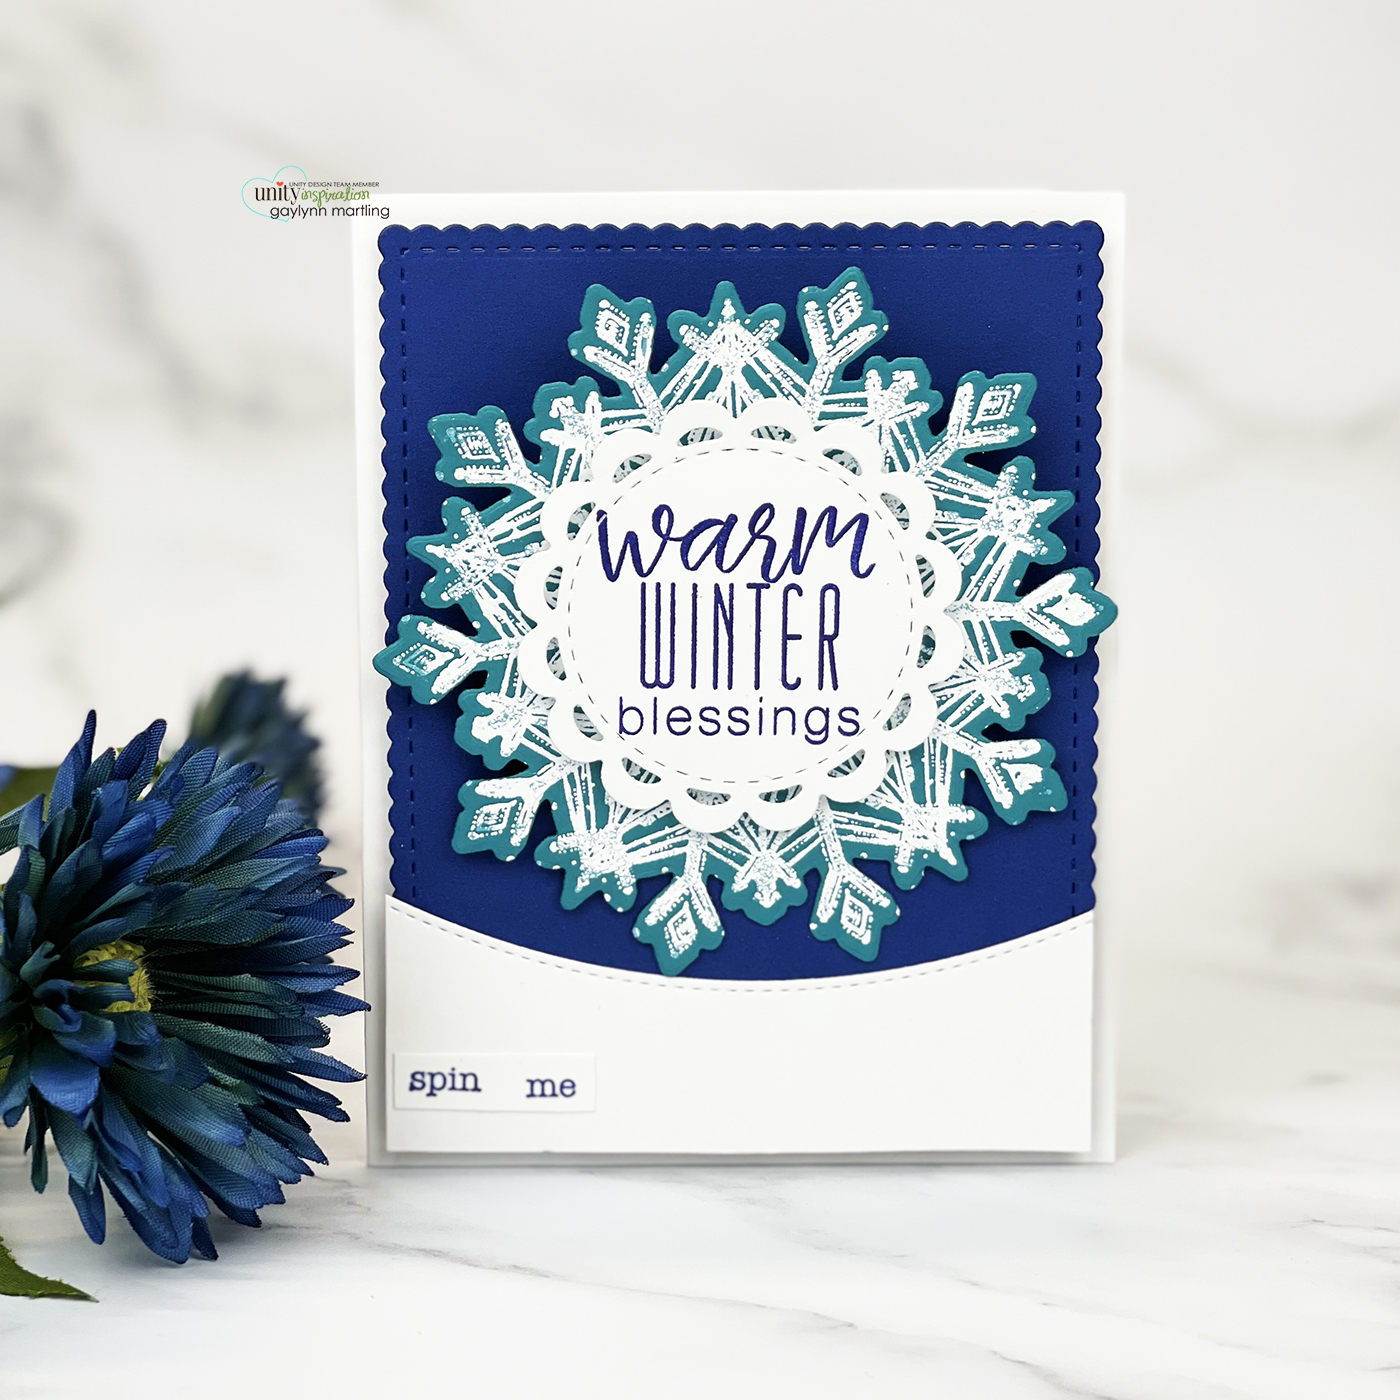
Warm winter blessings.
I made a quick video tutorial HERE showing the process for this project.
Helpful tips:
These are helpful tips for making these spinner cards using a brad element. To begin, trim or die-cut a card base, a card front, two round focal point shapes and card borders. Next, stamp or die-cut sentiments and any accent stamping. Then, create a small circular hole, a bit larger than the brad prongs, into the card base to match up with the center of your circle panel. I used a piercing tool. Also, loosely fasten a craft brad so that it will spin around easily. Next, add a small piece of double-sided foam adhesive over the brad head. Also, on the back of the same panel, add foam tape evenly and away from the moving prongs. Then, place the card front, the layers and the circle elements onto the card front, to finish.
This is a closer look at the individual cards.


Supplies:
Unity Stamp Co.
Colossal Snowflake stamp
Colossal Snowflake {coordinating die}
Chic Script Salutations {die set}
Poinsettia With Love {November 2017 sentiment kit}
Interactive Verbiage
Scallops & Rectangles {nesting dies}
Also, My Favorite Things premium dye ink cube and card stock in blue beyond; foam double-sided tape, original Misti, Anna Griffin empress die cutting machine, My Creative Time bunch of stitched doily dies; die-cut scraps, piercing tool, craft brad.
Remember, if you want to view my other projects on the Unity blog, see my features linked below.
Technique Time
Watercolor Wednesday.
Please, tune in next Wednesday with a new project for Technique Time.
Thanks for visiting.


