


It’s a fun playing day…
Hello friends, I’m so excited to share what I’ve been up to in the craft room. I’ve been playing around with foiling stamped images and trying different machines to get a better result. I was surprised at how easy it could be done by using embossing powder. I’ve heard it mentioned out in the crafty universe, but I never tried it until now. It is a game-changer, my friends. So perfect for all your Unity Stamp Company stamps.
When I make a big investment in a device, I try my best to see if it can serve multiple purposes. So when I saw the Spellbinder Glimmer Hot Foil System, I had high hopes I could use it for toner and adhesive foiling as well. I’m happy to report, it can be done and I’ll share with you my results.
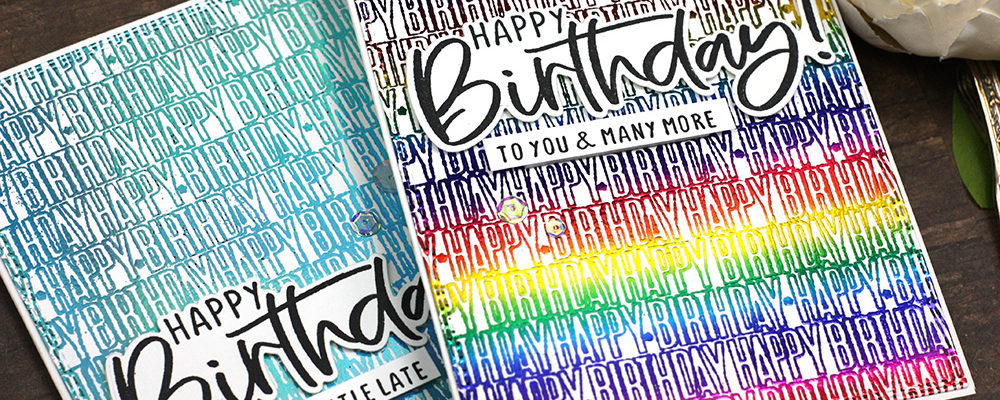
It is so hard to capture foil in pictures, the video captures the shine so much better. Of course, I’m using some of my favorite Unity Stamp Company stamp sets today to foil with. There is nothing like the image you get from red rubber. There are some pros and cons to using embossing powder instead of a laser printer for foiled images and I’ll cover those below. But honestly, I’m loving how easy it is to do and the results are quite lovely.
Featured Stamp Set
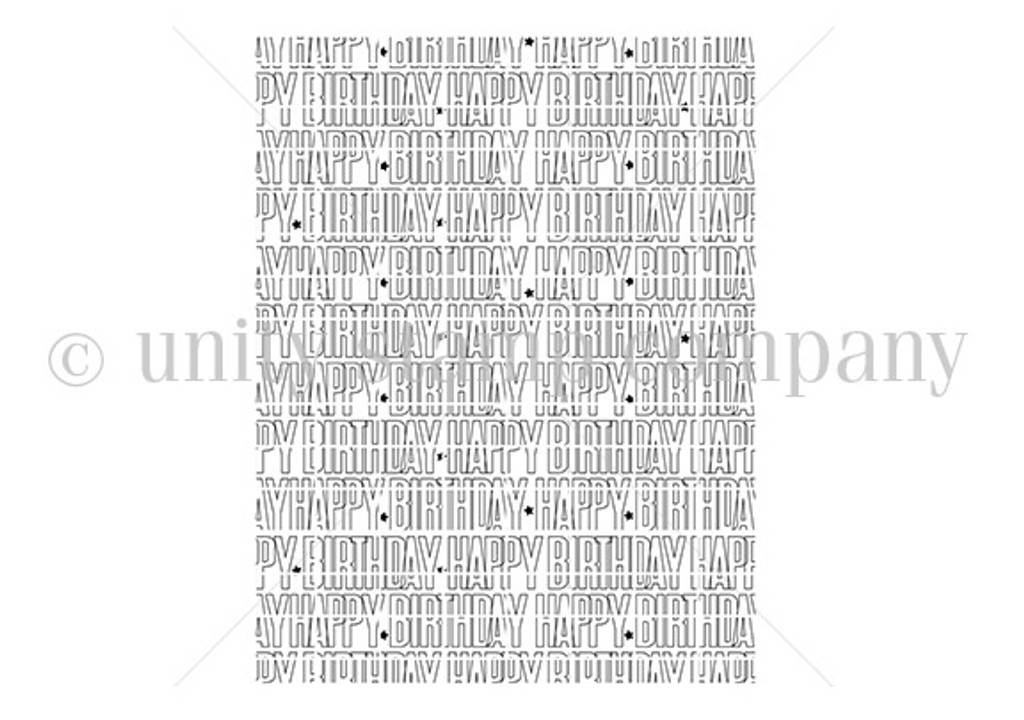
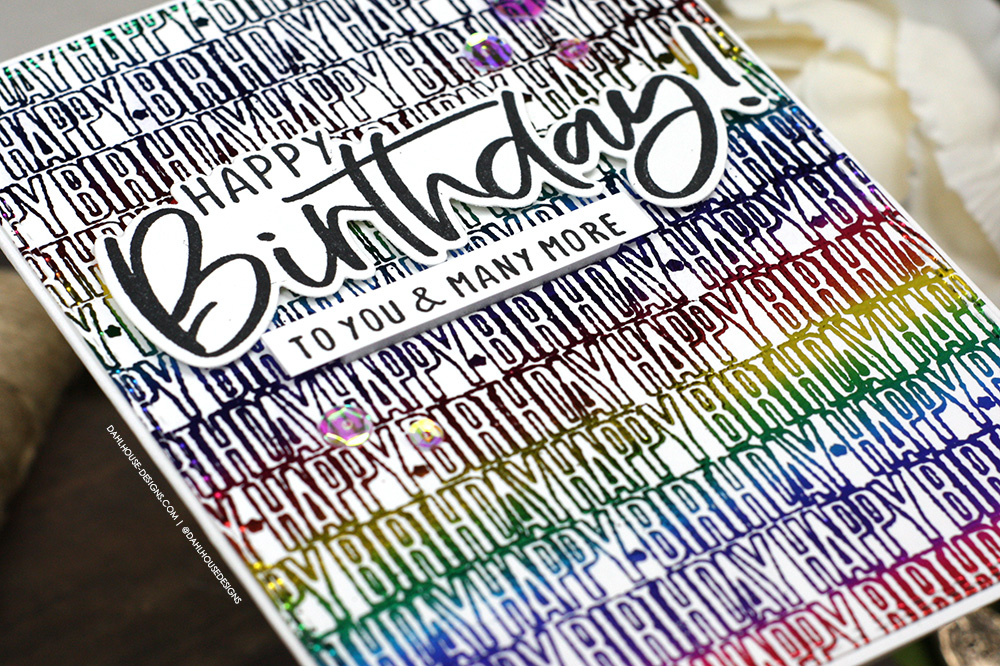
Infinite Birthday Wishes Background

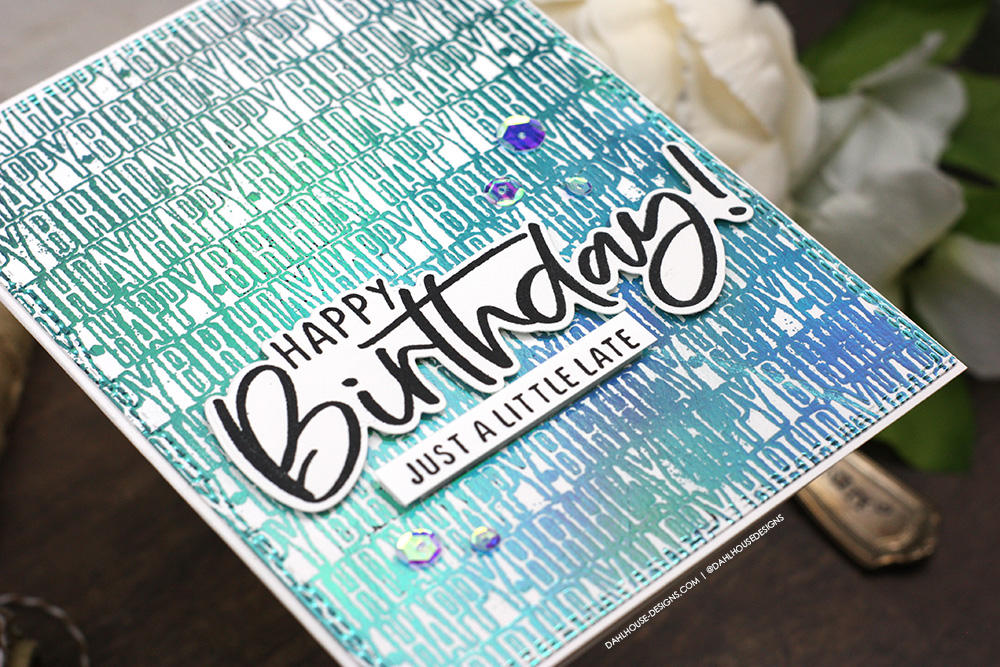
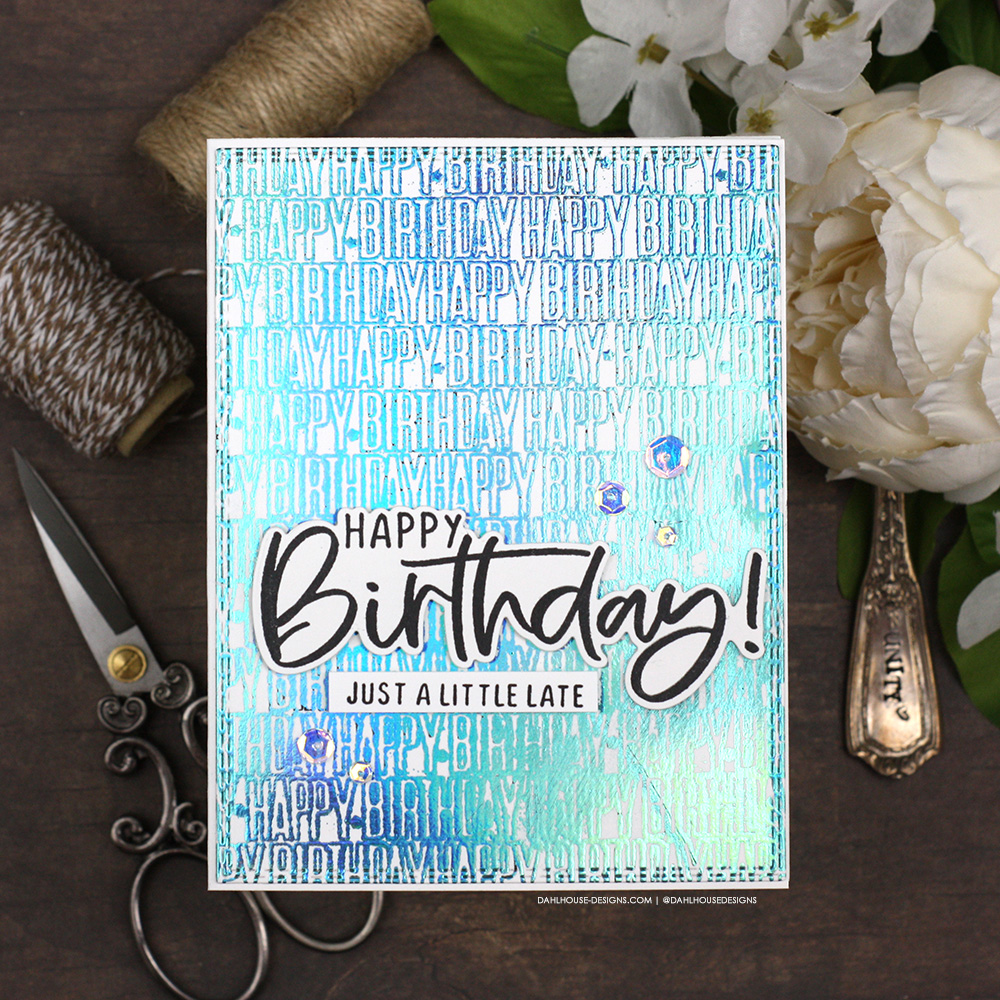
Card No. 1 – Foiling with Embossing Powder and a Laminator
The Details
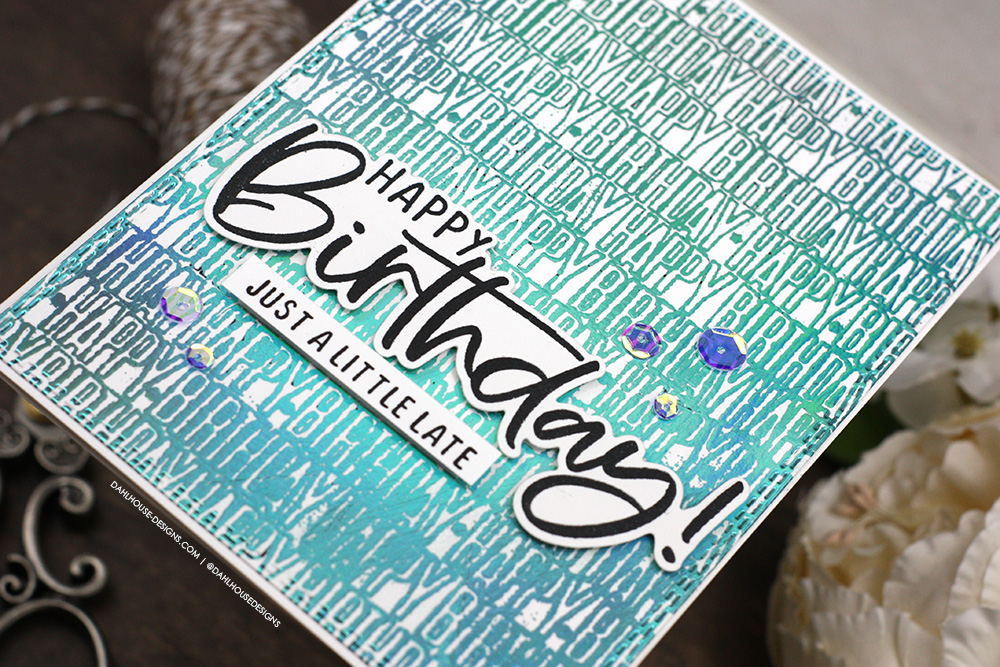
Just look at that shine! I’m struggling to get the real-life shine with photos, but I’m so happy with the foiling results with this first try. This is such a great combo if you have stamps and a laminator. I’m using a Royal Sovereign laminator but this works wonderfully with a Minc machine as well.
I started out by stamping my image in a black embossing powder-friendly ink (VersaFine Clair Nocturne) so if there are spots the foil does not adhere to, you still have the full image. But this is such a great ink, the clear embossing powder adhered really well. Then ran the foil and embossed image through the laminator. It worked just wonderfully. I’m pretty happy with the results.
I hope you’ll watch the video for full details. It is hard to write a step-by-step for this process and comparison.
The foil will adhere to anywhere the embossing powder is so the cleaner the embossing powder image, the better your foiling results will be. So try to prep your paper with an anti-static tool and tap off as much embossing powder as you can.
This is probably the biggest con with using embossing powder. If you don’t have a clean image, the foil will adhere wherever that embossing powder is on your cardstock. For me, it is an easy trade-off if you don’t have the ability or the desire to create a printed image from a laser printer or copy machine. It is much easier to stamp the image and then heat emboss with embossing powder. Plus, the results are still great.
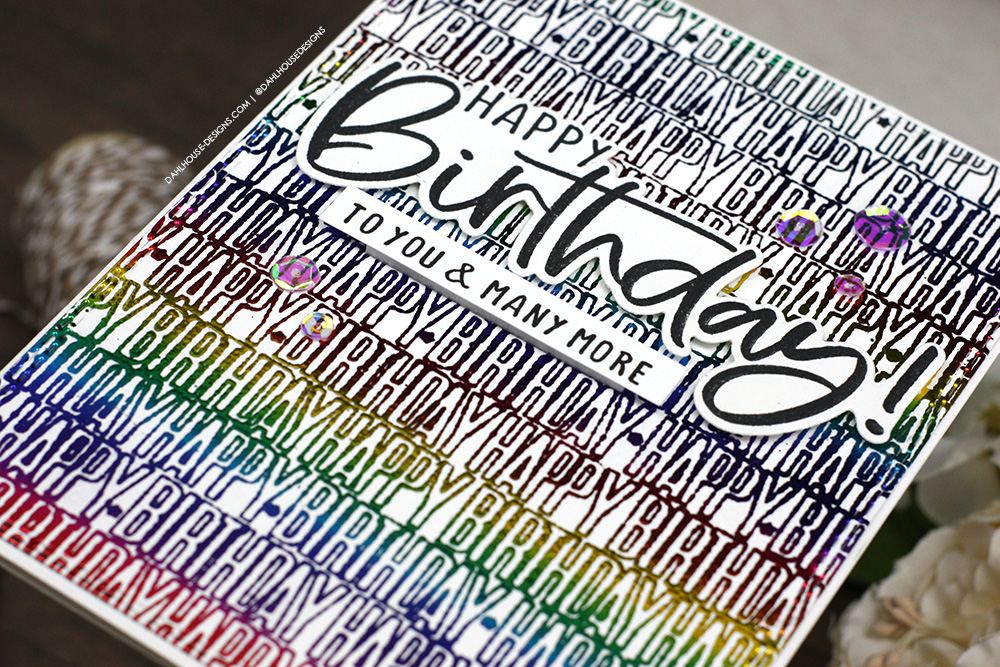
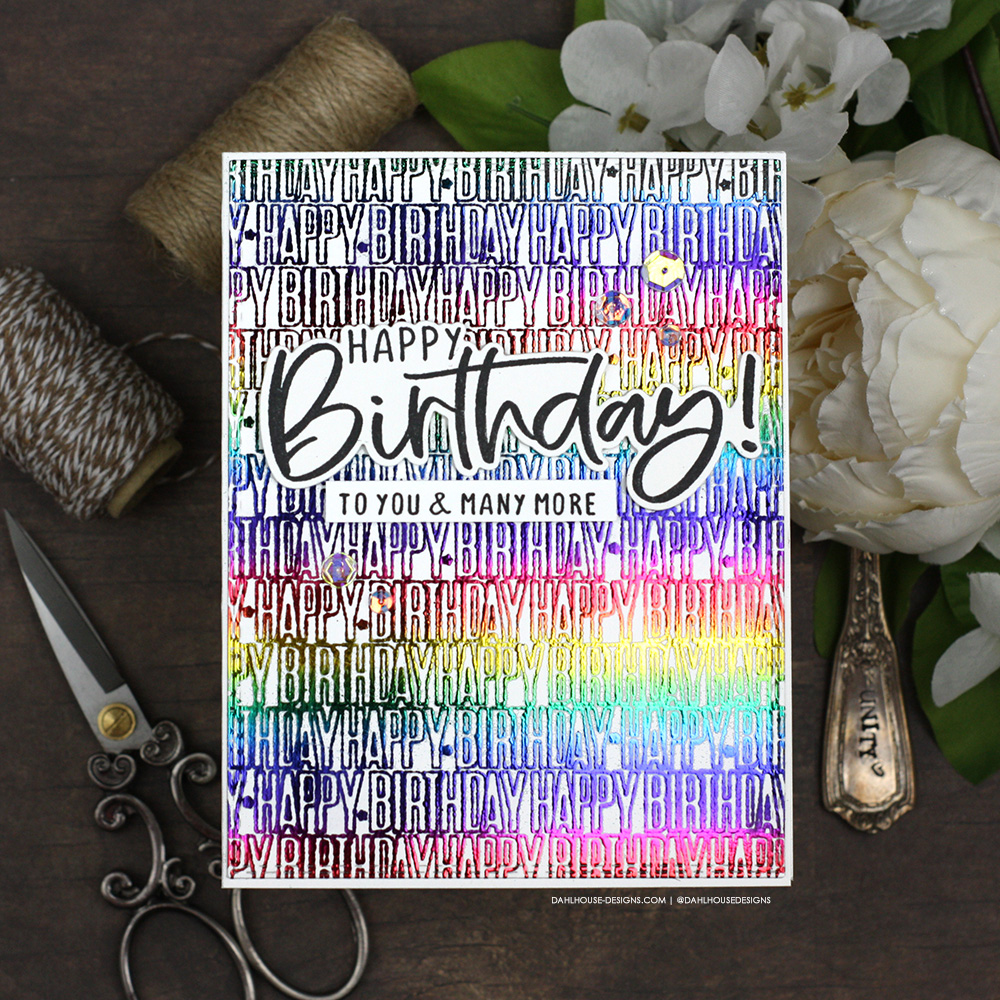
Card No. 2 – Foiling with Embossing Powder and the Glimmer Hot Foil System
The Details
Did you invest in a hot foil machine, as I did? Or have you thought about getting one? I wanted to be able to use this for both hot foiling and toner or adhesive foiling since I really do not have a lot of room in my crafting nook. I try my best to be very selective in what products I invest in. I am happy to report I love using my Glimmer machine for adhesive/toner foiling as well. It worked beautifully.
I took extra care this time to keep my stray embossing powder down to a minimum and the results are much cleaner and so pretty.
I did have to invest in one extra supply to make this happen and I have options for you to see what would work best for you as well. Check out the video for details.
The Video
Watch along as I assemble this card sharing my process and tips on how this card was created. Watch here or in HD on Youtube.
Thanks for joining me today. I hope you are inspired by today’s project. If you create something, I’d love to see it. Join us in the Unity Show & Tell Facebook group to share your card and tag me. 
Supplies
Infinite Birthday Wishes USC |
Many More Birthdays USC |
Many More Birthdays Die USC |
Neenah 80lb Solar White SB |
Double Stitched In & Out Dies OTH |
 VersaFine Clair Nocturne SB |
Clear Embossing Powder SB |
Anti-Static Pouch SB |
Deco Foil Glass Slipper SB |
Deco Foil Rainbow SB |
Laminator AMZ |
Glimmer System SB | OTH |
Metal Shim 5.5 x 7.75 AMZ |
Solid Hot Plate 4.5 x 5.75 option SB | AMZ | EH |
Solid Hot Plate 5×7 option SB | EH |
Iridescent Sequins SB |
Big Shot SB |
Cutter Bee Scissors SB |
MISTI – Mini SB |
MISTI – Original SB |
Stamping Tool SB |
Glossy Accents SB |
Glue Bottle SB |
Foam Roll Combo Pack SB |
Foam Roll – 2 Inch SB |
rotary cutter option AMZ |
T rulers AMZ |


