


It’s Friday and boy is Unity giving us SO MUCH to love this week!! Hi, it’s Julissa of Paper Gems by Jules on the blog and I’m taking these classic Winnie the Pooh stamps and giving theme a real vintage look using these Copic markers: E41, E42, E43, E47, E49. This is a great technique that you can use with any of your Unity stamp.
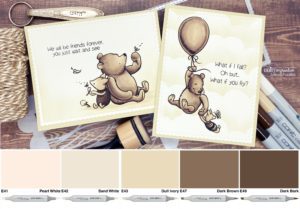
For this first card, I started with smooth ivory paper. I stamped the image and a sentiment from the “How Do You Spell Love?” stamp set. Paper really does matter when using Copics, so make sure it’s a bit thicker and a smooth surface. Color lightly to avoid bleeding.

Using darkest to lightest, I started with Pooh. Knowing that he normally is yellow, I used a lot less of the darkest colors (E49 & E47) and more of the lighter colors. For Piglet, I used the darker colors for the body and lighter colors for his skin.

For the little dandelions and leaf, I used E43, E42 & E41. Last to ground them, I made a little shadow underneath them using E42. Next, I die cut the card front using the Scallops & Rectangles Nesting Die. To add a little more vintage feel, I masked the edge of the card front and used Frayed Burlap Distress ink on the lower edges of the card front.

Using the same technique with the second card, I colored the images from the “Pooh Just Knew” stamp set. For the balloon, I used the Copic Colorless Blender to create a bit of a glare.
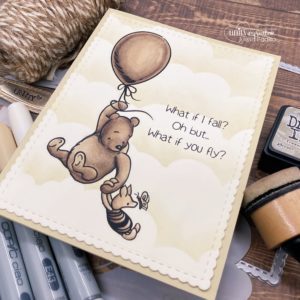
For a subtle background, I added clouds using the Clouds and Waves Stencil and the same Frayed Burlap Distress Ink. Such a soft way to add the whole feel of being up in the sky. Lastly, I die cut the card front using the Scallops & Rectangles Nesting Dies. These dies are totally the go-to dies for your cards! Make sure to add them to your stash!
I hope you found some inspiration today with these cards and coloring style. If you do try this style of coloring, make sure to post it on the Unity {Show & Tell} Facebook page… and feel free to tag me when you do.
Thanks again for following along and until next time…
Happy crafting!


