Hello, it’s Gaylynn. Today, I am sharing wet and dry embossing techniques featuring stamping and Copic marker coloring. Mixing embossing on a card looks pretty, especially with a bit of gold shimmer.

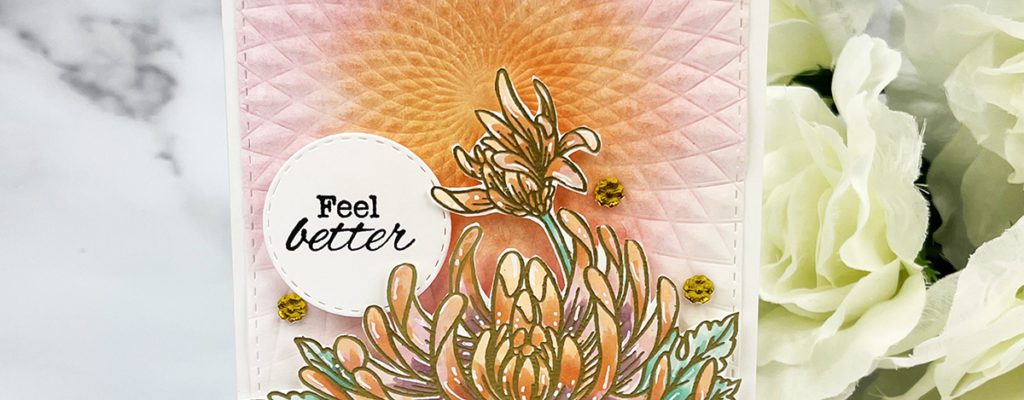
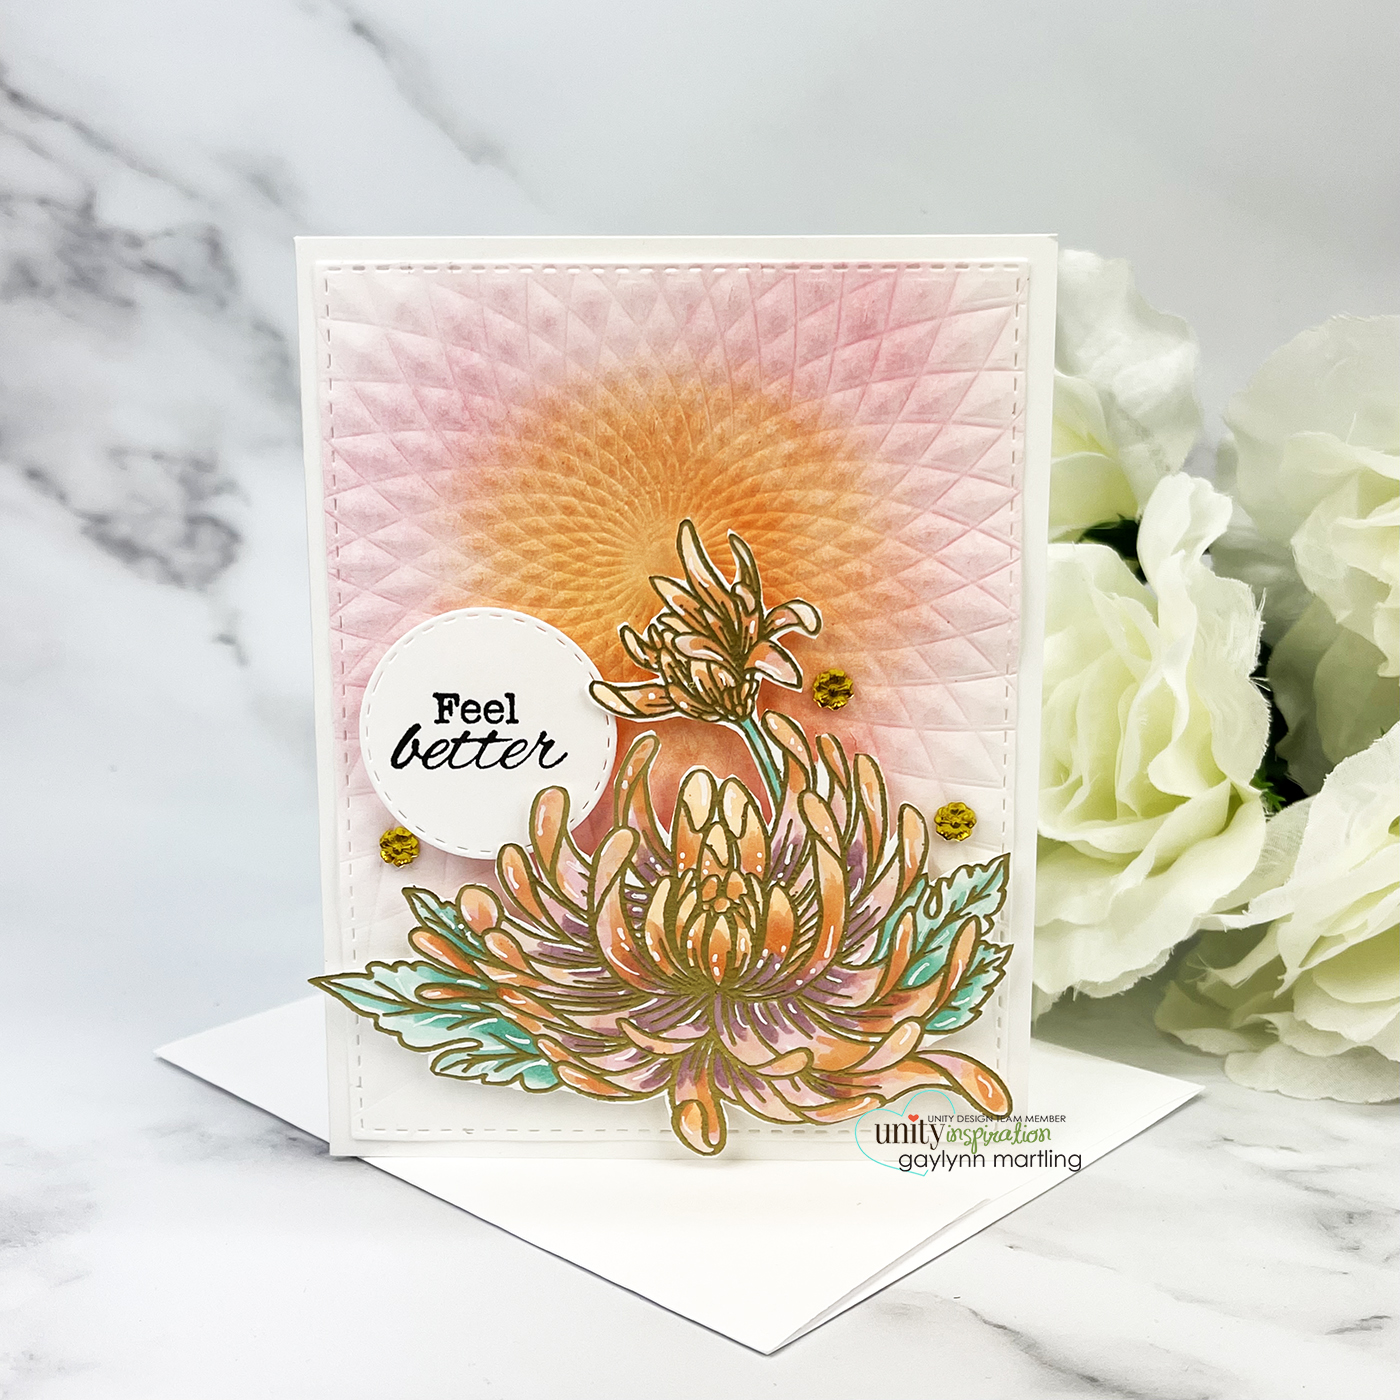
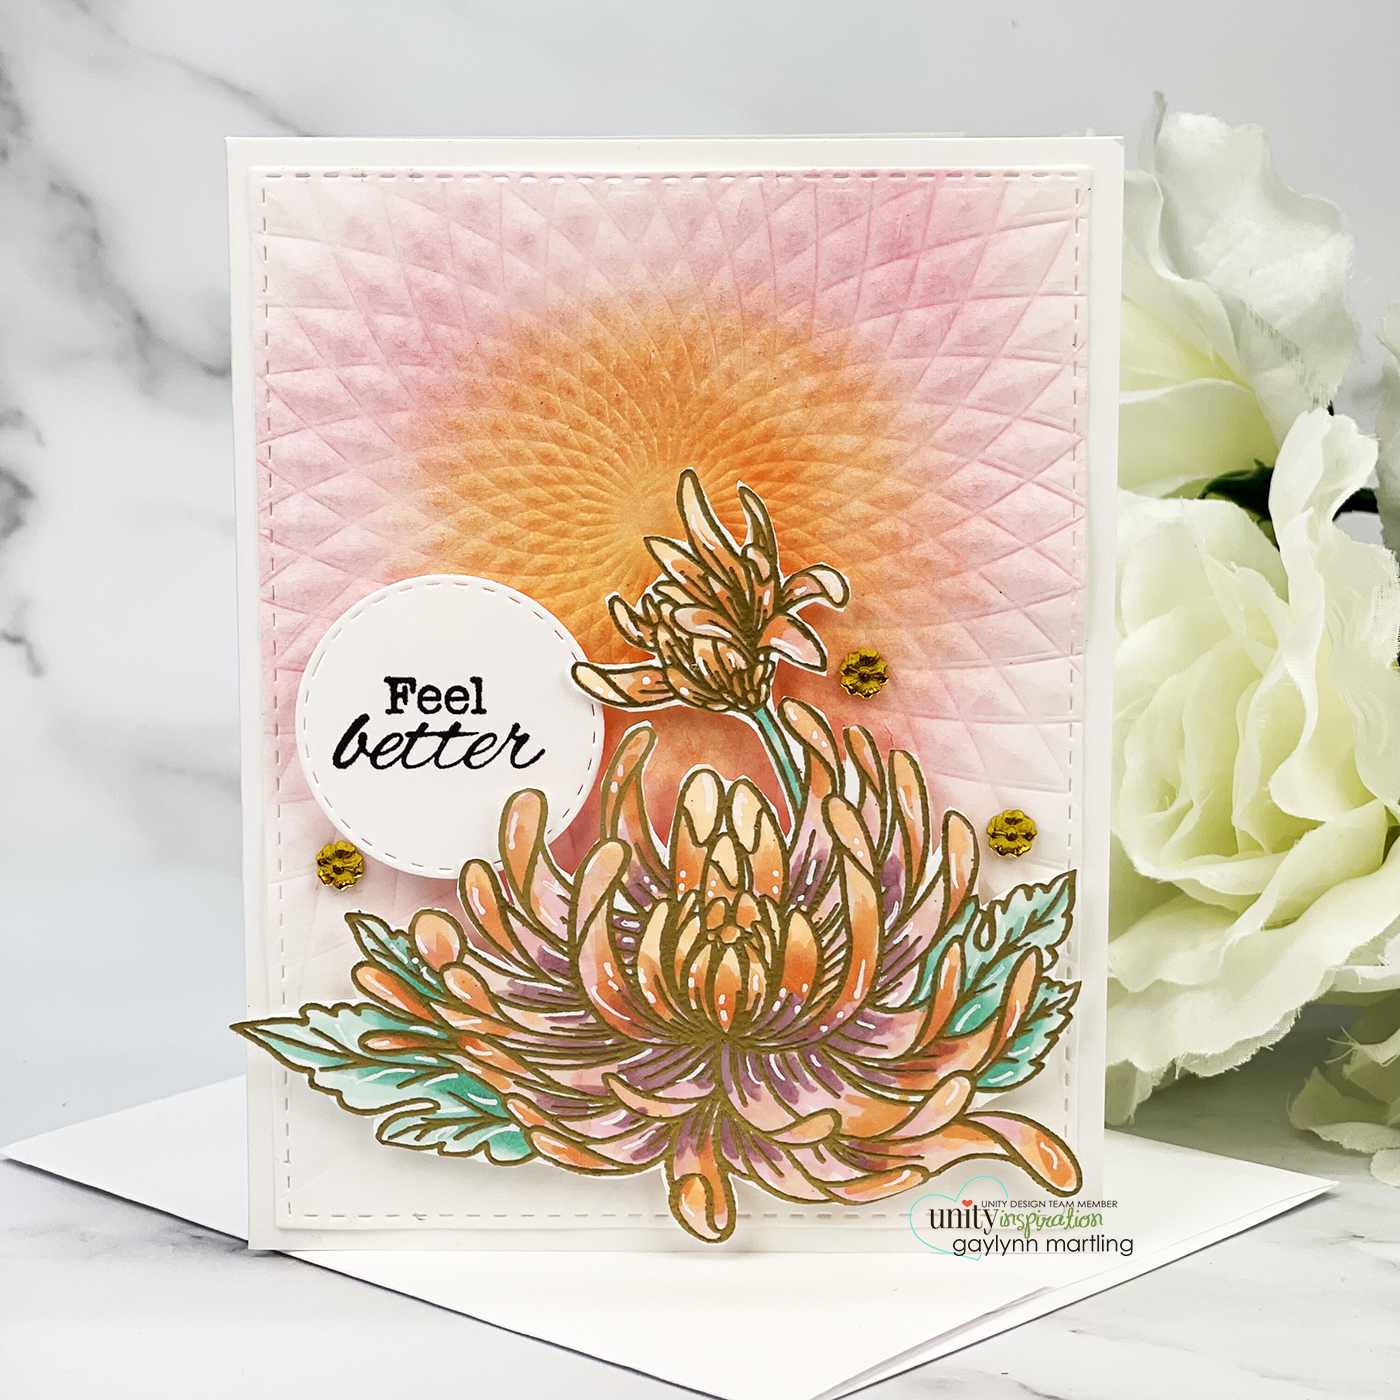
Wet and dry embossing techniques work great together on a card. This chrysanthemum flower pops against the subtle background.
Sentiment:
Feel better.
I made a quick video tutorial HERE showing the process for this project.
Helpful tips:
These are helpful tips for mixing wet and dry embossing techniques on a card. To begin, stamp, color and wet emboss (a/k/a/ heat emboss) the flower in gold on white cardstock. Also, stamp the sentiment in black. Next, fussy cut (cut out) the flower and die-cut or trim the sentiment. Then, dry emboss a background panel using an embossing folder with a die-cutting machine to press the 3D look into the paper. Also, to bring out the texture even more, add ink blending in two colors to coordinate with the flower colors. Next, trim or die-cut the dry embossed panel to fit the card base. Finally, adhere the background and pop up the flower and sentiment, to finish.
Here is another look.
Supplies:
Unity Stamp Co.
November Chrysanthemum
Also, Ranger Tim Holtz distress ink pads in spun sugar, worn lipstick and dried marigold, gold embossing powder; Wow embossing pad, EK powder tool, flat & foam double-sided tape, Neenah solar white cover card stock, Copic markers BG32, BG11, G0000, YR65, R12, YR82, RV11, RV95, R20, R30; gelly roll #10 white pen, Simon Says Stamp ink blending brushes and triangle burst 3D embossing folder; adhesive gems, mini Misti, My Creative Time rectangle frame die layers and 3″ circle card dies.
Remember, if you want to view my other projects on the Unity blog, see my features linked below.
Technique Time
Watercolor Wednesday.
Please, tune in next Wednesday with a new project for Technique Time.
Thanks for visiting.