Hello and Happy Crafting!
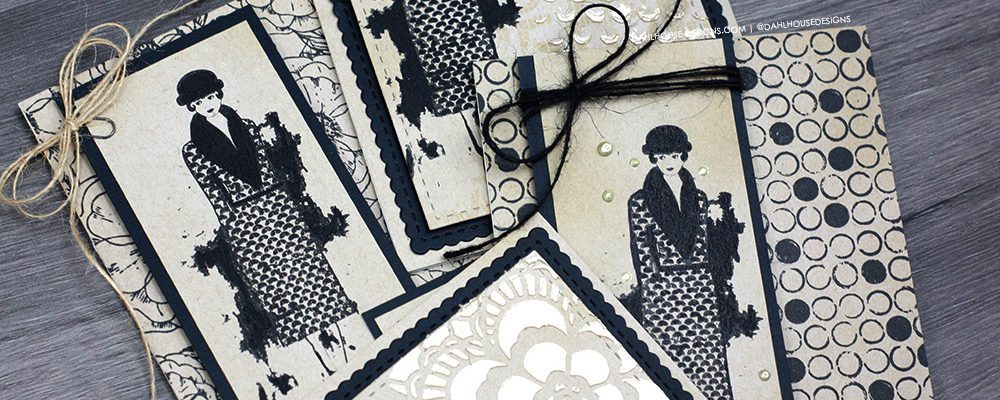
Did you know June is for sass? I just made that up but the brand new Unity Stamp Company sentiment kit for June is out and it is a SASSY one. I wanted to do lots of stamping and somehow make this vintage girl shine. Plus, I’ll share some fun and simple ways to add something extra to your cards.
Featured Unity Stamps and Dies
|
Could Be Better |
Bloomy Background |
Just a Number Background |
Pop Dots Background |
Scallops & Rectangles dies |
All supplies are listed at the end of this post.
Add a Bow & Shine with Nuvo Drops
The Details
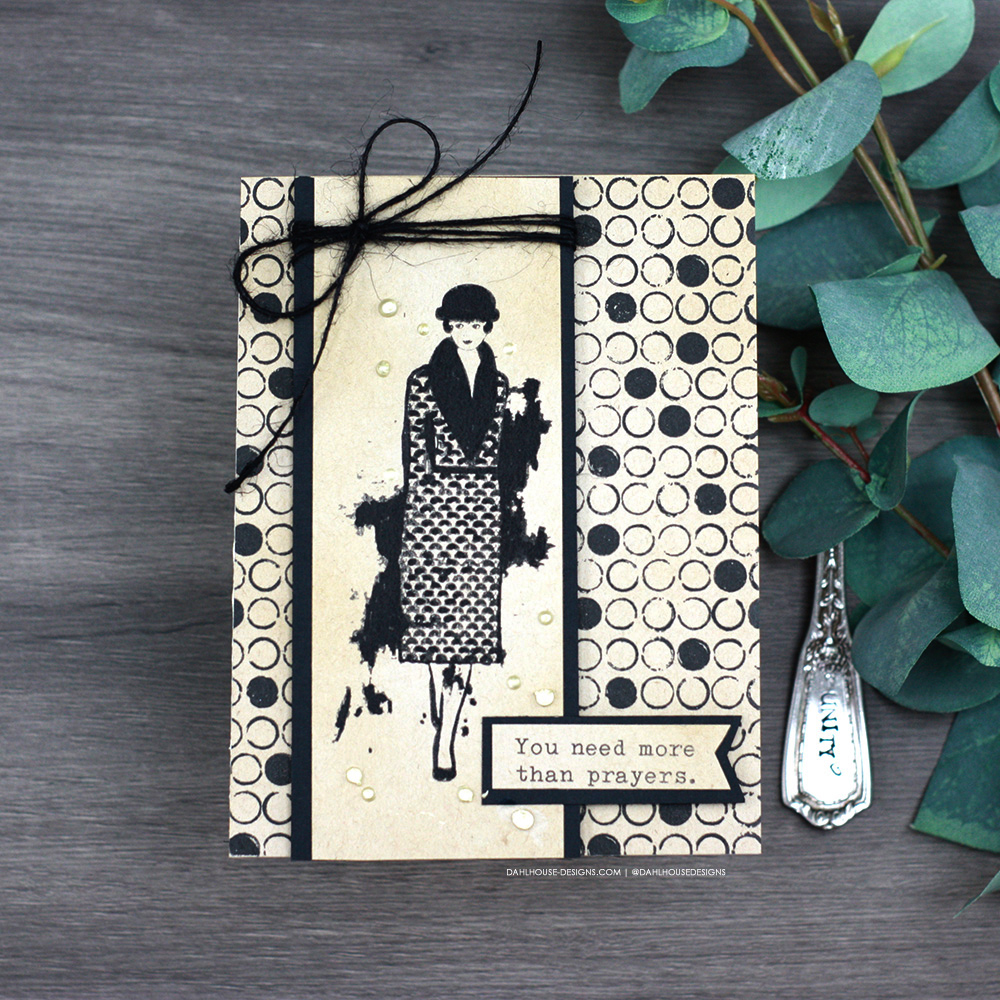
I’m keeping my supplies fairly minimal for this card set and just mixing and matching as I go along. For this one, I am using the amazing Pop Dots Background. I love the retro feel that matches this sassy girl so well.
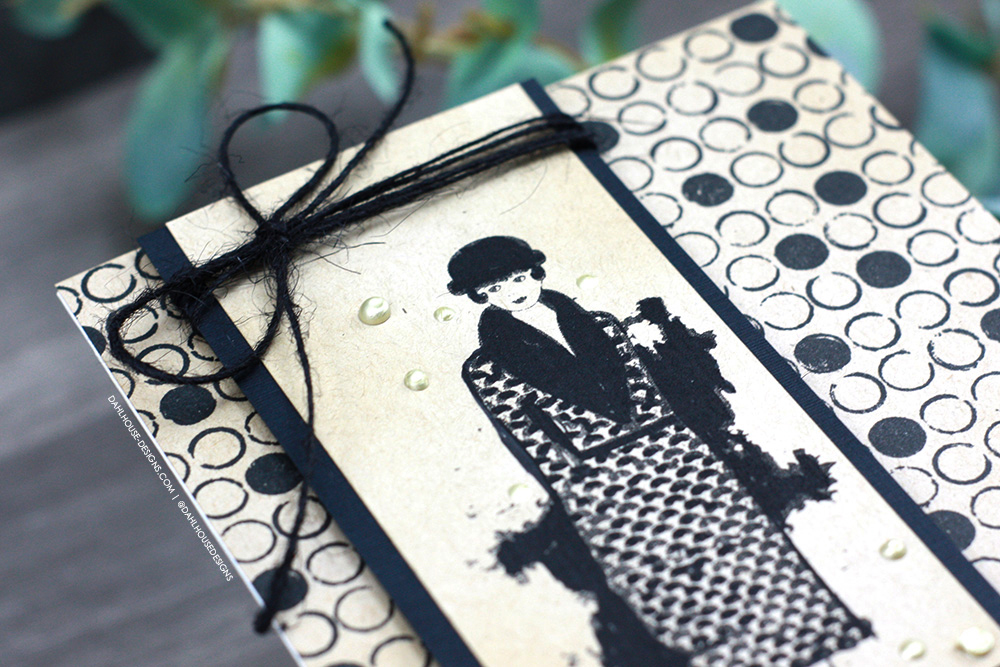 Fun element: I added a textured bow and some Nuvo Drops for shine. The Nuvo drops mimic the Pop Dots pattern as well.
Add a Fun Bow Treatment
The Details
This time, I’m stamping this beautiful Bloomy Background. What a gorgeous backdrop for our funny girl. I stamped her and then popped her up in a banner shape. 
Fun Element: this time I tied a multi-loop bow around the cutest tiny paper clip. Very vintage looking and it adds a bit of texture to the card as well.
Add Texture with Stencil Paste
The Details
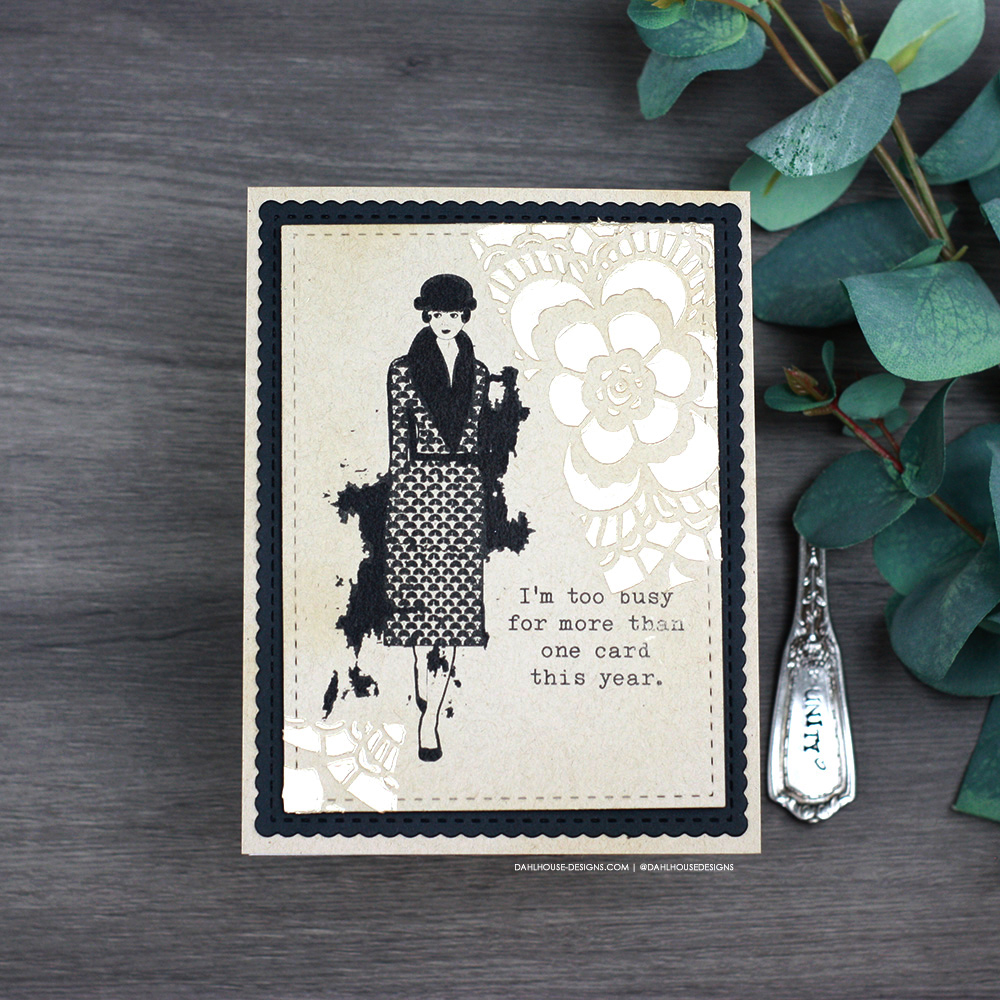
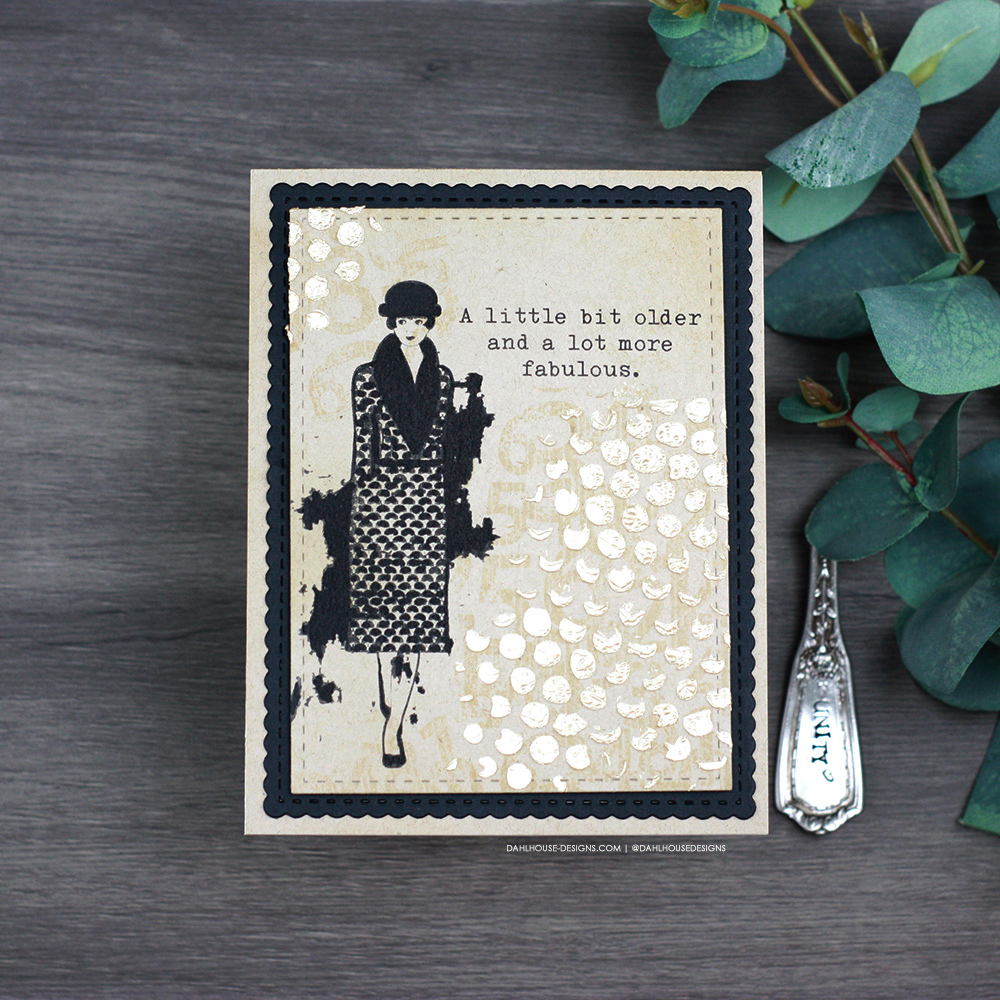
Time to add a bit of texture and shine. Stencils are so very fun and I don’t use them enough. I just stamped the girl on a die-cut panel and pulled out a pretty stencil to add a little glitz to this card. 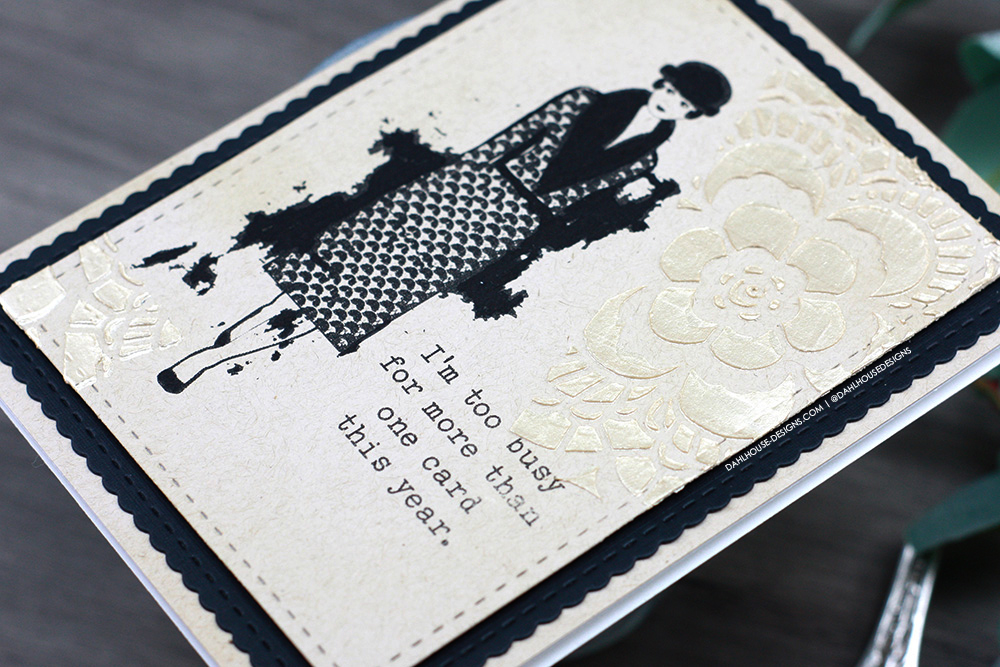
Fun Element: A shiny and raised pattern using a stencil and stencil paste. It is really easy to do and what a gorgeous effect.
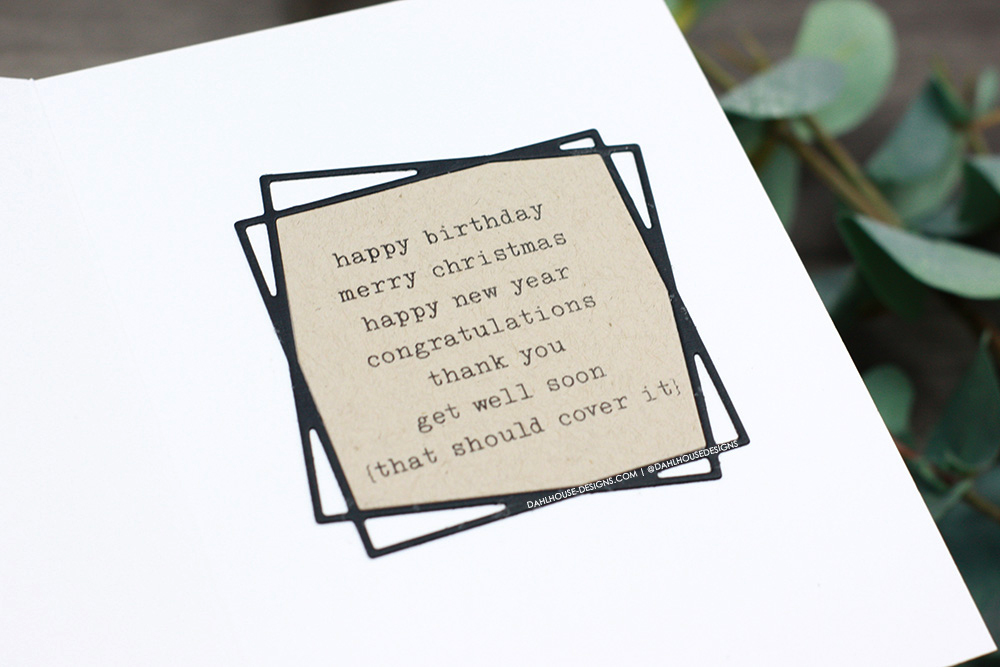
Bonus Element: decorate the inside with a sentiment and die. It really finishes off the sassy sentiment going on for this card.
Layer it up with Stamping and Stencil Paste
The Details
Last we are really layering it on. This card has a mixed media feel. The stamping, die-cut layer, and stenciled pattern all come together perfectly. 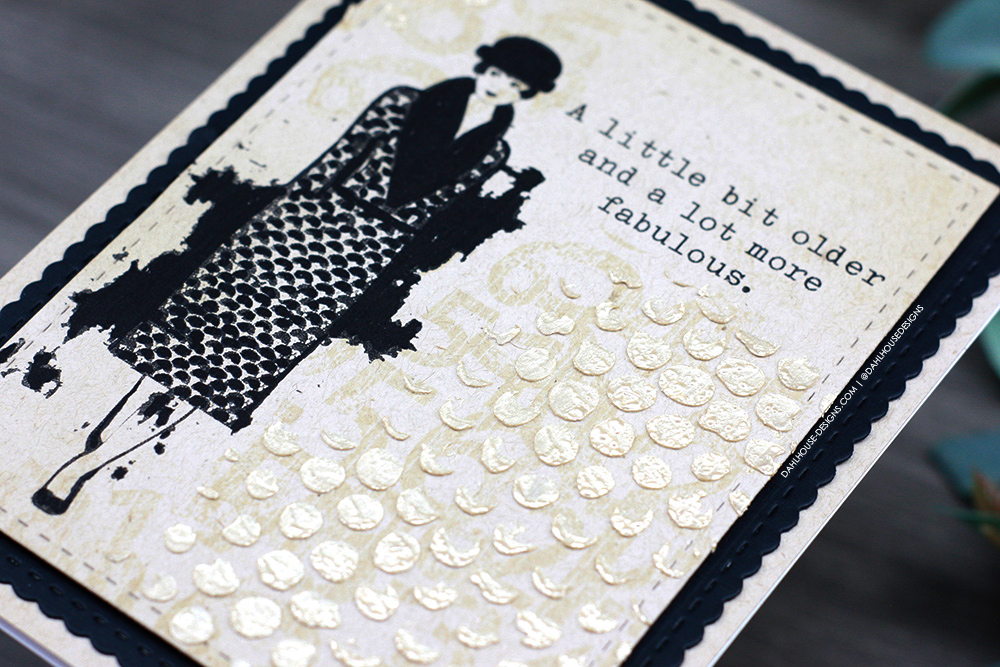
Fun Element: stenciling over a stamped pattern adds a lot of texture and interest to this card.
Video
Watch along as I assemble this card sharing my process and tips on how this card was created. Watch here or in HD on Youtube.
Thanks for joining me today. I hope today’s project inspires you. If you create something, I’d love to see it, and be sure to tag me on social media. Be sure to join us in the Unity Show & Tell Facebook group to share your Unity creations as well.
Supplies
*Affiliate Links may be used at no additional cost to you. I appreciate the support if you are inspired to shop through my links.
|
Could Be Better |
Bloomy Background |
Just a Number Background |
Pop Dots Background |
Scallops & Rectangles dies |
|
Neenah 80lb Solar White |
Neenah Desert Storm 80lb |
VersaFine Clair Nocturne |
Bubble Layering Stencil |
Gold Stencil Butter *substitution* |
|
Lace Layering Stencil |
Palette Knives |
Sweet Rush Paste *substitution* |
Big Shot |
Cutter Bee Scissors |
|
Foam Roll – 2 Inch |
Foam Roll Combo Pack |
Media Mat Mini |
MISTI – Mini |
MISTI – Original |
|
Nuvo Deluxe Adhesive |
Pixie Tape |
Stamping Tool |
Black Burlap String |
Mini Paper Clips |
|
Natural Burlap String |
Pale Gold |


