HAPPY TUESDAY!!!
It’s Maria here and I’m thrilled to be back on the blog every 4th Tuesday of the month!! I hope that you can find some inspiration from the projects.
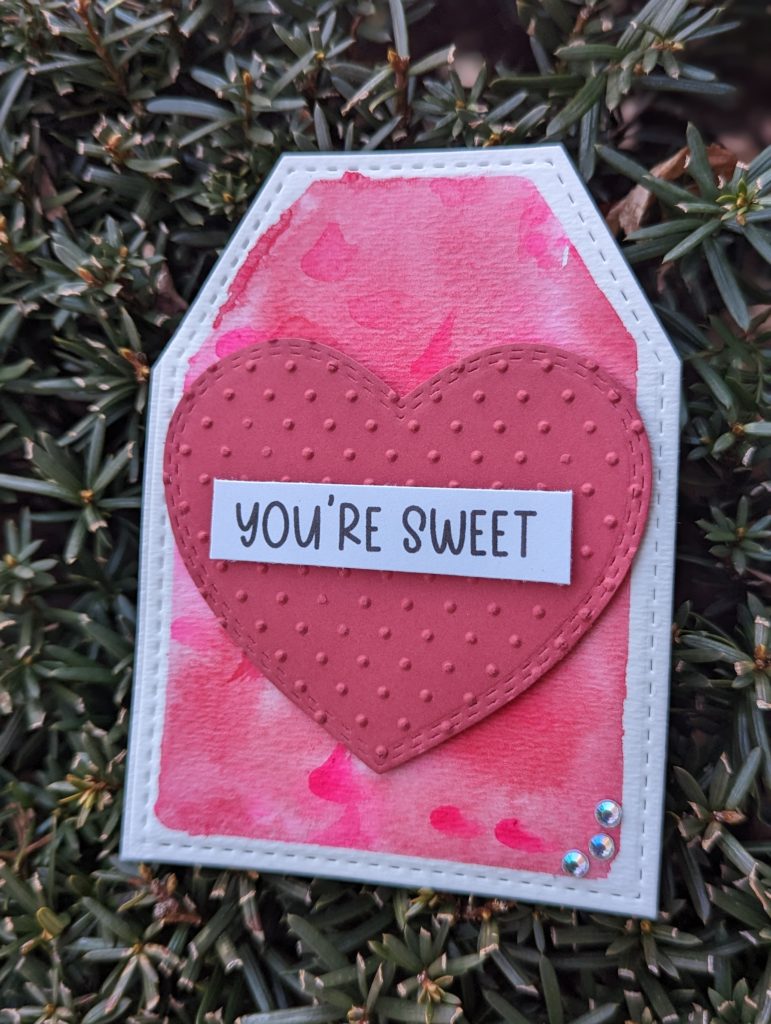
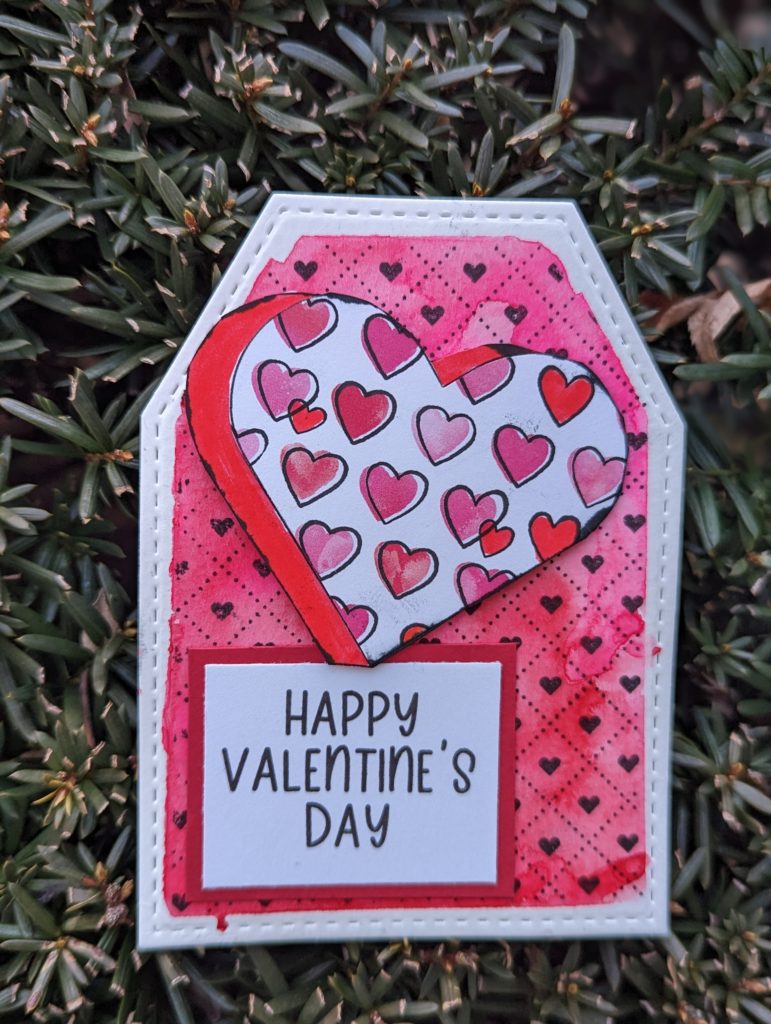
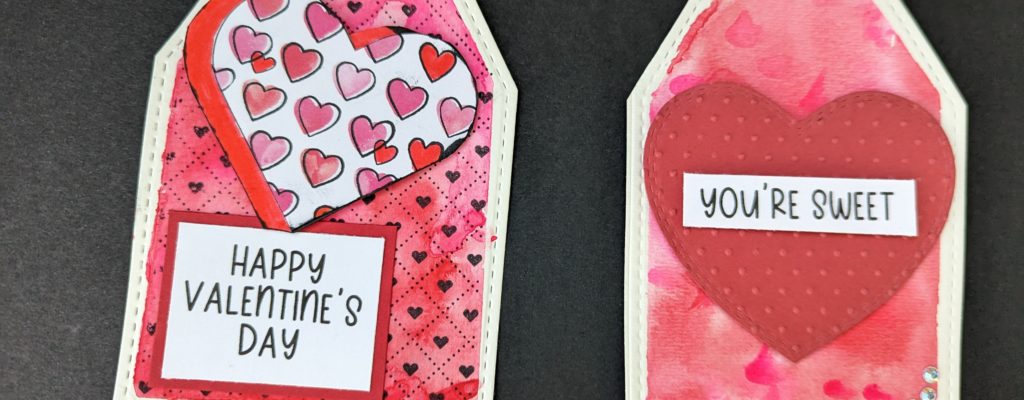
I know it’s still January but the tag dies from Unity had me thinking what super cute Valentines they would make so that’s what I set out to do.
While creating the tags I took pictures and video and in the end put them together as one video to share the process. I hope you enjoy and below I will write out the process to help.
Here’s a breakdown of the process.
1. I cut the tags out on 140lb watercolor paper and taped the edges with a painters tape (a not to sticky kind).
2. I wet down the tags with plain water, then added Prima Classic Watercolors in red and pink randomly to the tag. The water makes the colors move nicely. Dry completely.
3. Using the Big Candy Heart set I stamped the heart on pattern paper (Recollections from Michael’s) and plain cardstock. Cut the pattern one out and adhere it to the white, colored the edge of the heart in red and cut it all out.
4. Using the background stamp called Criss Cross Hearts I stamped using my Misti Tool over the water color background tag before removing the tape. Then assemble the tag and add the sentiment.
5. For the second tag (remove the tape ) I cut out using the Heart Dies and ran it through my Big Shot with the polka dot embossing folder from Cuttlebug. Then stamped and added the sentiment over the heart.
6. Both the hearts on each tag where adhered to the tag using foam tape for dimension.


I hope this inspires you to get your Valentine’s started. I look forward to seeing what you create!
Till next time!!!


