ingused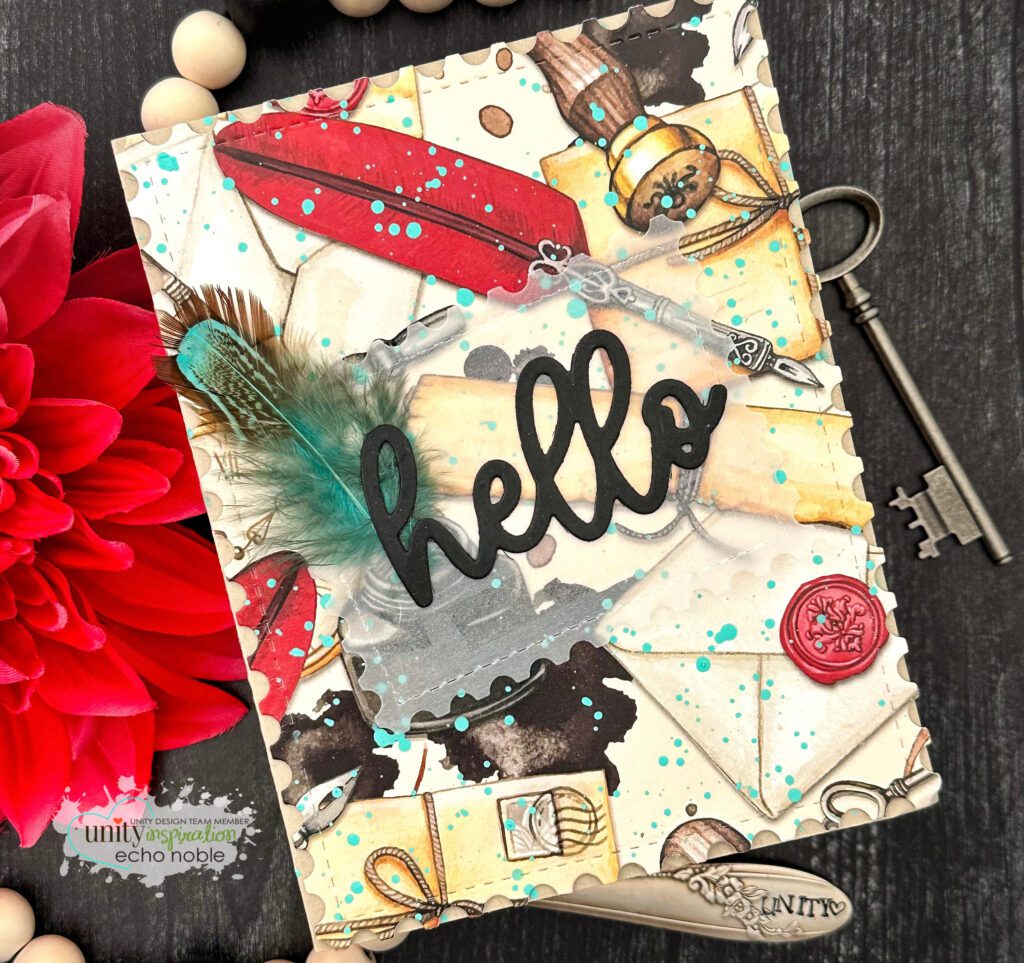
Happy Sunday crafters! Echo here with a bunch of samples using Write a New Story, Whit Kit. This month’s kit is great for that book lover in your life. I had so much fun making these cards.
Here is a look at the whole kit if you haven’t seen it yet.
What’s inside the March’s Whit-kit?
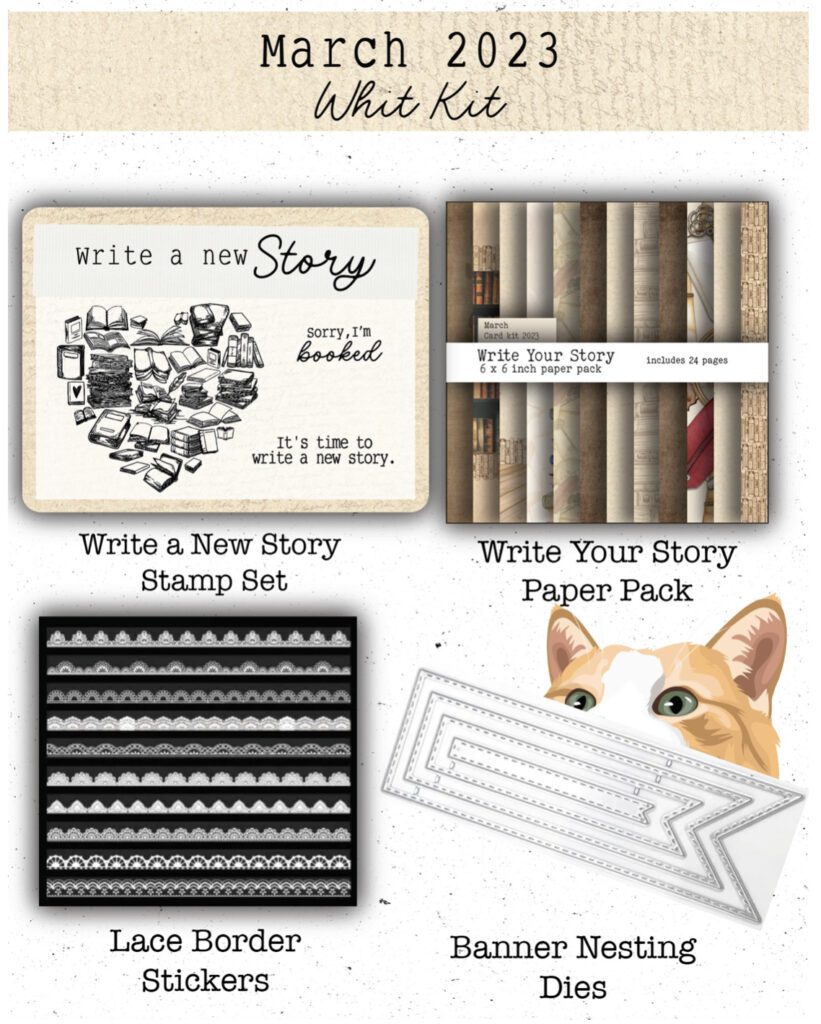
Can you believe you get all that for only $40.
Click here to learn more about this membership card kit!
Write a New Story, Whit Kit card kit

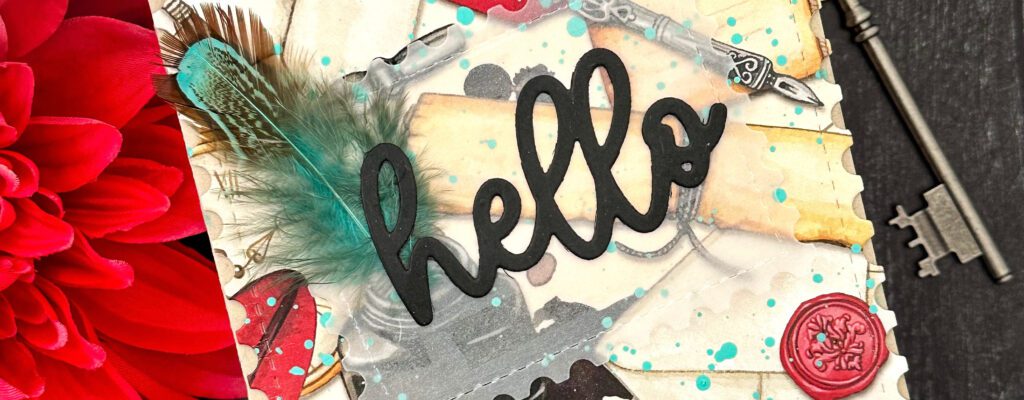
We will start with my favorite card! It happens to be the easiest too. I just fell in love with this seen on the patterned paper and I didn’t want to cover it up a bunch. Simply die cut it with the nesting postage die that was in the past Whit kit. Next I splattered it with blue paint. I then used a smaller postage die from the set snd die cut a piece of vellum. Stapled the feather to the vellum and added the black die cut sentiment from the Chic Script Salutations die set.
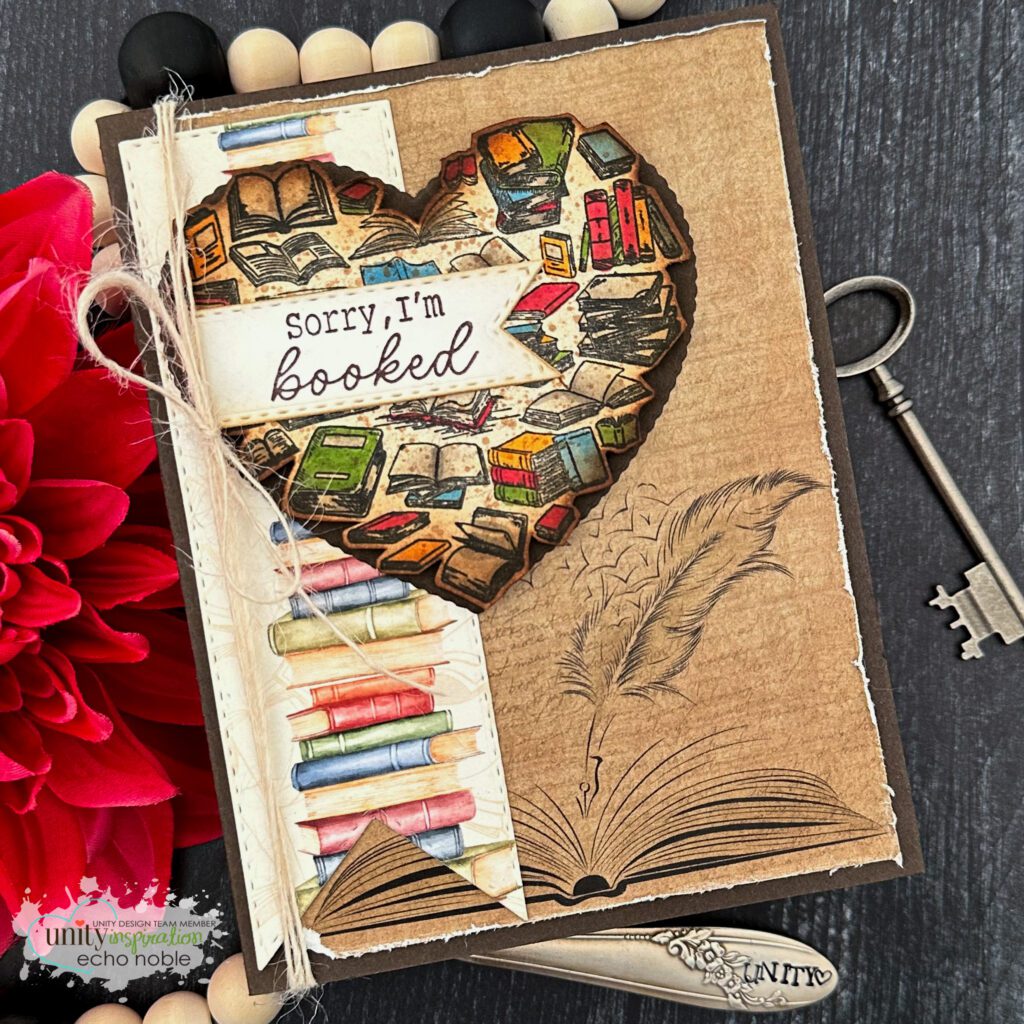
For the background I just trimmed down a sheet of the patterned paper from the kit and distressed the edges. Using the large banner die from the kit I die cut the books from another patterned paper from the pack. I also stamped the book heart onto one of the lighter pieces of patterned paper from the pack. Then colored it with my Copic markers, fussy cut image, ink blended the edges and ink splattered with distress ink in vintage photo. Popped with foam tape up on a heart die from the Dashes and Frills nesting heart dies. Then I added some twine and stamped sentiment that I die cut with the nesting banner set that came in this month’s kit.
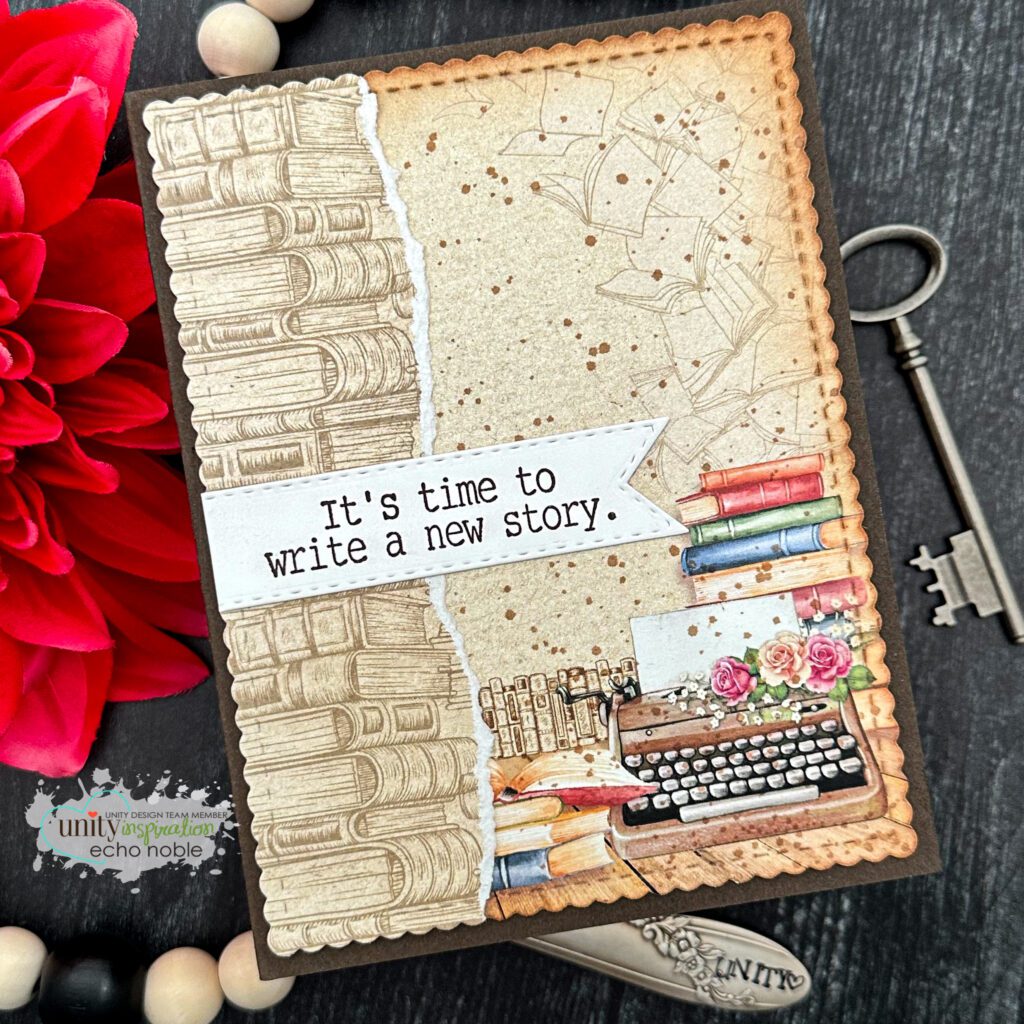
This was actually the first card I made with this kit. I kept it simple for this card because I didn’t want to cover up to much of that beautiful patterned paper. I die cut two pieces of the patterned paper using the Scallops and Squares nesting dies. Keeping the beautiful typer writer and books image on the right. I tore the edge from the second die cut and added the boarder along the left. Ink blended the edges and ink splattered in vintage photo. Stamped sentiment and die cut with banner die from this months kit. Add it to a card base.
Free gifts from Unity
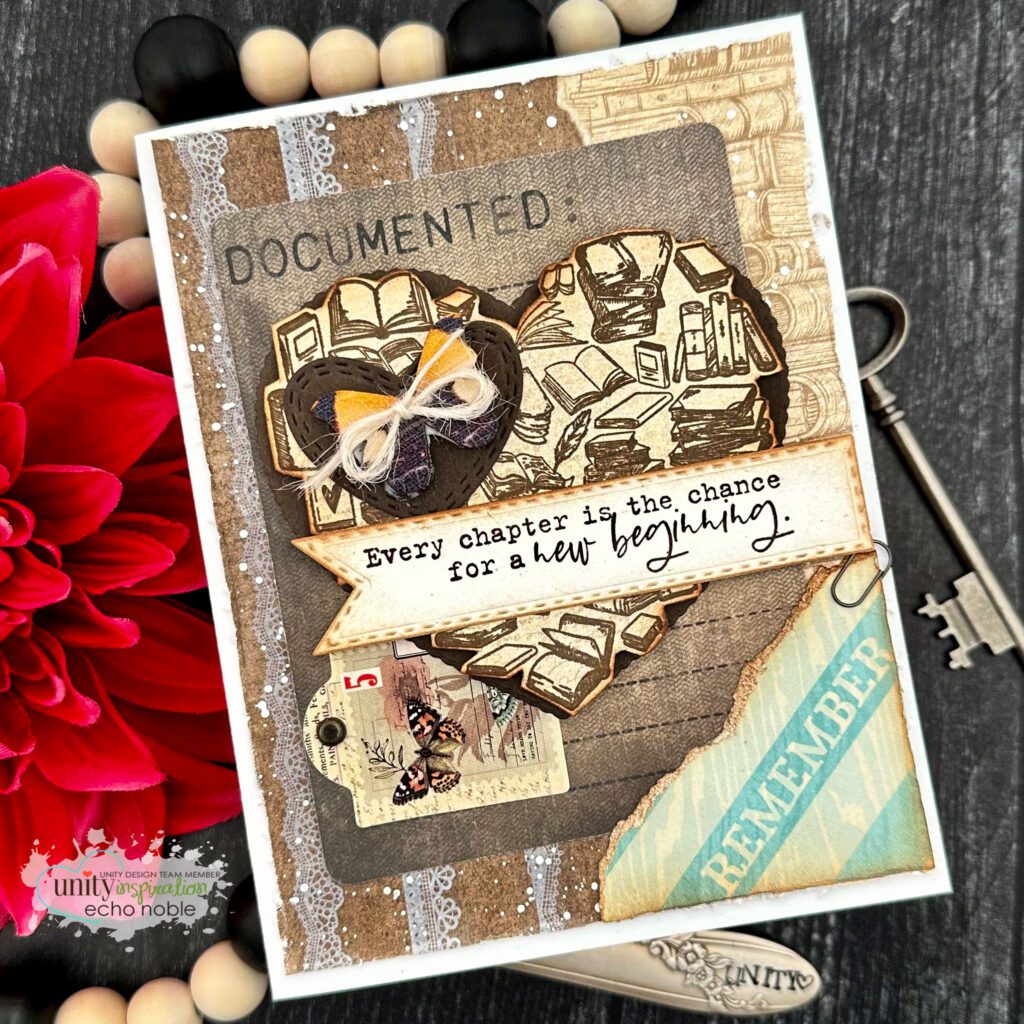
This card was a lot of fun. I kept digging through my free gift treasures that Unity sends out and kept adding these layers. Okay, I want to stop and talk about these little treasures Unity sends out as a little thanks for your business. I don’t feel like they get enough good press. I want to show you how I organized mine. It’s simple and does’t take up a lot of room and when I’m stuck on a card design I love digging through this mixture of crafty supplies that add that perfect touch to a card that I wouldn’t of had on hand. I get do caught up in the paper, ink, stamps, etc…that I forget about those little embellishments. Okay here is a picture of how I organize mine.
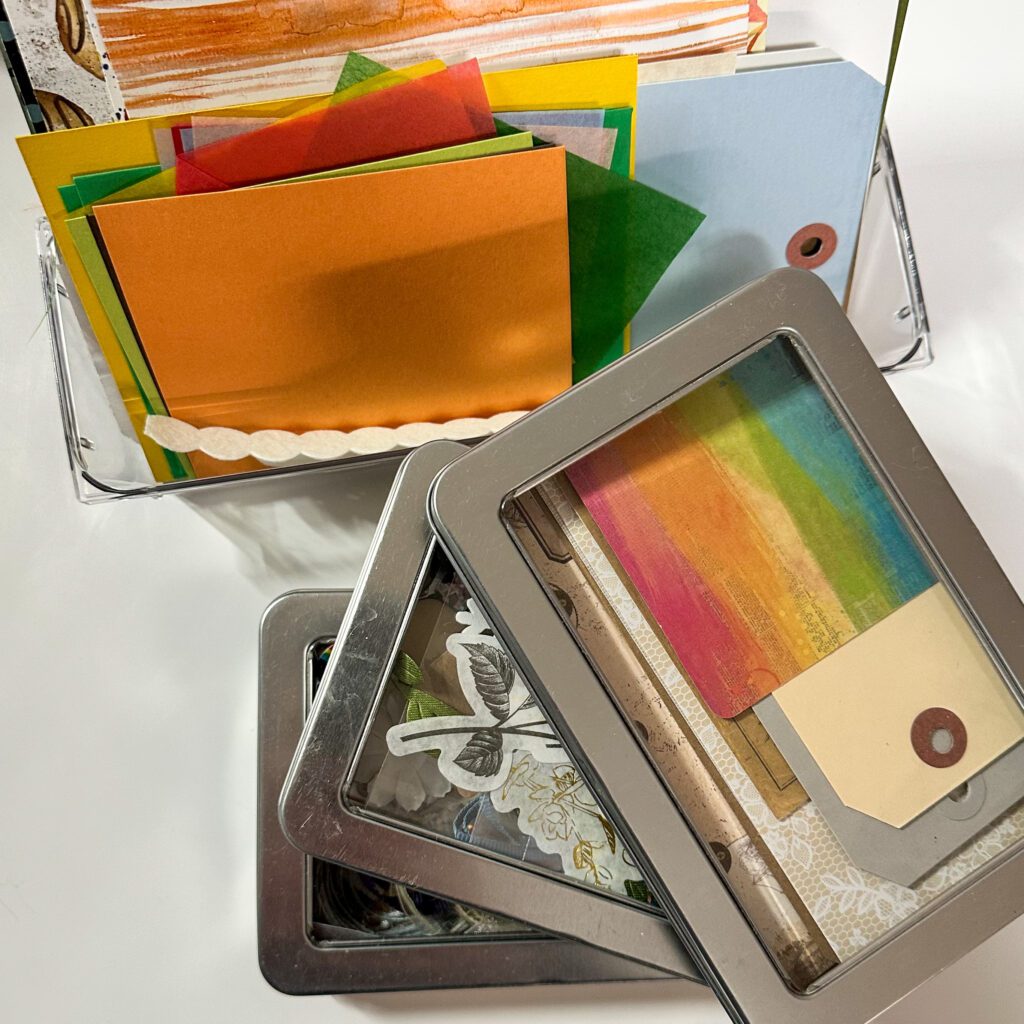
I use three ink cube tins from Tim Holtz that I had around because I found another way to organize my ink cubes. So I pulled the little plastic divider and I use one for paper and tags. The middle one holds all the embellishments and the bottom one has all the ribbon and twine. I do have another clear longer container for bigger tags and patterned paper, I think I got at the dollar store, holds all the larger paper and tags. Having used this system for a few years now, I have not outgrown it. I think I use as much as I put in. I love digging through these tins when I’m stuck on a design. It’s like finding a hidden treasure.
I mention this because my first card in this blog post was also made with that one perfect blue feather that Unity sent me a few years ago. I remember thinking I wonder what card will be perfect for this blue feather.
Have a great weekend. Thank you, for joining me today!


