


Hi friends,
Welcome to a new year and a new Background of the Month! This one is SUCH a beauty! There are flowers and butterflies with a touch of mixed media elements. Unity does such an amazing job of building details into their red rubber stamps that you really don’t need to add much to finish it! Today, I’m going to talk about ways to add color that complement the natural details in the stamp!

I stamped the background panel in permanent black ink. Using an ink that is fade and smear resistant is important if you plan to color or ink blend because the ink won’t bleed. Next, I chose the colors for my panel by searching my favorite cards on Instagram, focusing on color combinations that I love.
TIP: I frequently search for color combinations via Instagram or a color mood board for inspiration! It works everytime!!!

Using Copic markers in RV17, RV14 and RV13, I colored the flowers. The stamins were colored in Y35. Then I colored the butterflies in Y35 and YR04. Once that was finished, I went around the remaining open area with a few shades of Hero Arts green dye ink, moving from light to dark so that it looks like there is a halo around the flowers!
TIP: Keep the color combinations to no more than 3 or 4 so that they don’t compete with the design of the stamp. Also, don’t be shy about mixing different color media to get a unique look! Examples are acrylic paint, dye inks, reactive inks, markers, and watercolor!
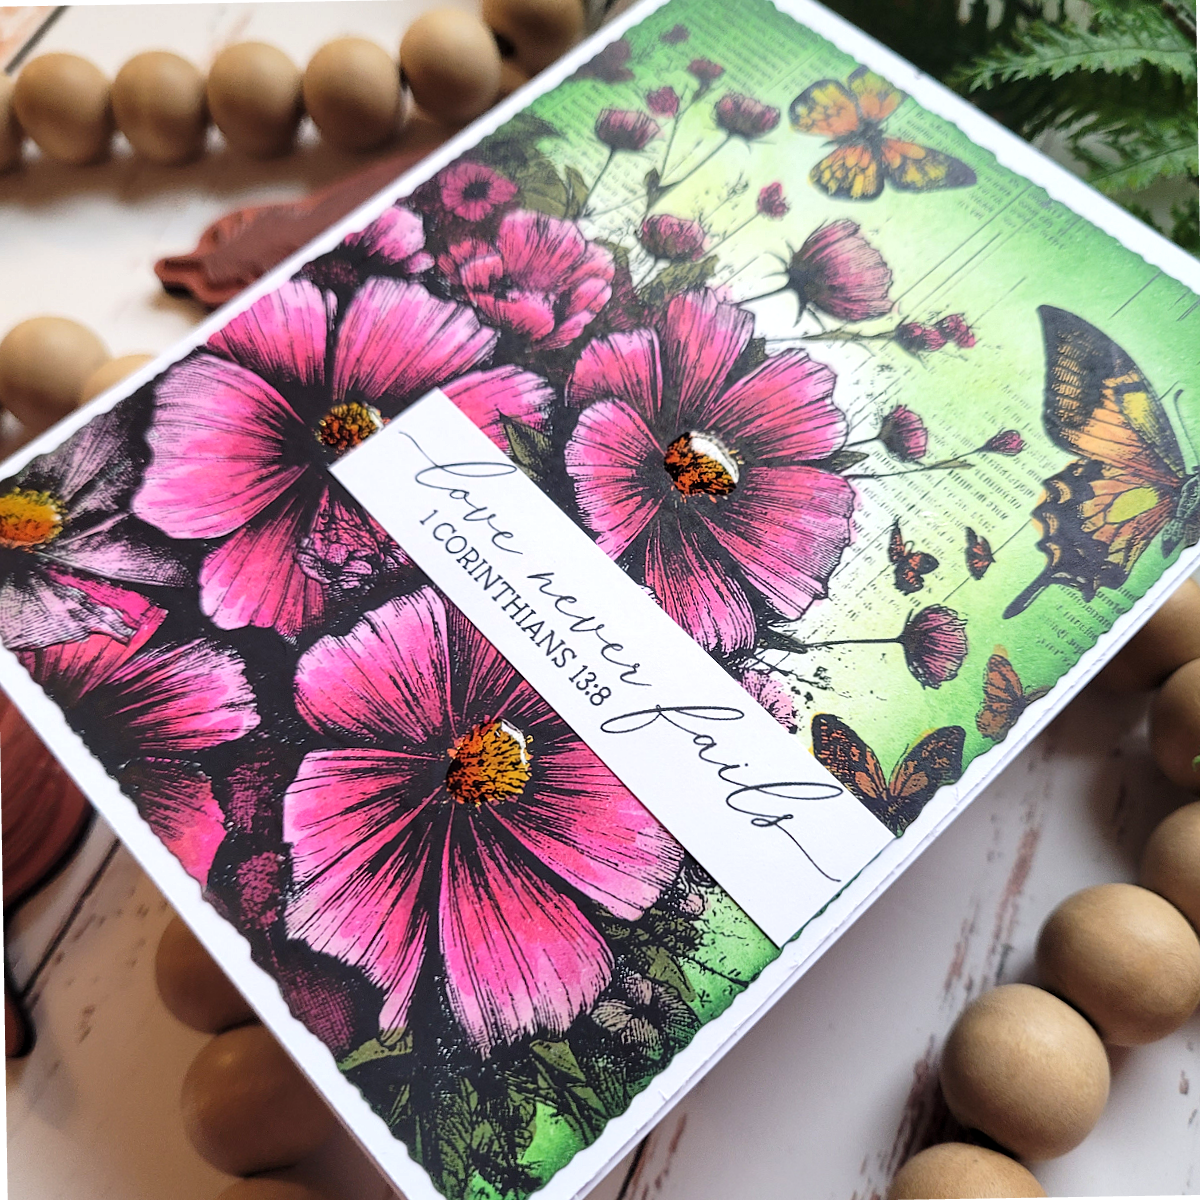
Once the coloring was finished, I trimmed the panel with my deckled paper trimmer and adhered it over a 5.5×4.25 white card base. Then I added a sentiment from another stamp set and placed it over the flowers, being careful not to cover much of the background. I finished with glossy accents over the stamins of the flowers.
TIP: Adding details such as the glossy accents brings your card to the next level!
To learn more about the monthly membership kits such as the Background of the Month, click here. Thanks for stopping by today!


