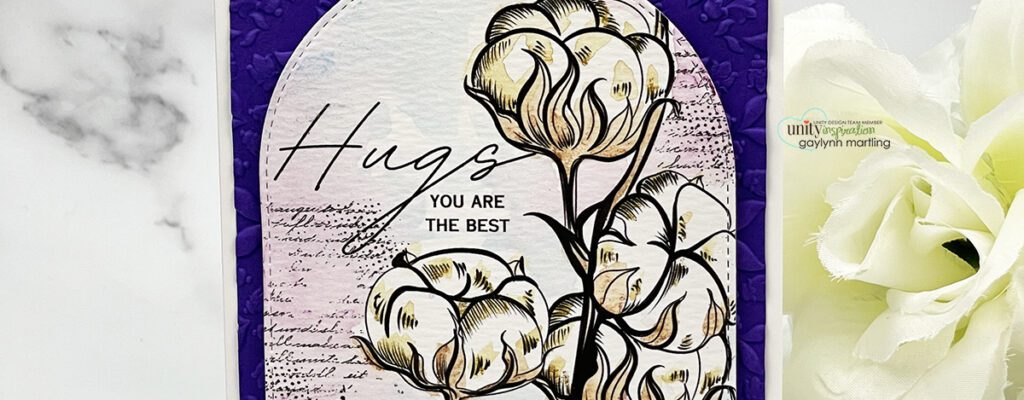
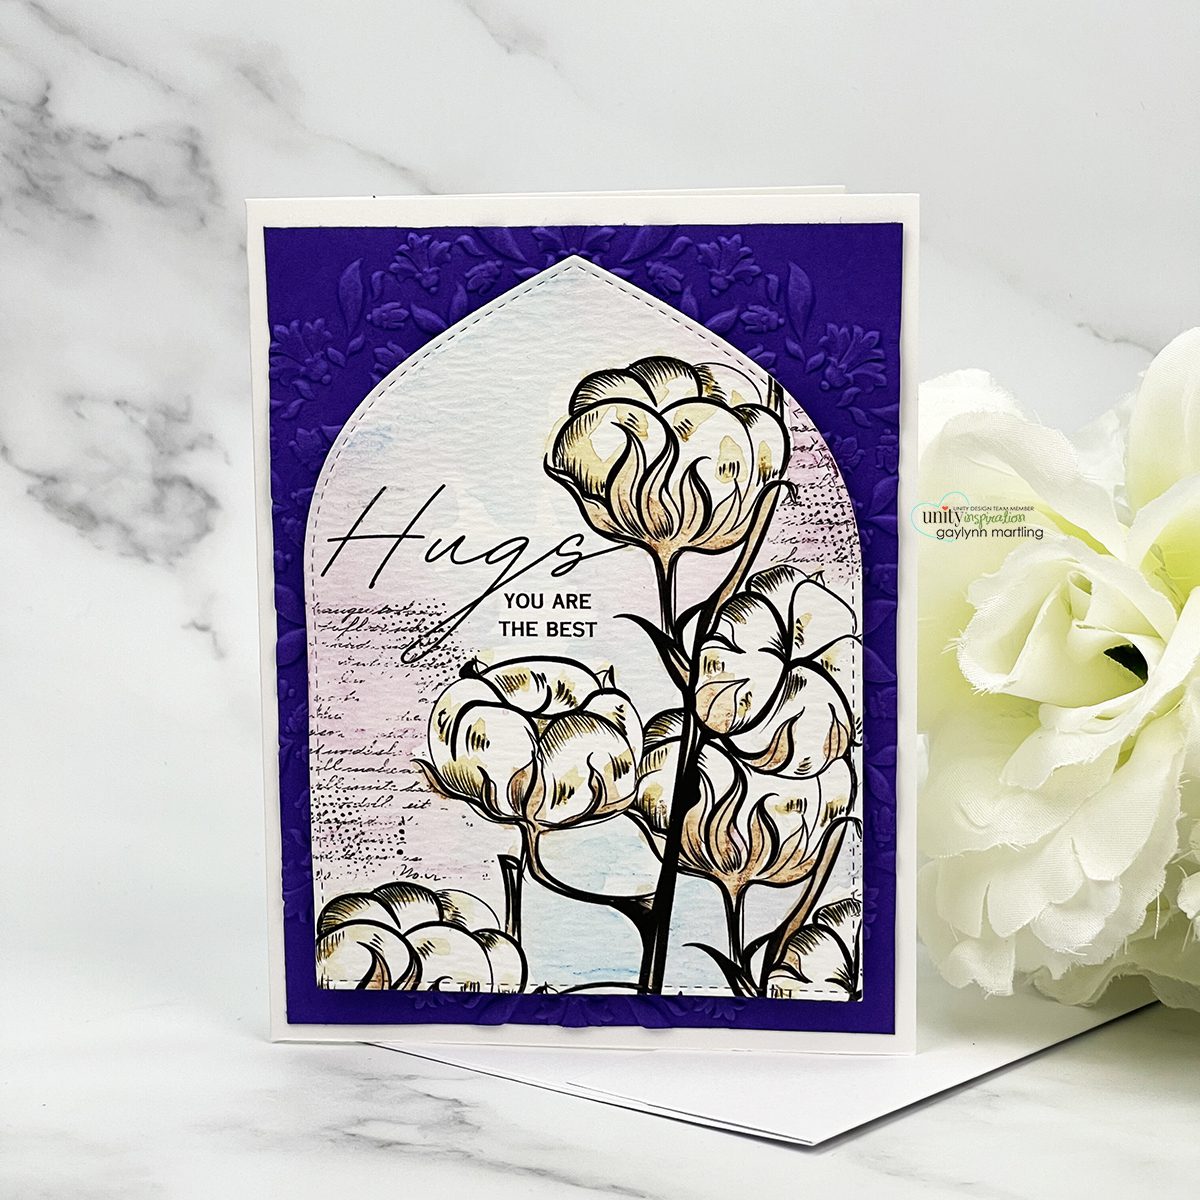
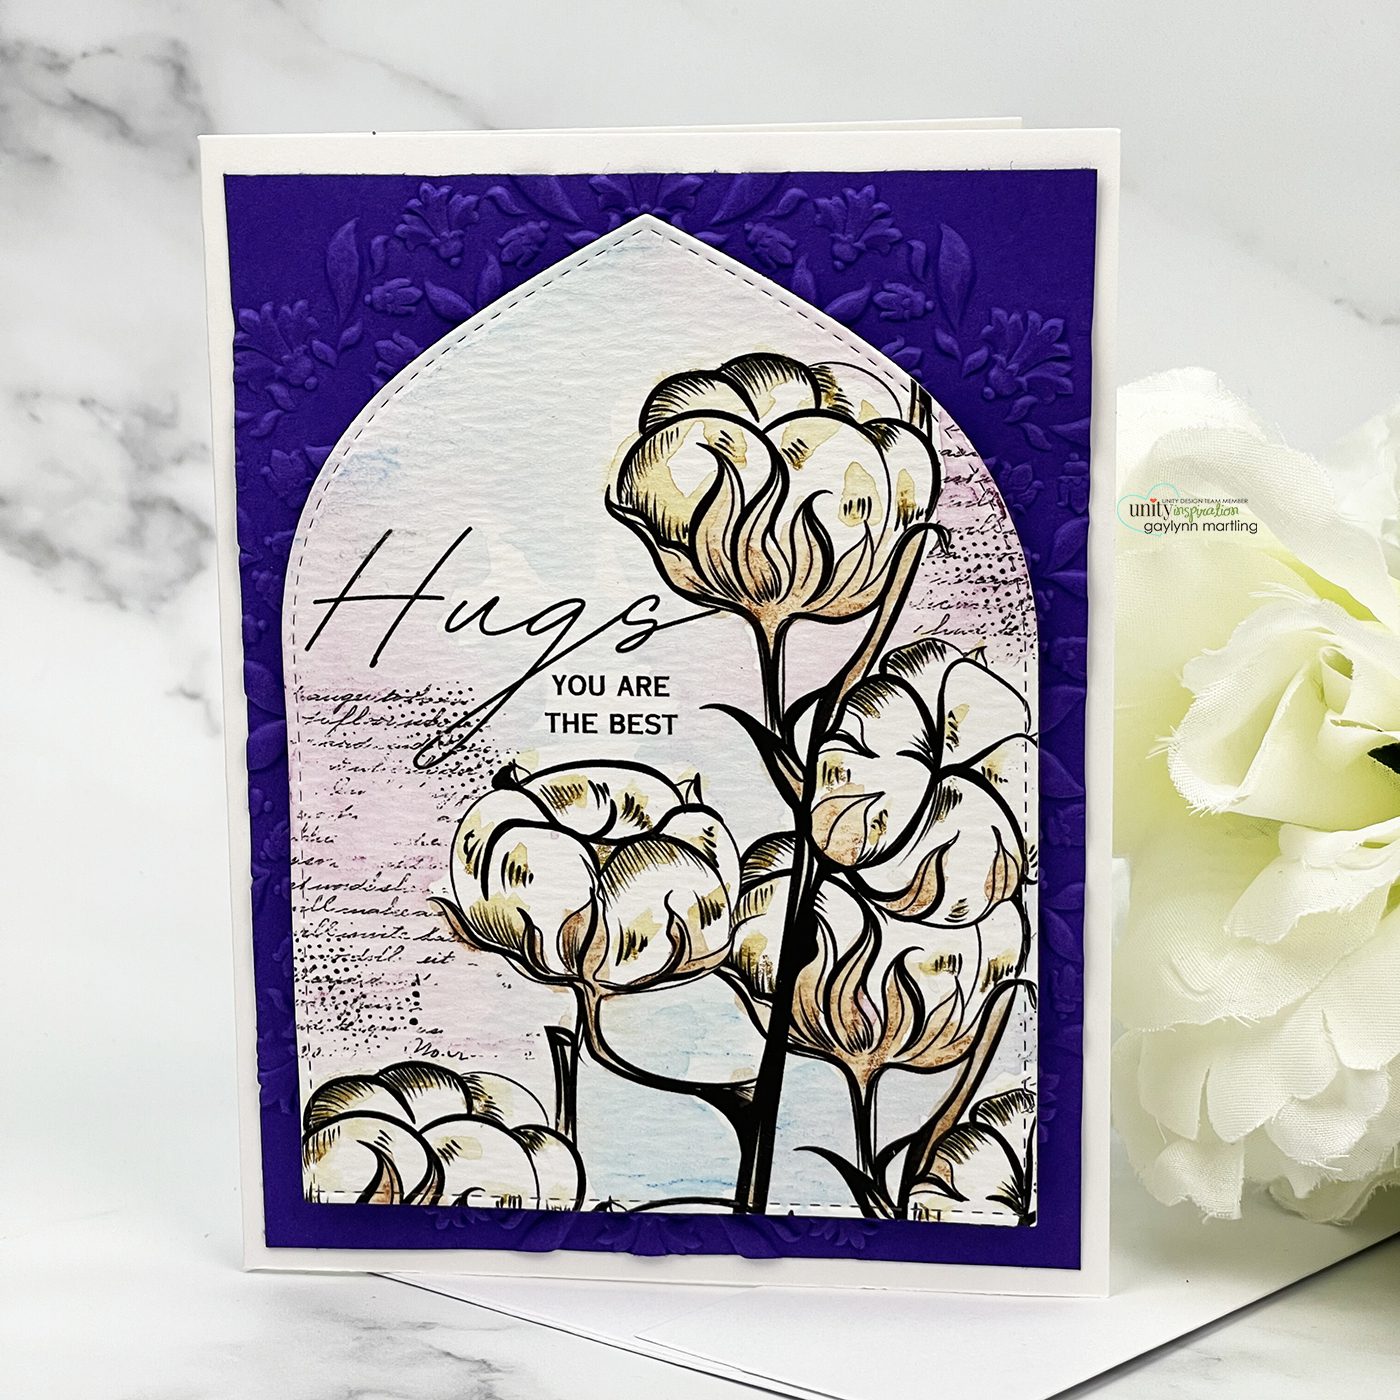
Hi friends. Gaylynn here. For today, I am sharing the card technique of watercolor pencils on a cotton plant card. This was fun to color using watercolor pencils.
 To bring out the colors, I added a dry embossed purple background layer.
 Helpful Tips:
To make this watercolor pencil cotton card, begin by preparing an A2 sized card base in white. Then, stamp the cotton, the script element and the sentiment onto the smooth side of watercolor paper. Next trim or die-cut the cotton panel and a background layer. For the background layer, I used purple cardstock and dry embossed that layer, optional.
Then, select a few shades of watercolor pencils. And, grab a small flat tipped paint brush. The flat head is more stiff to help move out the color from the pencil marks. Next, to apply color, very lightly add shading where you want color onto the watercolor paper. Then, with a damp flat tipped brush, move the brush from the pencil shading out. You will notice the color flows with the water and brush. Another way to add color is to directly swipe a wet brush onto the pencil tip and then add color to the panel. In this project, I used both techniques. Once coloring is finished, heat set the panel. Finally, layer it all onto the card base using extra tacky foam or flat double-sided tape, to finish.
This is the card a bit closer.
 This is a video of this project process.
Don’t forget, you can find my other Unity Stamp Co. features and supply links below:
Technique Time and
Watercolor Wednesday.
I hope that you give this a try and also share your makes in the Unity Show & Tell Facebook Group. Tag me so I can see what you make. I can’t wait.
Enjoy your day.
Gaylynn