Hi friends!
I have a fun technique to share with you today that will bring your cards to the next level! It’s a simple technique called die cut layering. You’ll need a set of nesting dies (any shape will do). For my card, I’m using the deckled edge nesting dies. I will also be using January’s Background of the Month stamp, Radiant Resilience stamp, a deckled paper trimmer, masking tape, clear embossing powder, white and black cardstock sized 5.5×4.25, and the Thank you layering die from Say It Big. You can find the masking tape, cardstock, and embossing powder at your favorite store! The Deckled paper trimmer is a Tim Holtz product.
First step is to create the foundation that will eventually be layered with deckled edge dies. I stamped January’s Background of the Month onto a piece of white cardstock using permanent black ink. Then I trimmed the image using my deckled paper trimmer to 3.75×5. I also trimmed a piece of black cardstock to 4×5.25. Already we have 2 layers created plus the white card base sized 5.5×4.25!
TIP: This is where your layering dies come in handy. Use the different sizes to build your layers! And get creative! You could use circles, ovals, rectangles, whatever you want! Get creative with the cardstock colors as well!
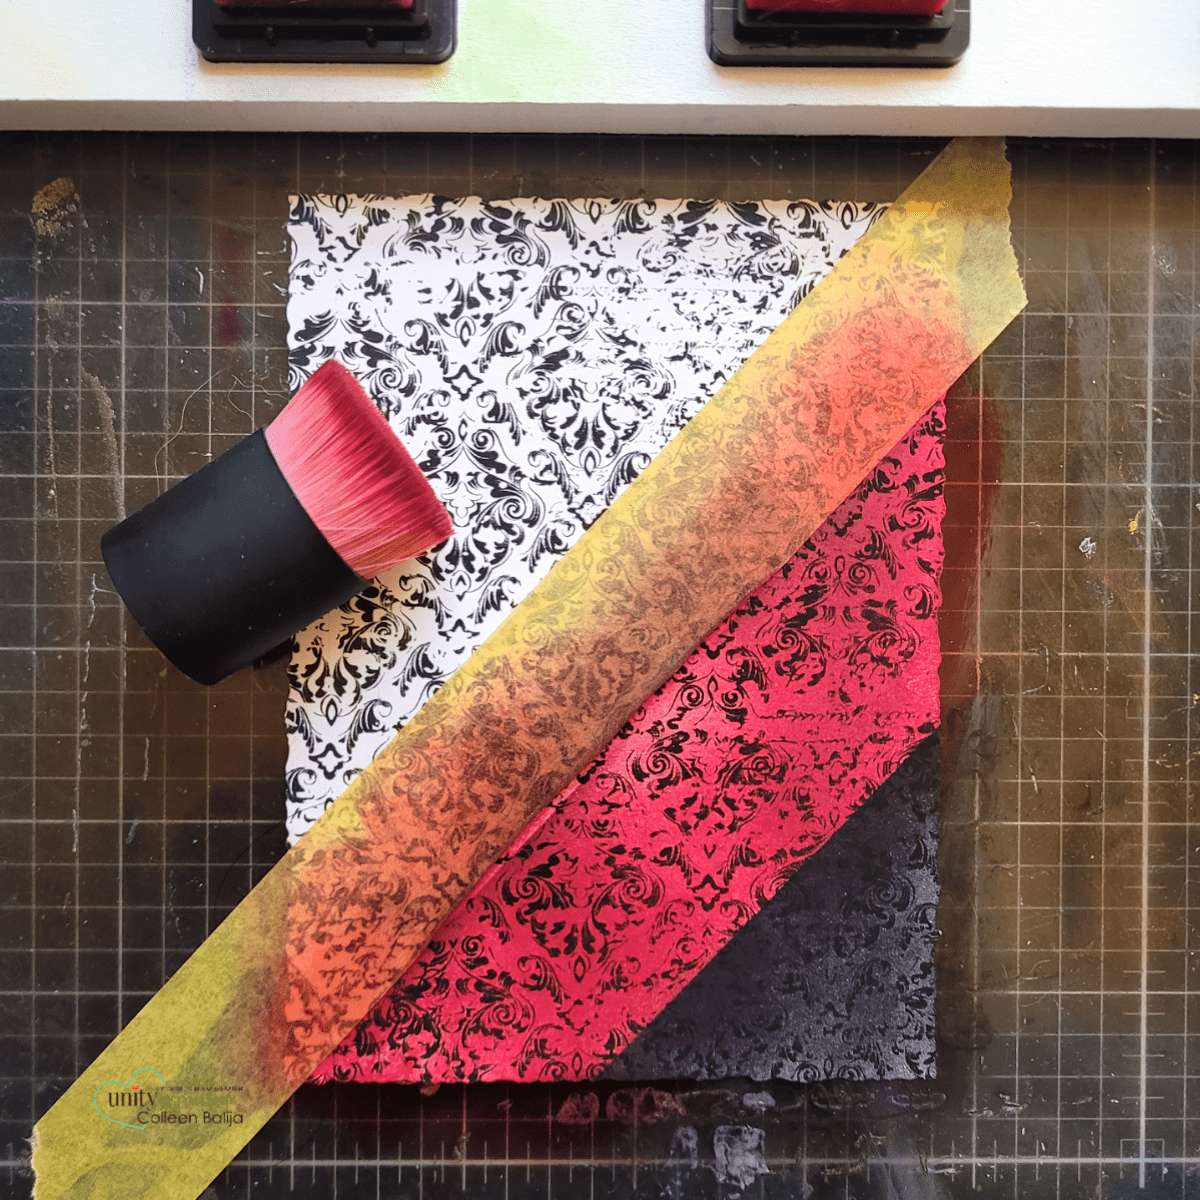
Next, I added color to the stamped image using 3 shades of red and one shade of black. I tore a piece of masking tape (about 5″ in length) and placed it at an angle on the lower right part of the card panel, about 3″ from the edge. Then I inked up below the tape with the darkest color, which was black. I moved the masking tape up further on the card panel and continued to ink blend below the masking tape.
In the photo below, you can get a visual of my process! I love the sharp lines that result from this type of ink blending with masking!
When the inking was finished, I started on the next 2 layers of die cutting. Using 2 smaller sizes of deckled edge dies (smaller than the previous 2 layers mentioned above), I die the center of the colored card panel with the smallest size die and then cut another piece of black cardstock in a size larger. You can see what I mean in the photo below!
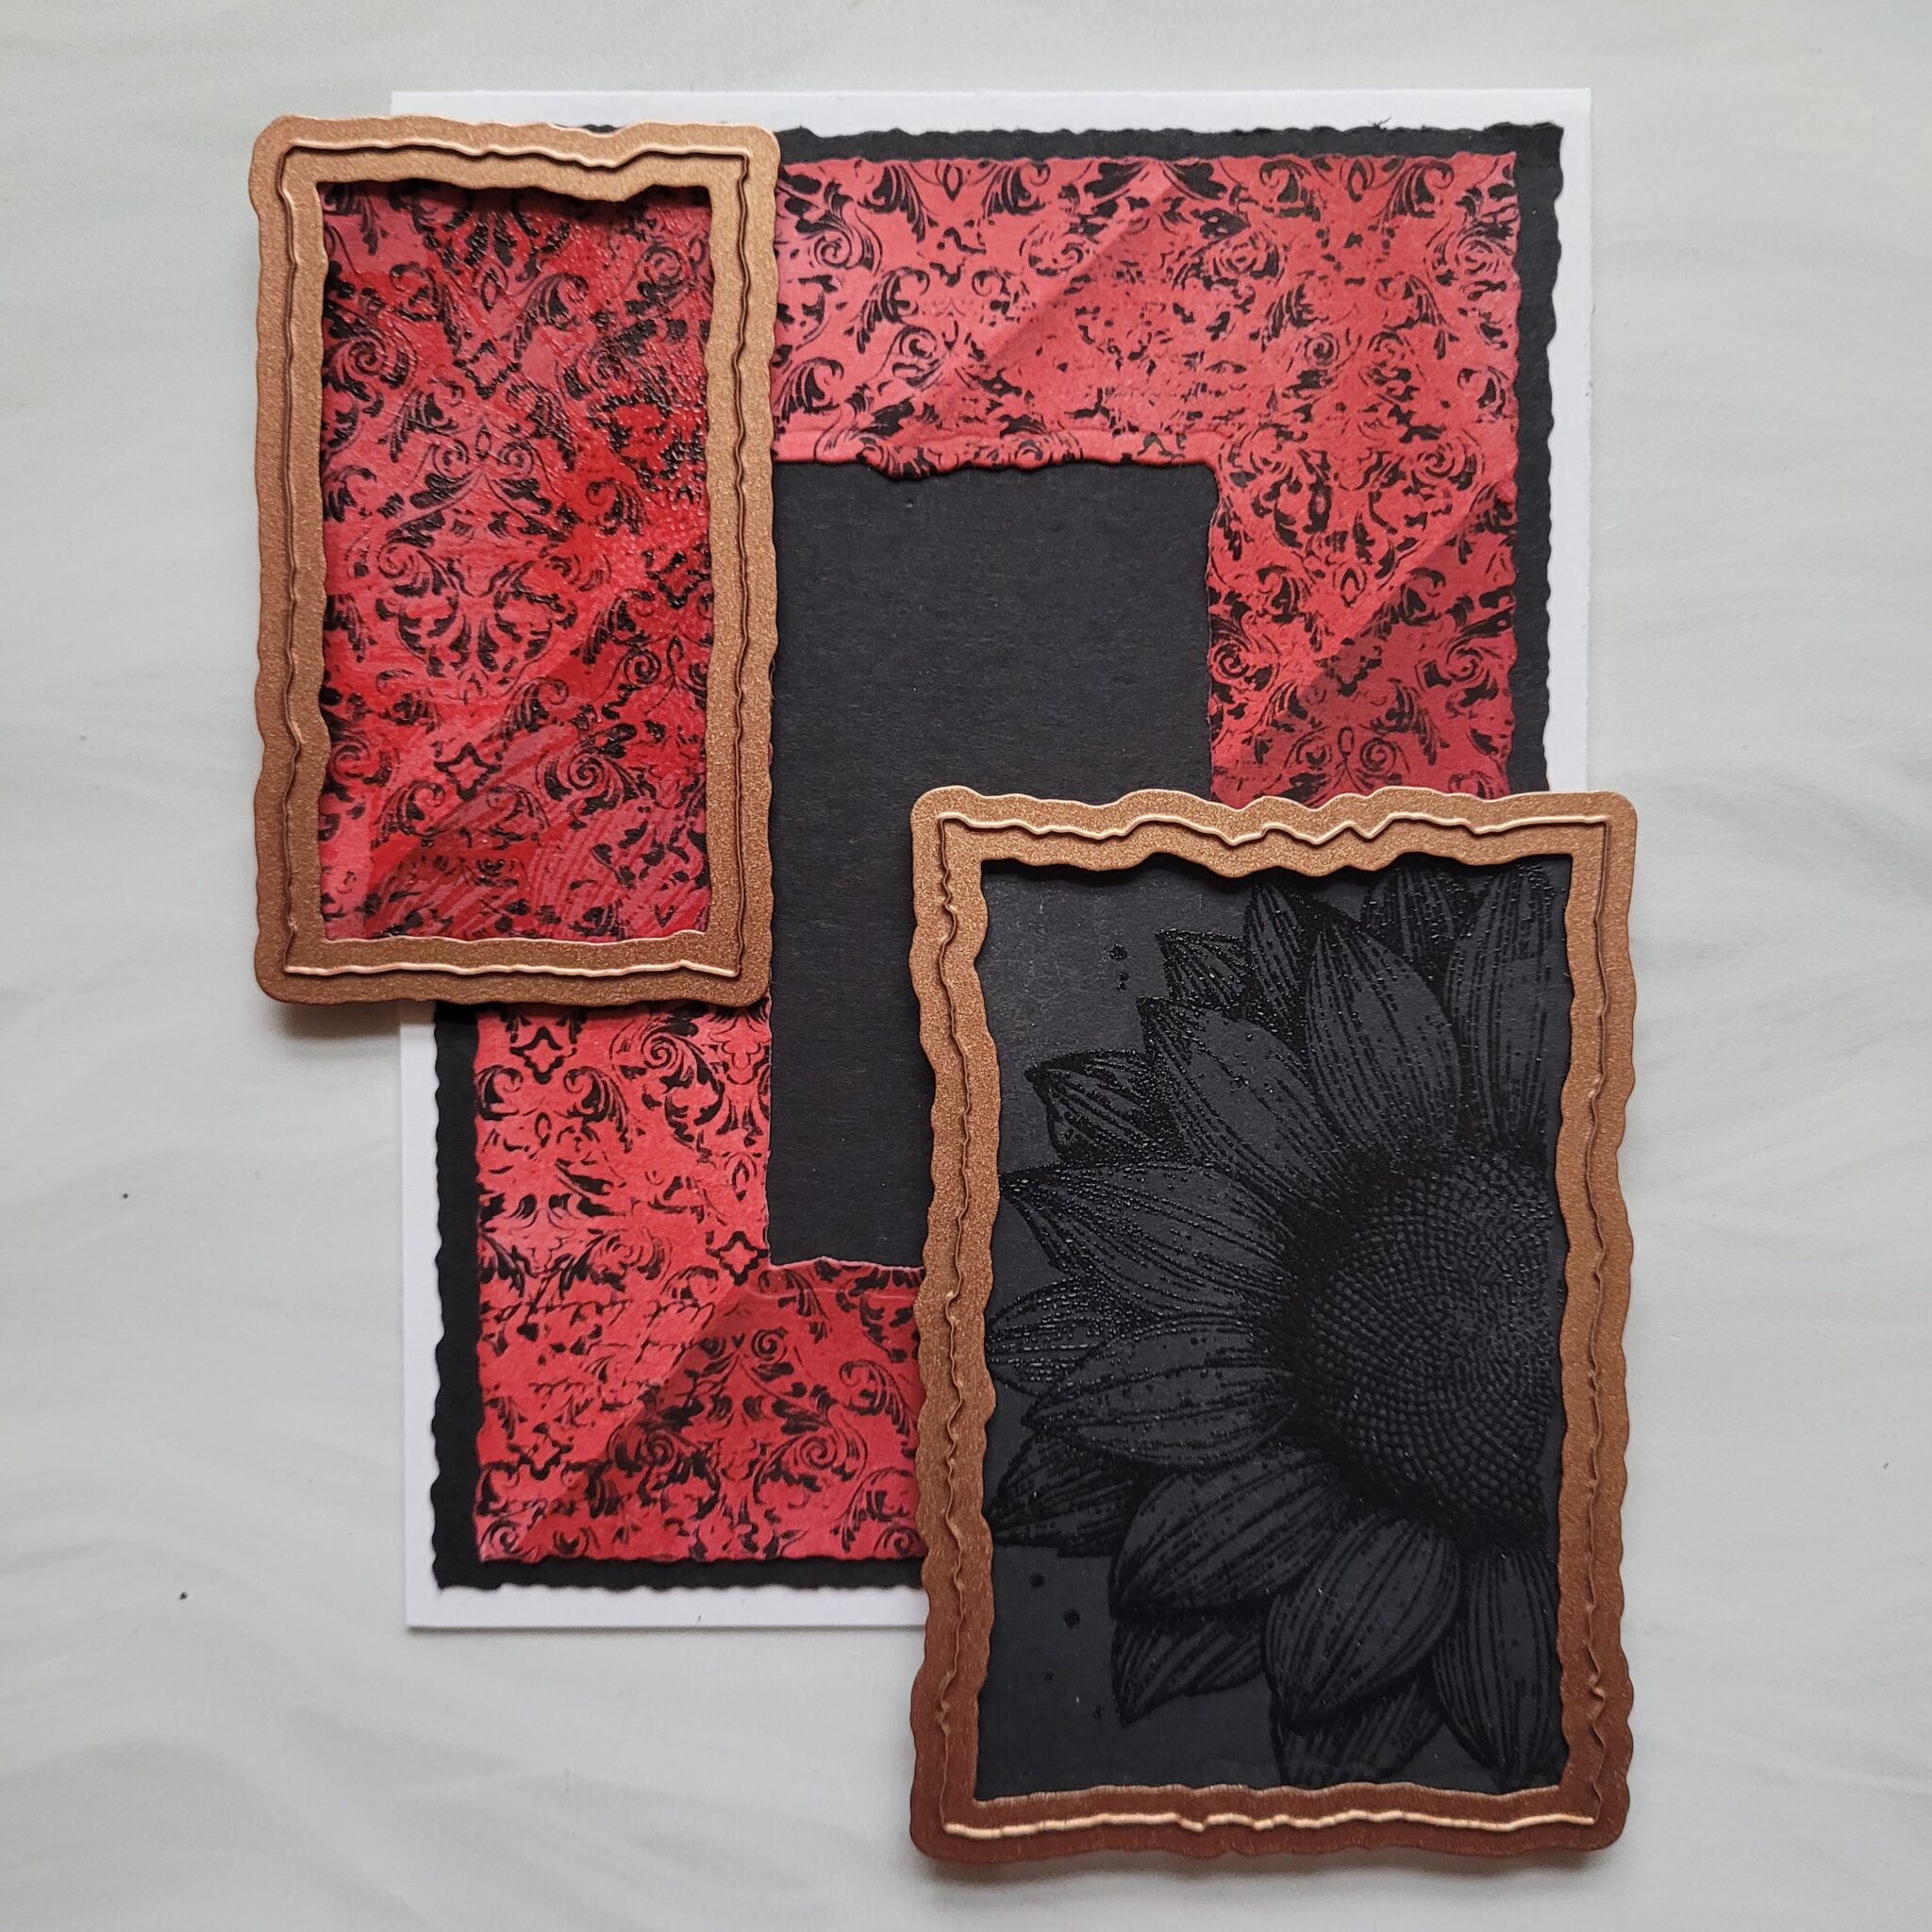
At the last minute I decided to add another element of detail to my design, so I stamped the sunflower from Radiant Resilience and heat embossed it with clear powder. I did the same with the center, colored panel. You can see it in the photo above! It’s subtle, but it adds more detail, and I LOVE my details!
Now I was ready to build all my layers onto the white card base, going from largest to smallest. You can see the details in the photo below and how much interest these layers add!
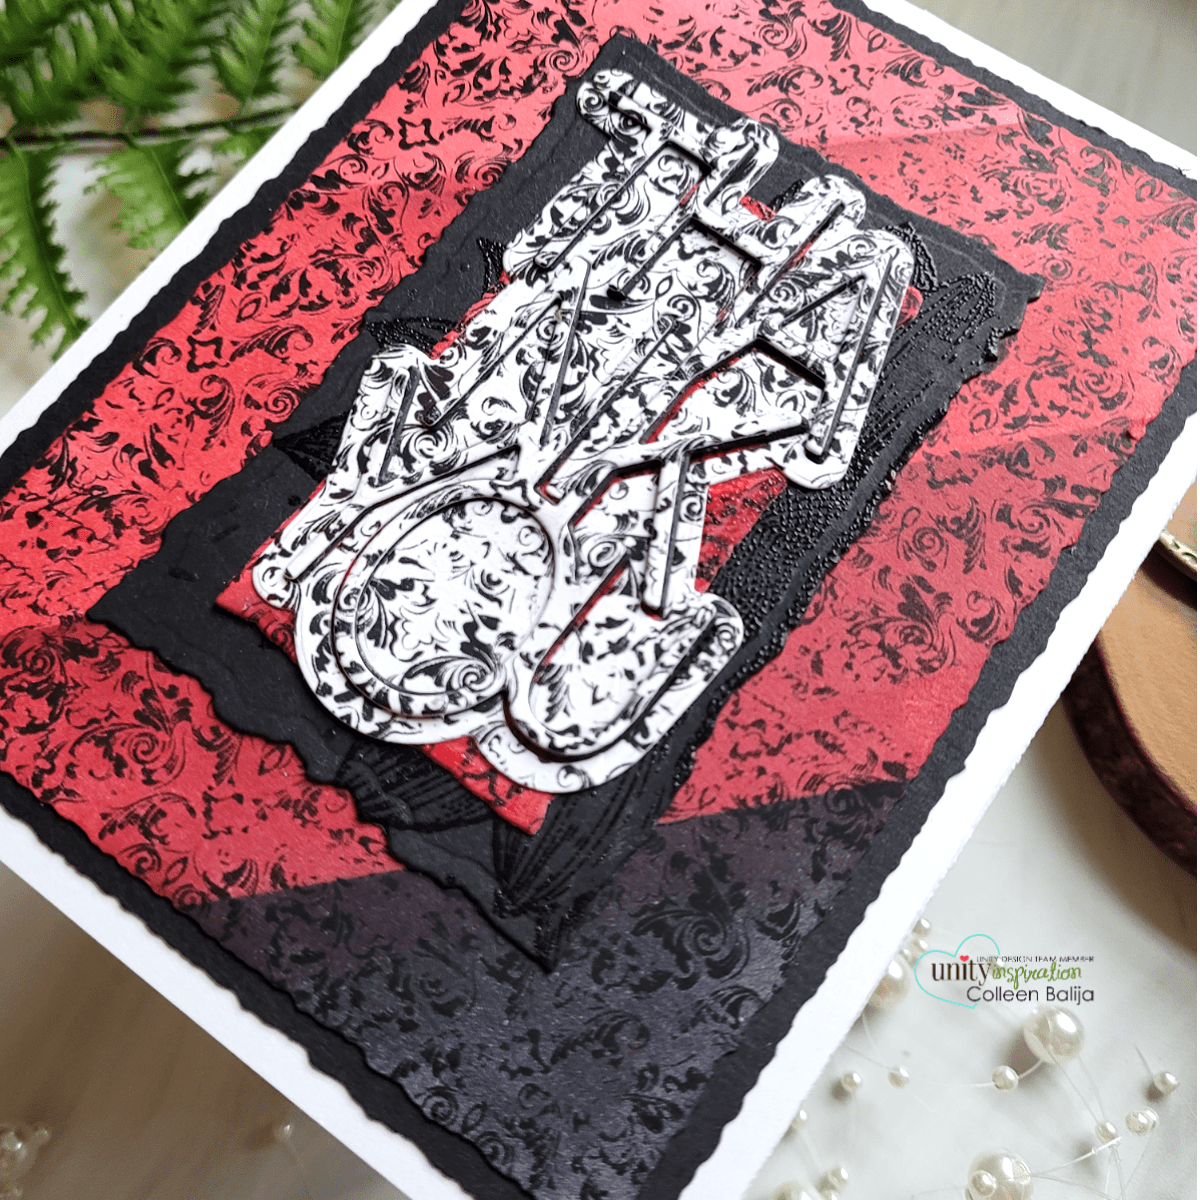
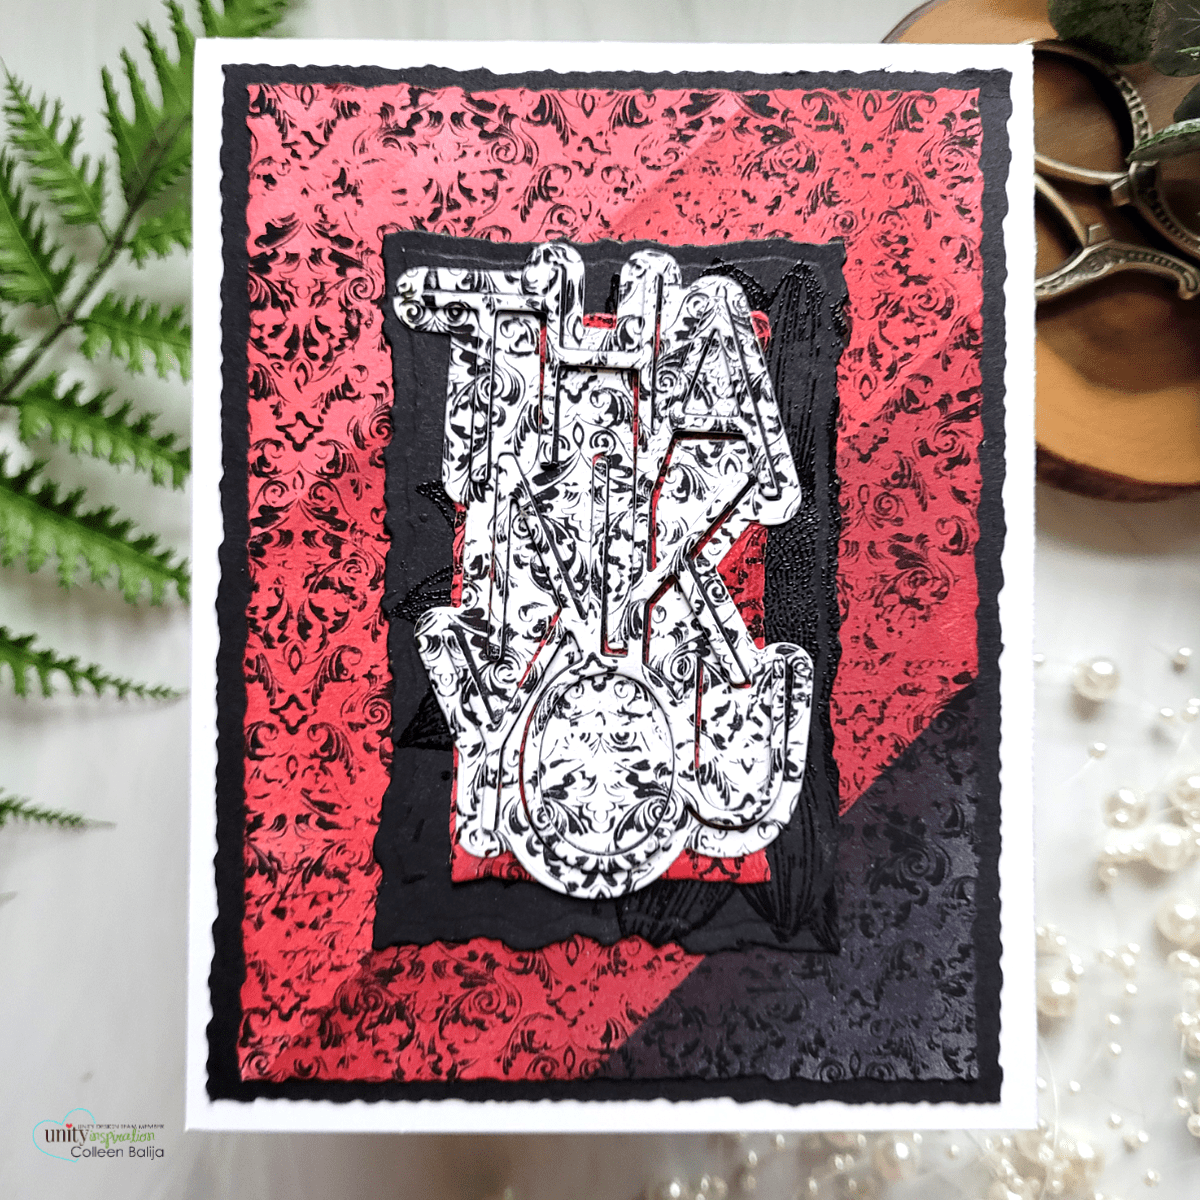
My final step was the sentiment. I stamped the January BOM onto a piece of white cardstock using permanent black ink. Then I die cut both layers of the die onto it. I also die cut the sentiment itself 2 more times and adhered the 3 layers together (this helps the sentiment pop up a bit as you can see in the photo below). I adhered the layering Thank You die over the center of the background panel. Because I used the same pattern for the sentiment that was in the background and used minimal colors, I was left with a cohesive finish!
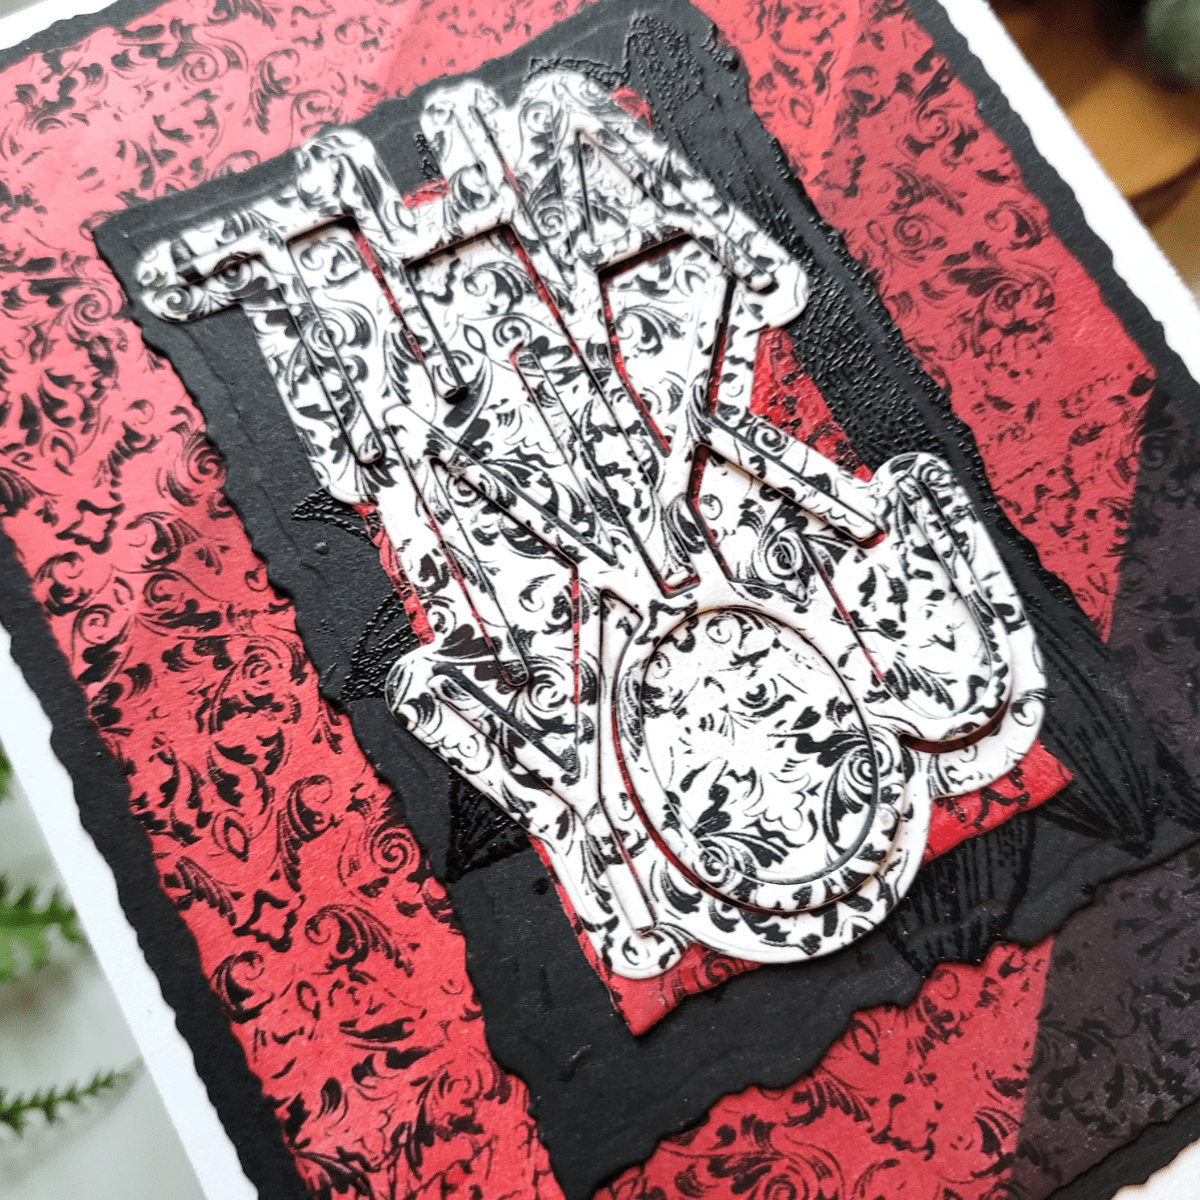
This was such a fun technique to do, and it especially works with your background stamps! It adds dimension and interest, but it doesn’t steal the show from the GORGEOUS background stamp!
To shop the membership kits, click here. To shop the items used in this blog post, click on the description to be taken to the shop.


