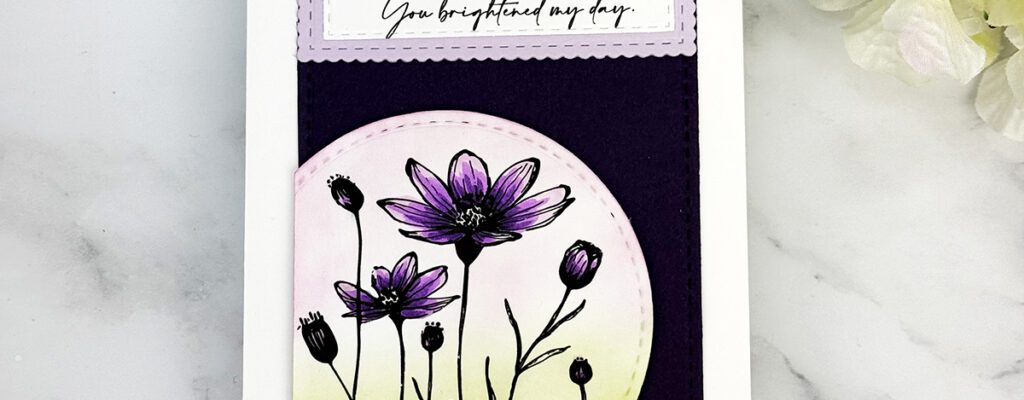
Happy New Year to you and yours. It’s Gaylynn. Here is my first project to kick off 2025. Today’s project shows how I create a partial die-cut spotlight thank you card. This is a simple technique using dies or cut files. The supplies that I used to make the elements are linked below.

I used stamps, Copic markers for coloring and circle dies. Color cardstock was also used in the background and for the sentiment in purple hues.
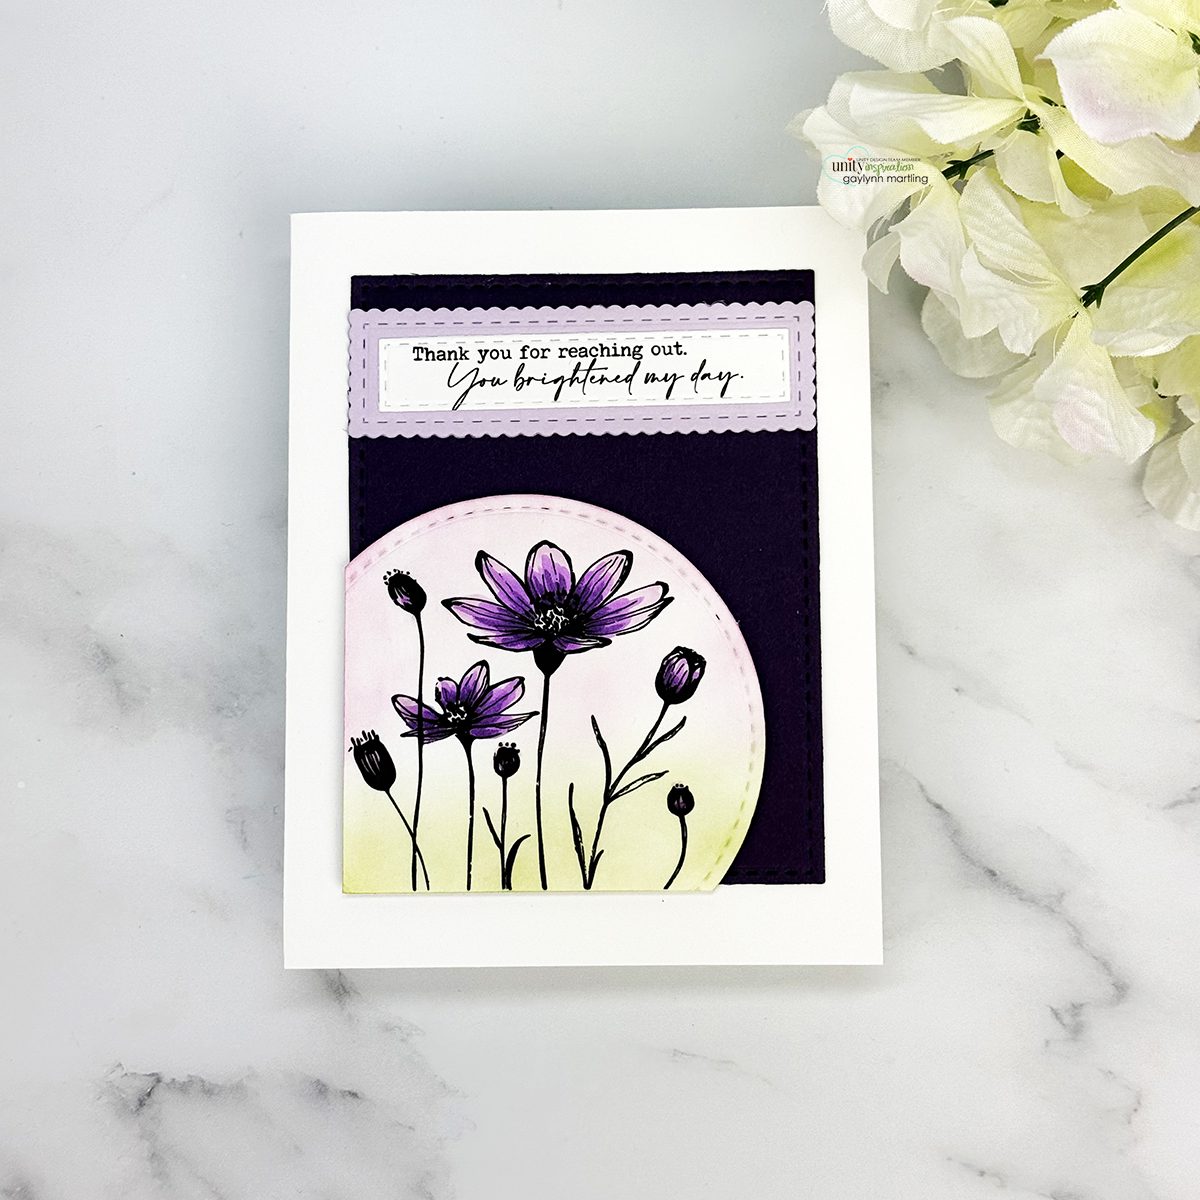
Sentiment:
Thank you for reaching out. You brightened my day.
Helpful Tips:
-
Prepare an A2-sized side fold card base from white cardstock, 4 1/4″ x 5.5″ folded.
-
Onto white cardstock, stamp the flowers in Copic-friendly black ink. And, stamp the sentiment in black onto another piece of cardstock.
-
Die-cut or trim the floral stamping using a circle-shaped die to be used as a spotlight. Trim the side and bottom edges of the circle cut to fit onto one side of the purple rectangle background.
-
Trim or die-cut a rectangle background panel in purple, smaller than the card base.
-
Stamp then trim or die-cut a sentiment panel and a light purple frame layer.
-
Add color to the flora panel. I used Copic markers, but use what you have.
-
Lightly add ink blending in green and pink on the floral panel.
-
Layer and adhere the flower layer and the sentiment panel over the purple background. Then adhere the layered panel onto the card front, to finish.
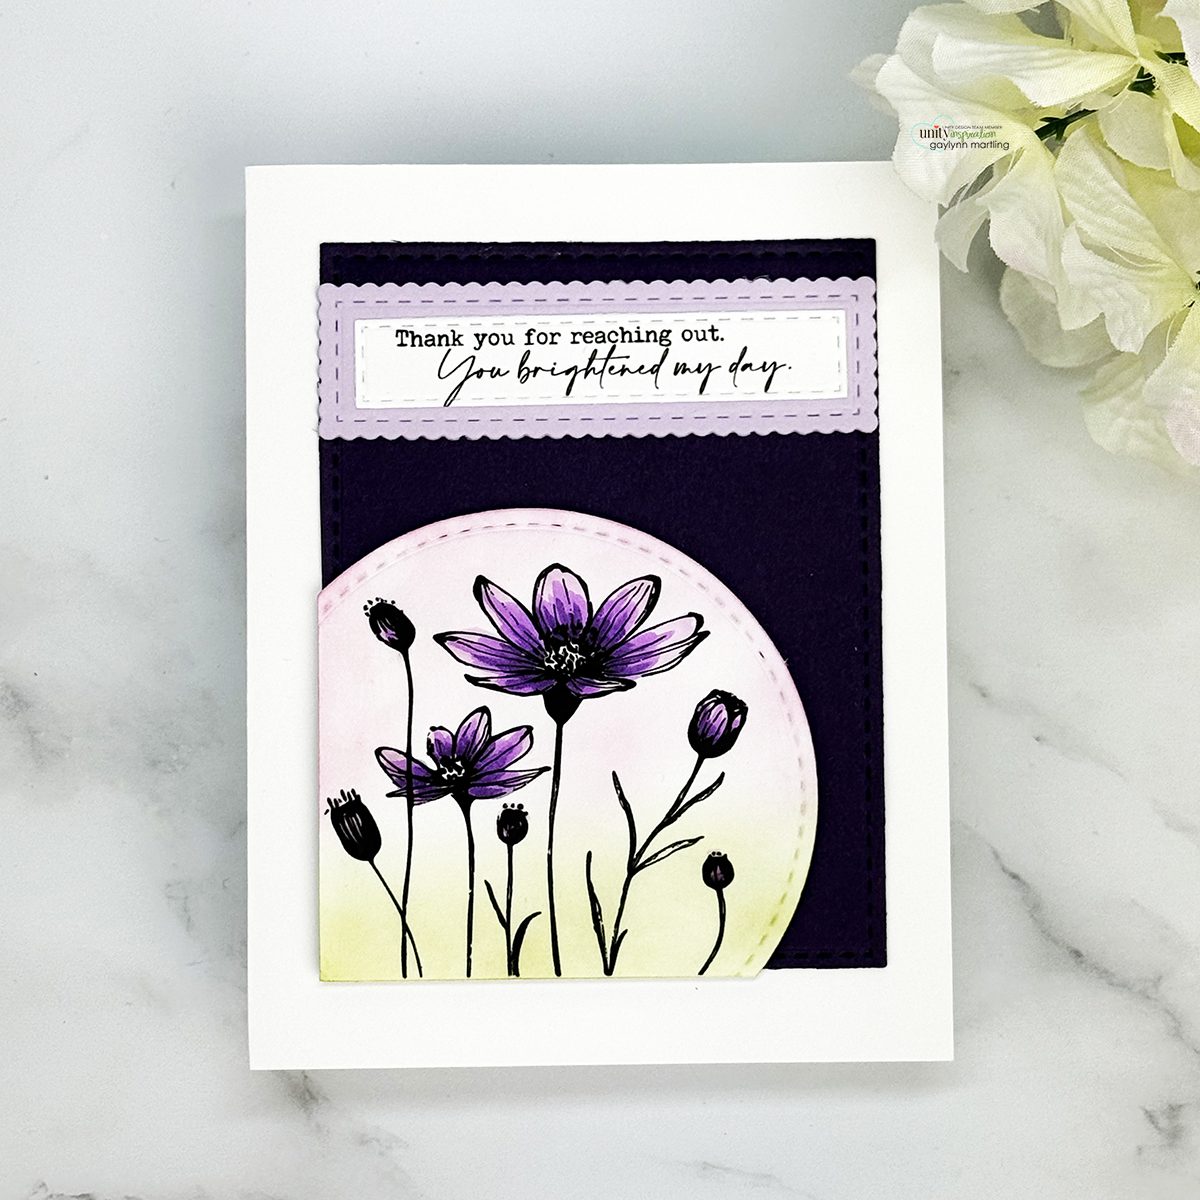
And finally, here is a closer look at the finished card.
See the short video of the project:
Be sure to visit my other features here on the Unity Stamp Co. blog:
Technique Time and
Watercolor Wednesday.
I hope you try this project and share your makes in the Unity Show & Tell Facebook Group. Feel free to tag me so that I can see what you make.
Thanks for visiting.
To receive my crafty newsletter by email, click HERE to subscribe.
Gaylynn
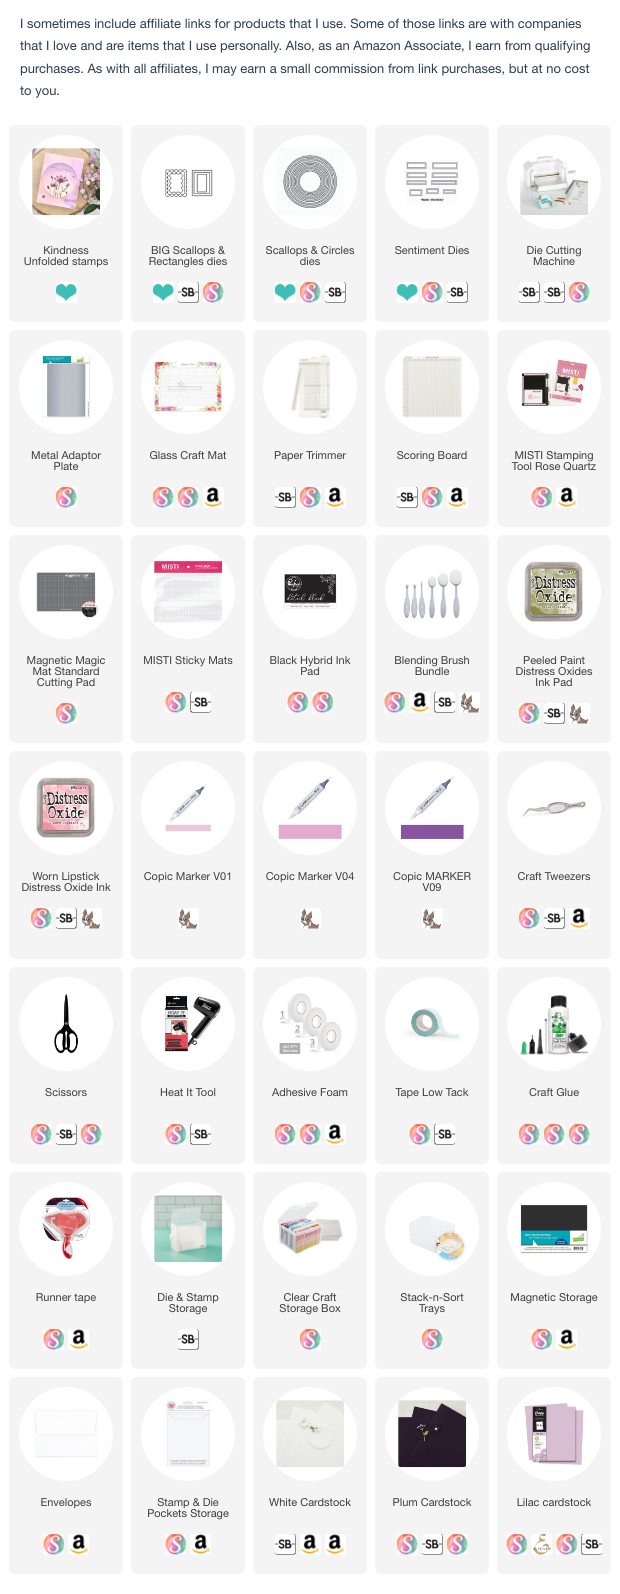
 Supplies: Click below for my project affiliate page with clickable photos.


