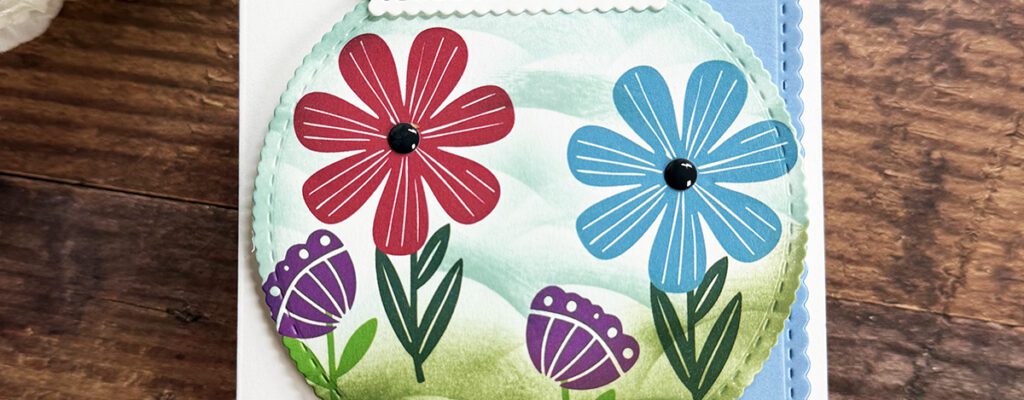
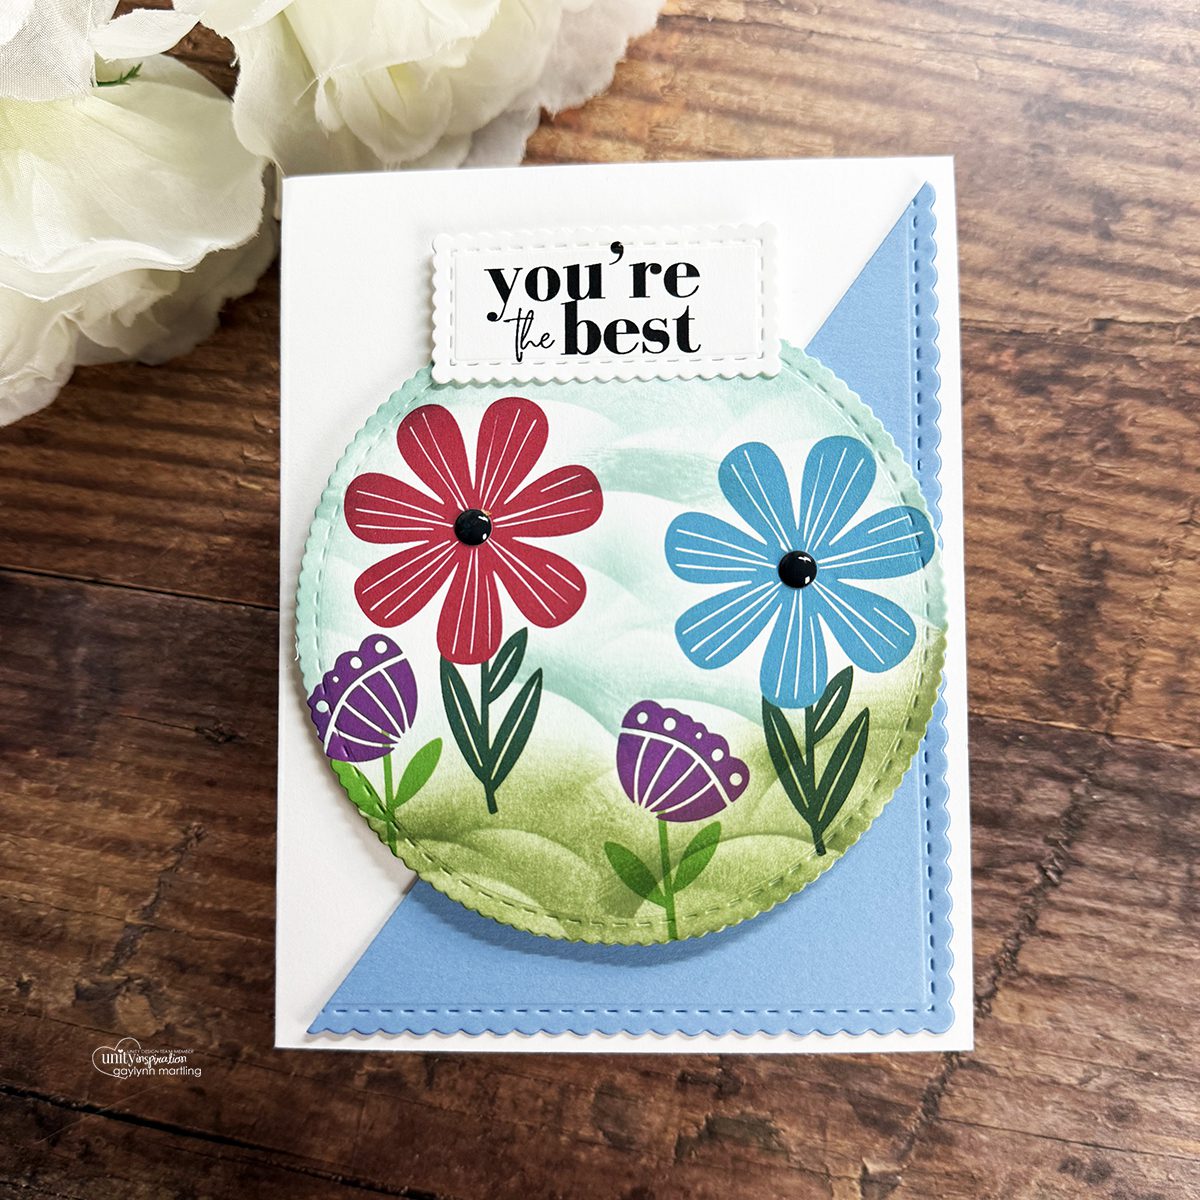
Hello. I’m Gaylynn and I am sharing this card project here on the Unity blog. Today, I show a whimsical floral card made using simple silhouette stamping and ink blending but in a different way. Silhouette stamps are some of my favorites to work with. They look striking and bold. I made a soft scene to complement the flowers.

For the background, I used a simple circle die-cut piece to stencil the clouds and the ground. I used Unity Stamp Co. April 2025 Whit Kit Card Kit red rubber stamps for this card. The supplies are linked below.
Sentiment:
You’re the best.
Helpful Tips:
-
Prepare a white A2-sized card base, 4 1/4″ x 5 1/2″ folded.
-
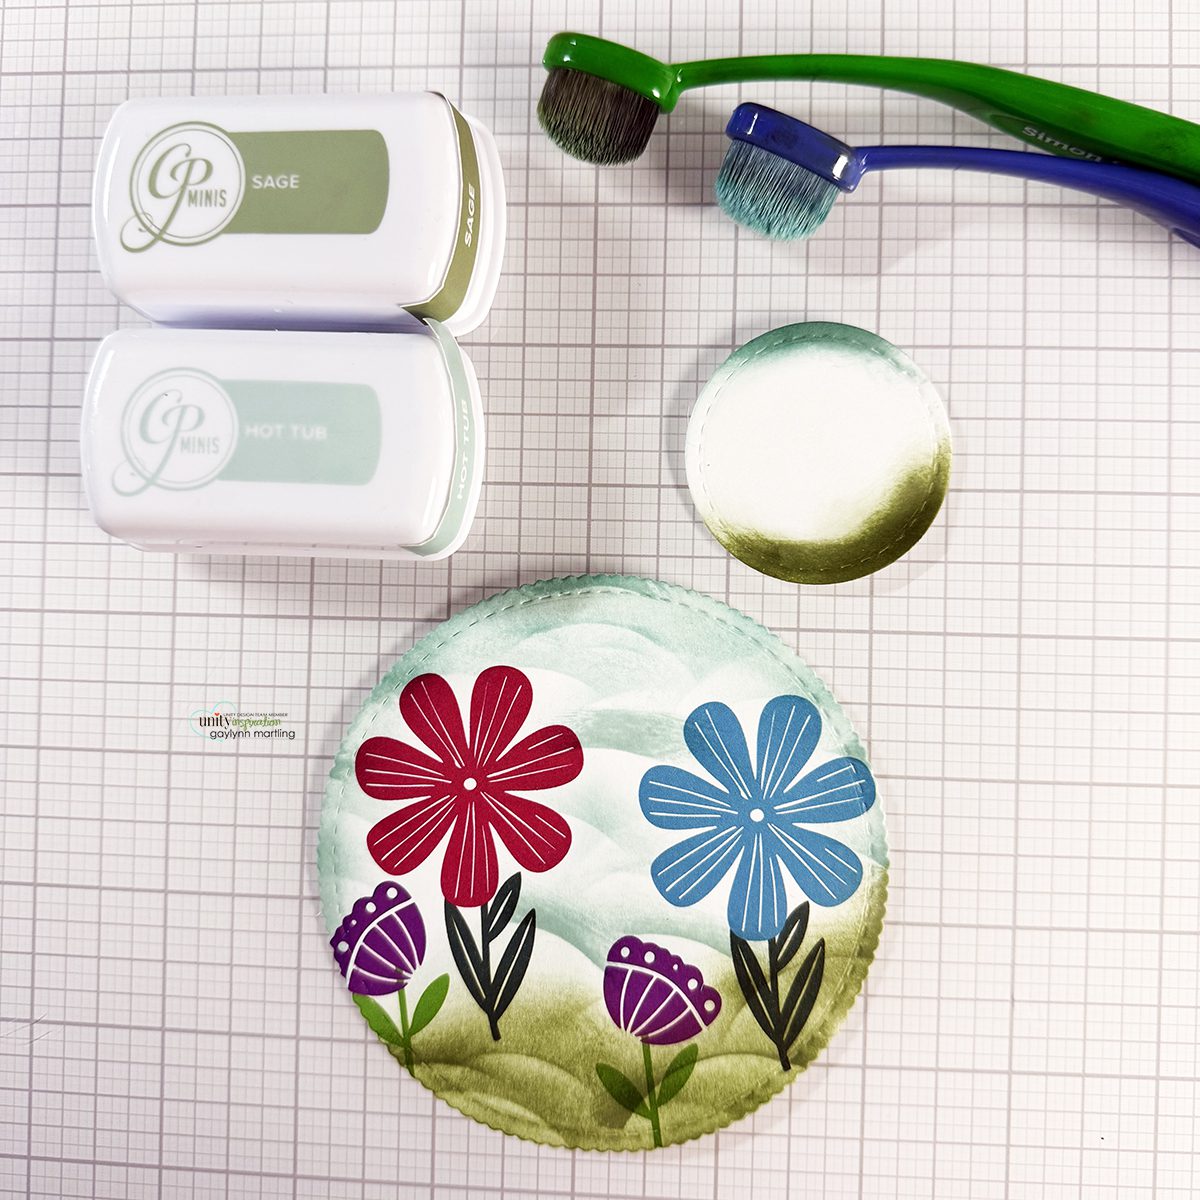
Onto smooth white cardstock, stamp four flowers and stems near each other using different ink pad colors.
-
Die-cut the flower panel using circle dies.
-
Add light blue and green ink blending in the background for the ground and the sky. I made a die-cut circle piece as a cloud & ground template using circle dies.
-
Add black enamel dots or gems to the center of the large flowers.
-
Stamp the sentiment on white cardstock using black ink and then die-cut using sentiment dies.
-
Die-cut a large rectangle using rectangle dies and then cut the panel in half diagonally.
-
Adhere one diagonal layer near the bottom right side of the card front.
-
Add double-sided flat or foam tape behind the circle and sentiment panels.
-
Adhere the circle flower scene and the sentiment to the card front.
Alternatively, take a look at the first of the photo steps.
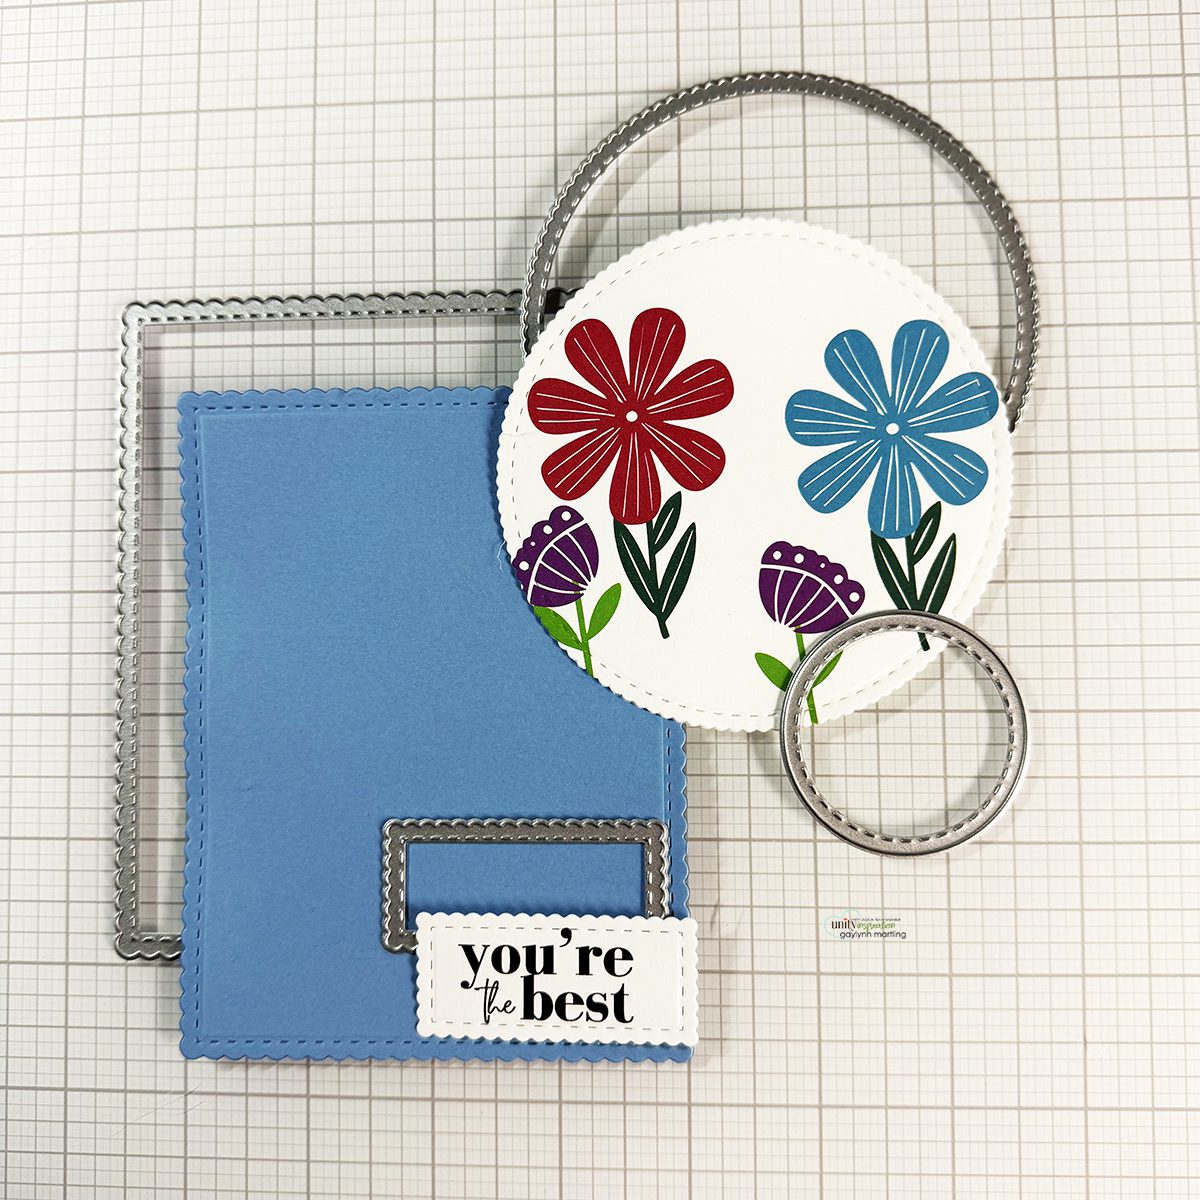
Also, this is a look at the second step in the process.
Be sure to visit my other features here on the Unity Stamp Co. blog:
Technique Time and
Watercolor Wednesday.
I hope you try this project and share your makes in the Unity Show & Tell Facebook Group. Feel free to tag me so that I can see what you make.
Thanks for visiting.
To receive my crafty newsletter by email, click HERE to subscribe.
Gaylynn
 Supplies: Click below for my project affiliate page with clickable photos.