Hello, it’s Gaylynn here with another installment of my Watercolor Wednesday series. Today, I am sharing a planner watercolor process with stamping.
Today’s technique focuses on one way to incorporate planner watercolor along with stamping. This provides a mixed media style look that works perfectly in planners, journaling, Bible journals and card making.
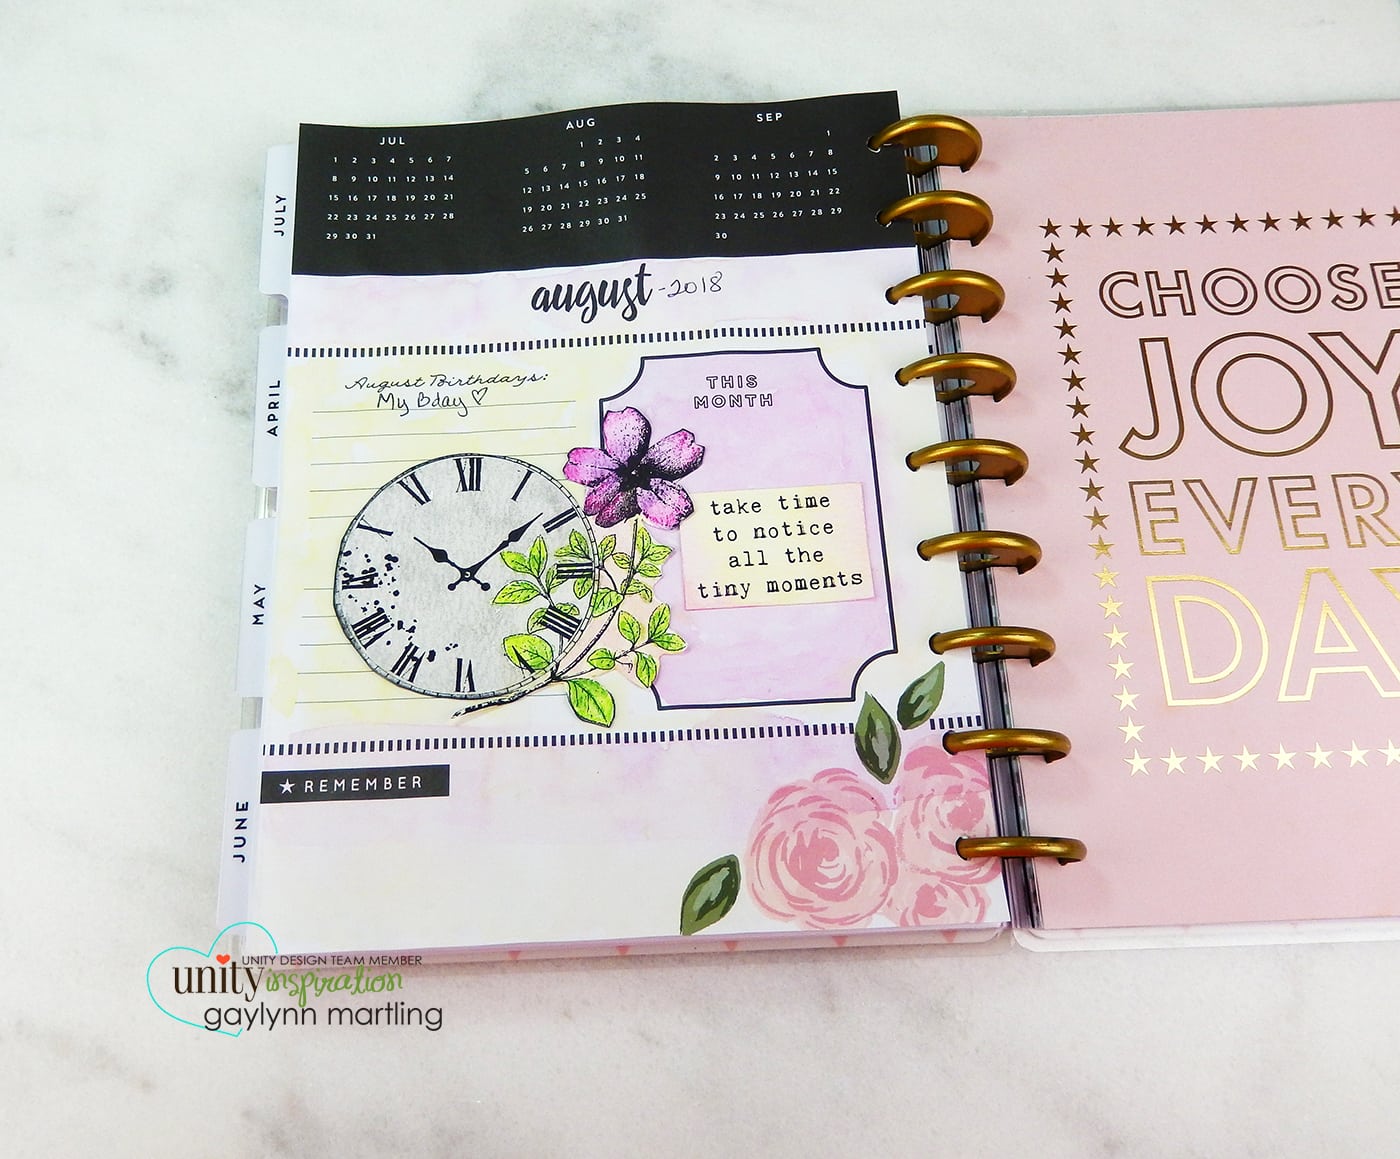
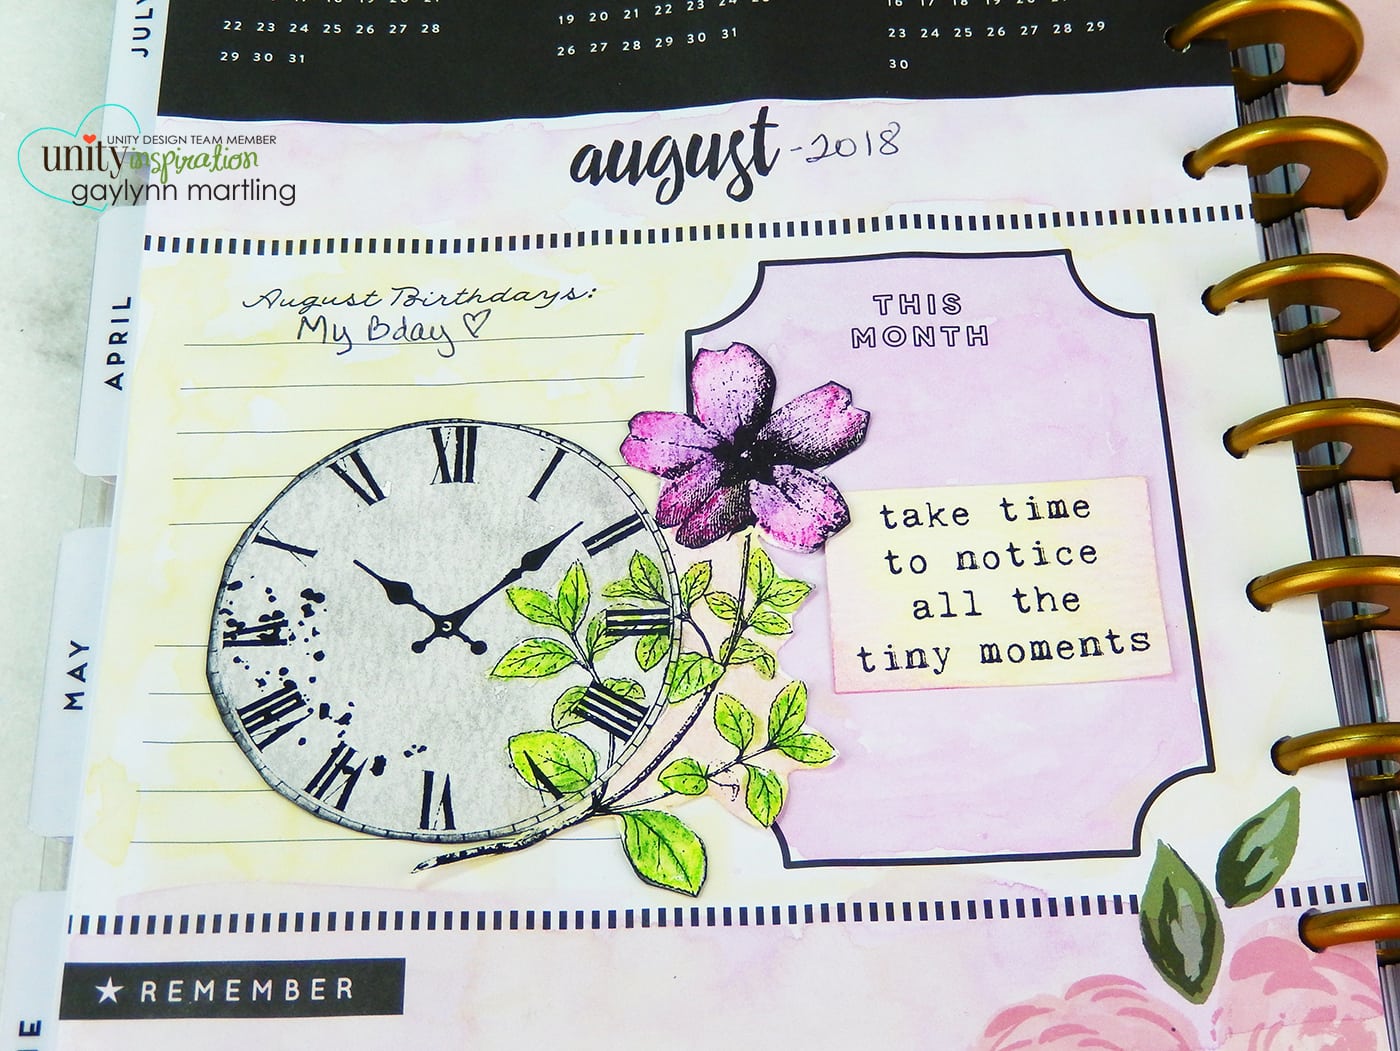
Sentiment: Take time to notice all the tiny moments.
Unity Stamp Co. products used:
Notice Moments August 2018 Layers of Life
Other products used:
The Happy Planner by Me & My Big Ideas and Derwent Inktense watercolor pencils.
For this project, I made a quick video tutorial for this planner’s watercolor page. It includes instructions along the way throughout the video. However, a written process follows below.
Planner Watercolor with Stamping
By Gaylynn Martling for Unity’s Watercolor Wednesday
(See also the video tutorial for this project.)
To begin, add watercolor in light shades directly onto the planner background sections that you want to color. Blot puddles with a paper towel.
For the clock and the planner background, I used a wet brush to pick up color from the pencil tip.
Then, I added those colors to a plastic craft mat for my loose watercolor palette.
Dry completely. Iron the paper to press out warped or wrinkled areas.
Then stamp onto watercolor paper with waterproof ink. Watercolor the stamping and also the sentiment.
For the flower, I added light pencil strokes in different colors on the edges. Then, with a wet brush, I blended out the color. Heat set.
Fussy cut and add distress ink to the edges if preferred.
Derwent Inktense watercolor pencils used: 0610, 0700, 0600, 0740, 1400, 1530, 2200, 2300 and 0200.
Once everything is dry, assemble the planner page.
Here are more photos of this planner page.
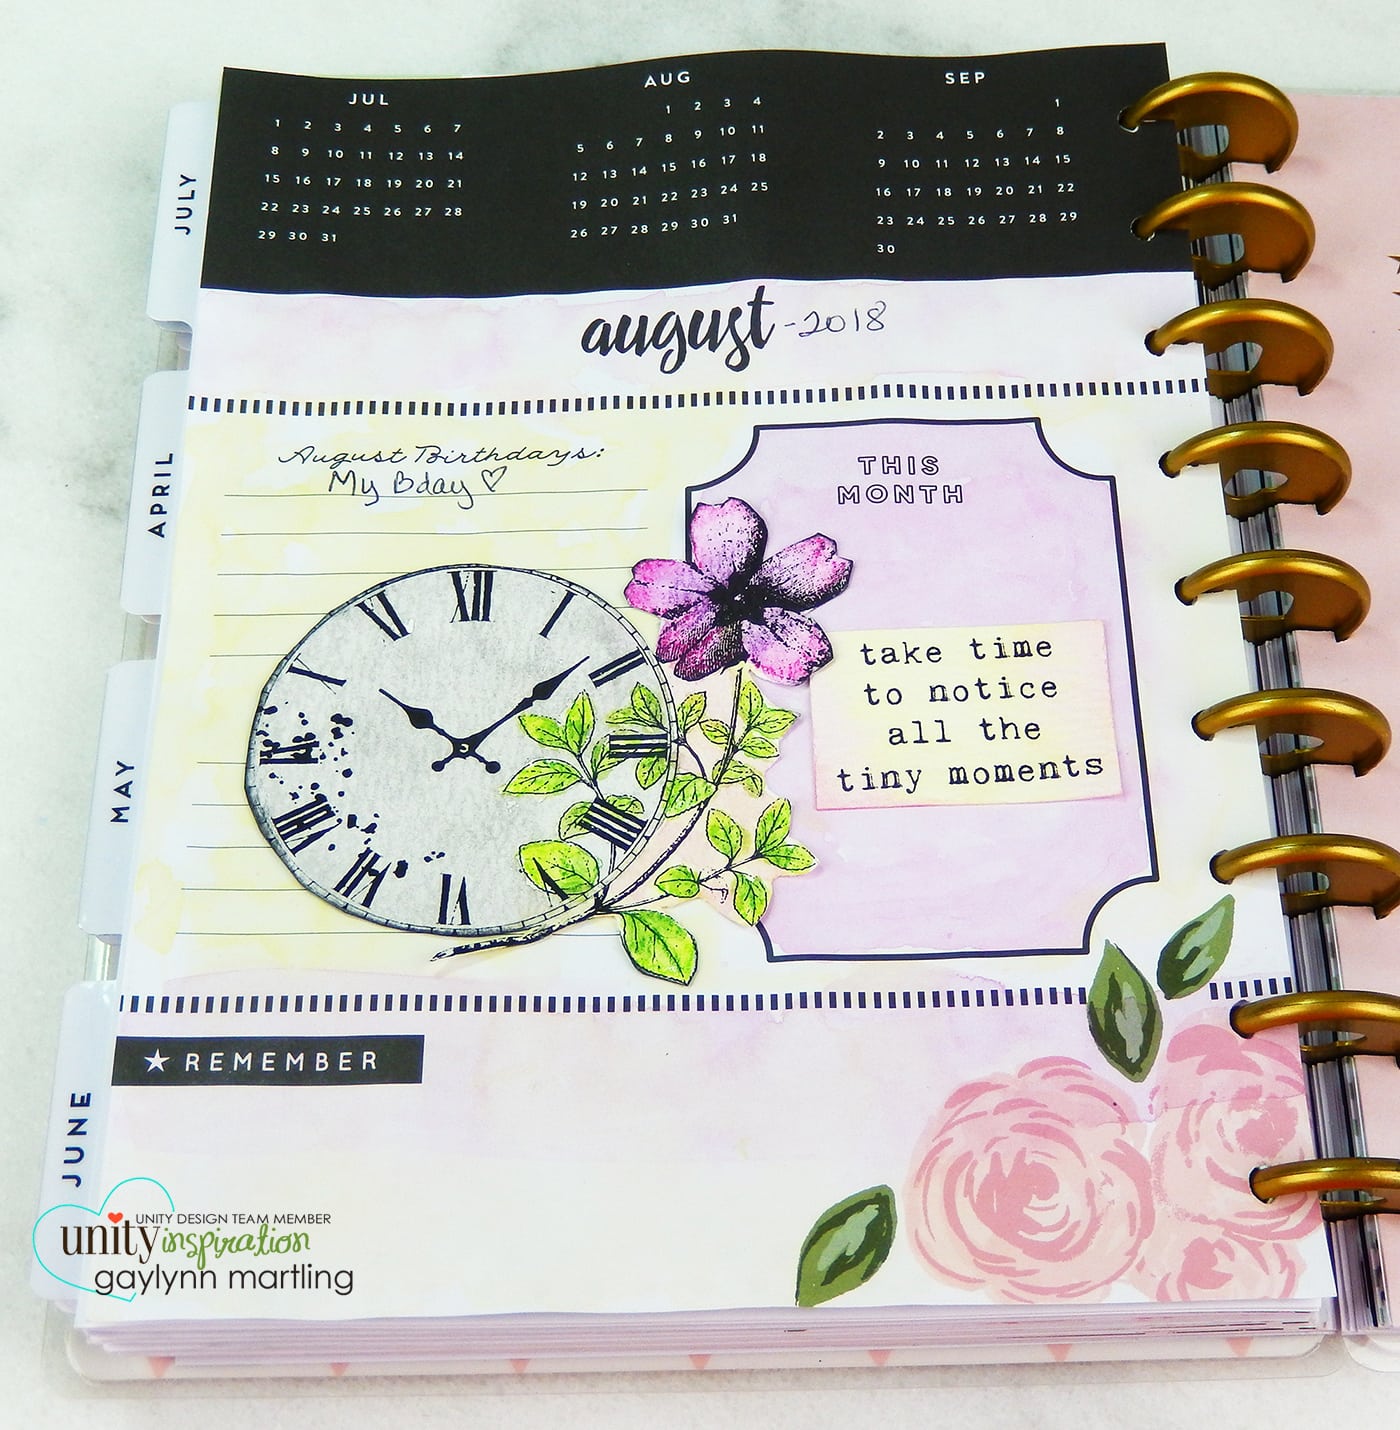
Here it is a little closer.
To view my other watercolor projects on the Unity blog, see Watercolor Wednesday.
Catch me next Wednesday with a new project for Unity’s Watercolor Wednesday. Thanks so much for visiting.
Wishing you a wonderful day.
Gaylynn