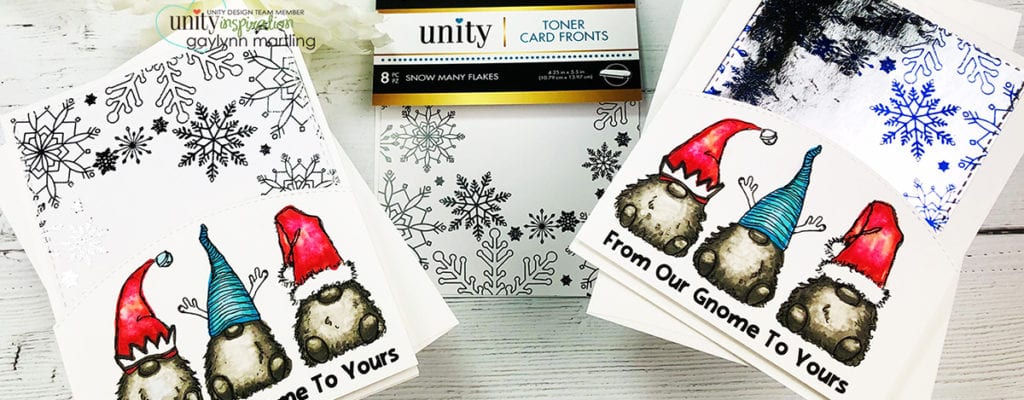
Hello, Gaylynn here. For Technique Time, I show a way to use leftover foil pieces in this negative foiling technique. For today’s example, I am using Deco Foil toner card fronts which include toner images. And then, I added foil using a laminator.
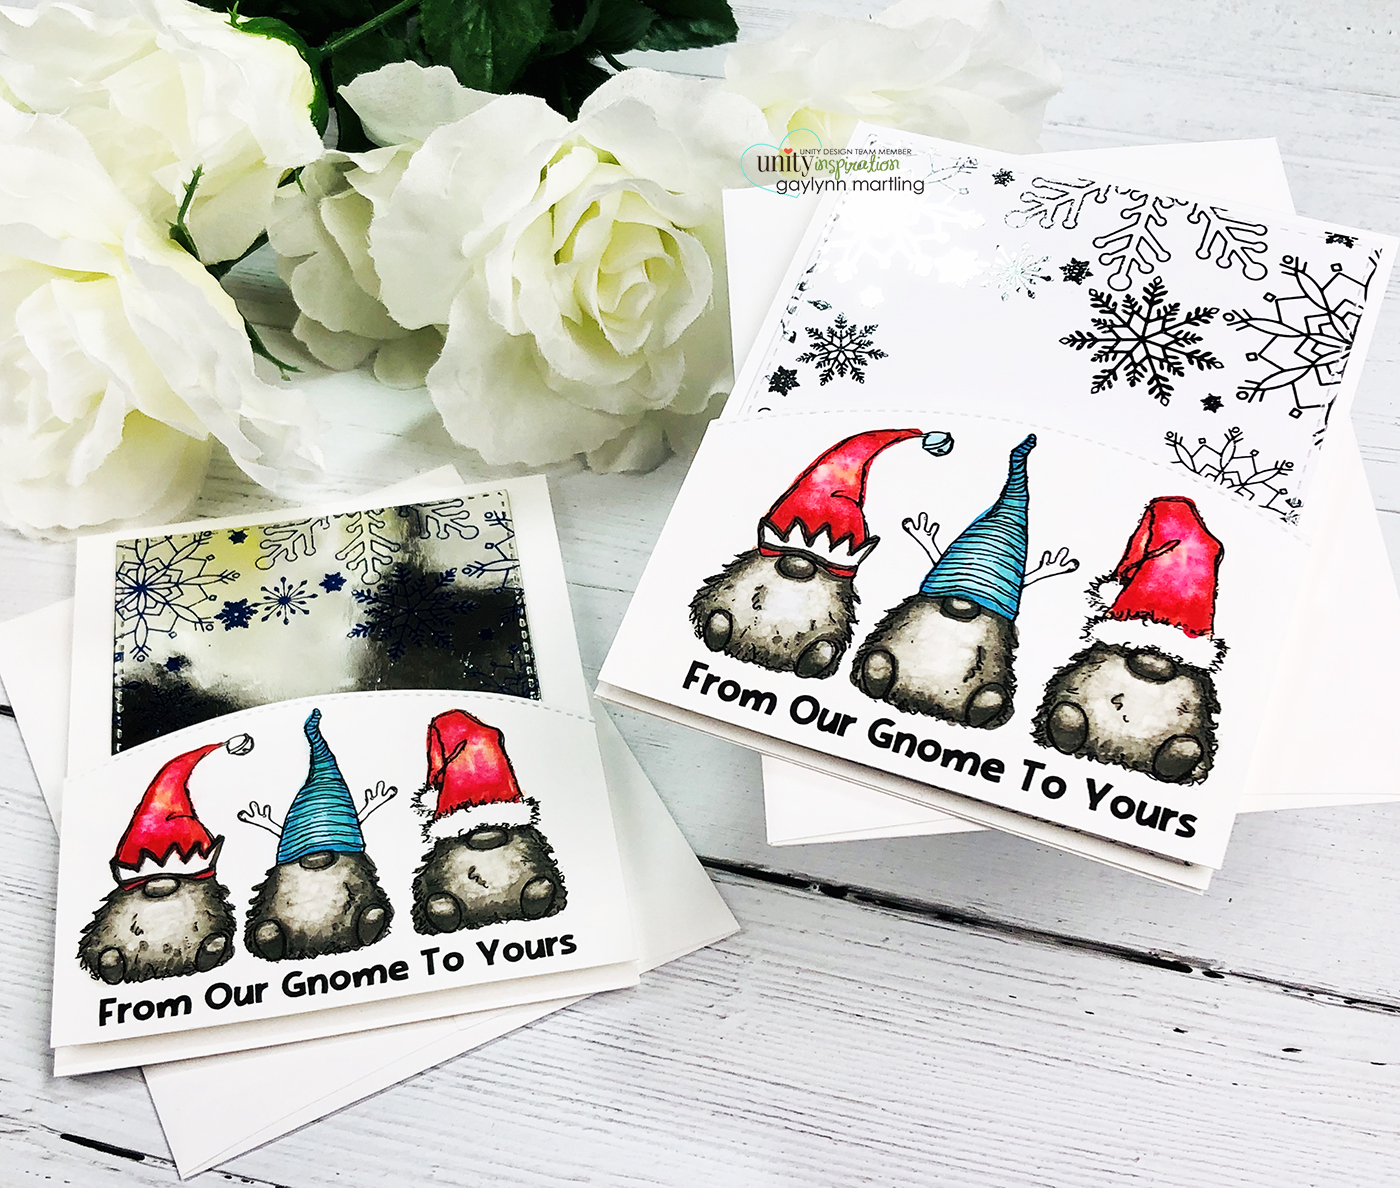
With this negative foiling background technique, you get two foiled cards with one piece of deco foil. And if you also use blank toner sheets, more colors can be added to the same toner card front. In these cards, I added cute gnome stamping.
Helpful tips:
Here are helpful tips for negative foiling. To begin, use a toner card front or an otherwise prepared panel for foiling. Also, preheat a laminator and have a carrier sheet (parchment paper) ready. Then, pre-trim foil pieces to cover the foil area. Next, sandwich the foil piece over the toner card front inside of the carrier sheet. Then, run this through the preheated hot laminator. Next, gently peel away the first foil sheet to reveal the shiny foiled image. You will have a sheet of leftover foil, I call the negative.
Also, for the negative foiling steps, trim a blank deco foil toner sheet panel to match your foil area. Next, sandwich the negative foil over the toner sheet. Then, run that through a hot pre-heated laminator. Next, carefully peel away the “clear” film top layer where the foil used to be. You will see that the foiling was transferred to the toner sheet. This is ready to trim to fit your project. OR, you can go one step further and add another foil color over that same foil sheet, run through a laminator to get a two-toned foiling result.
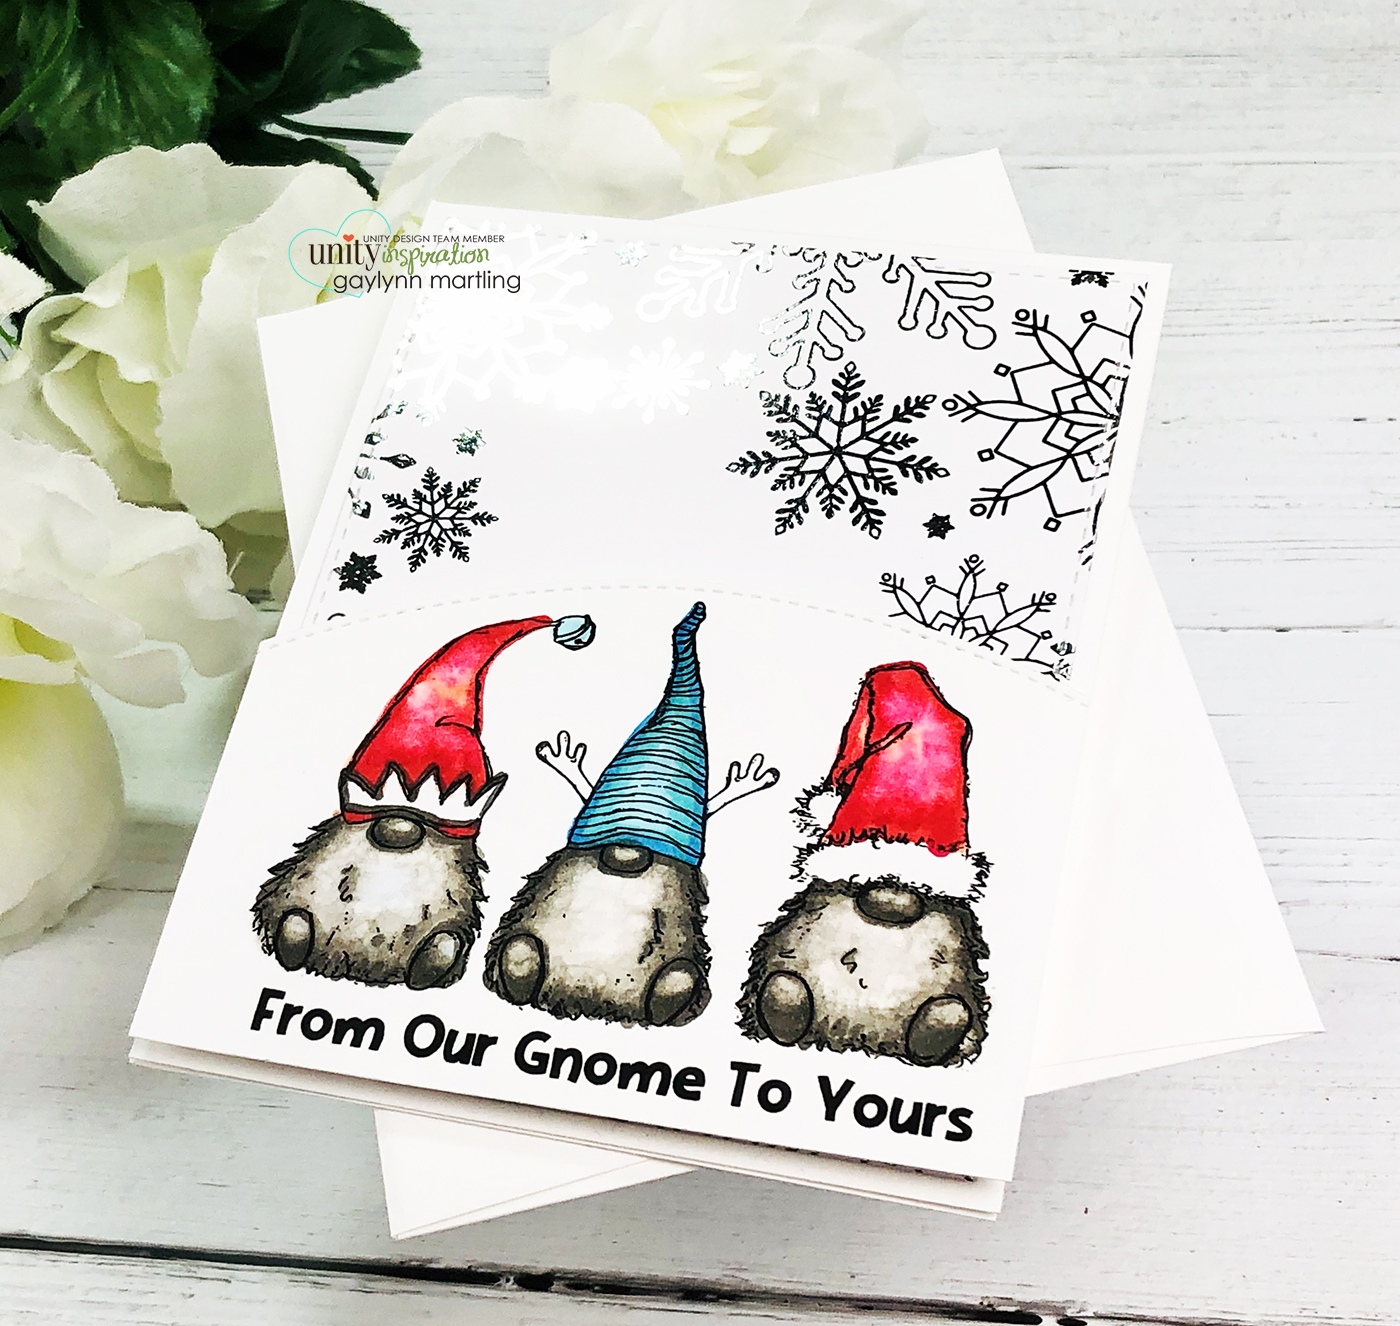
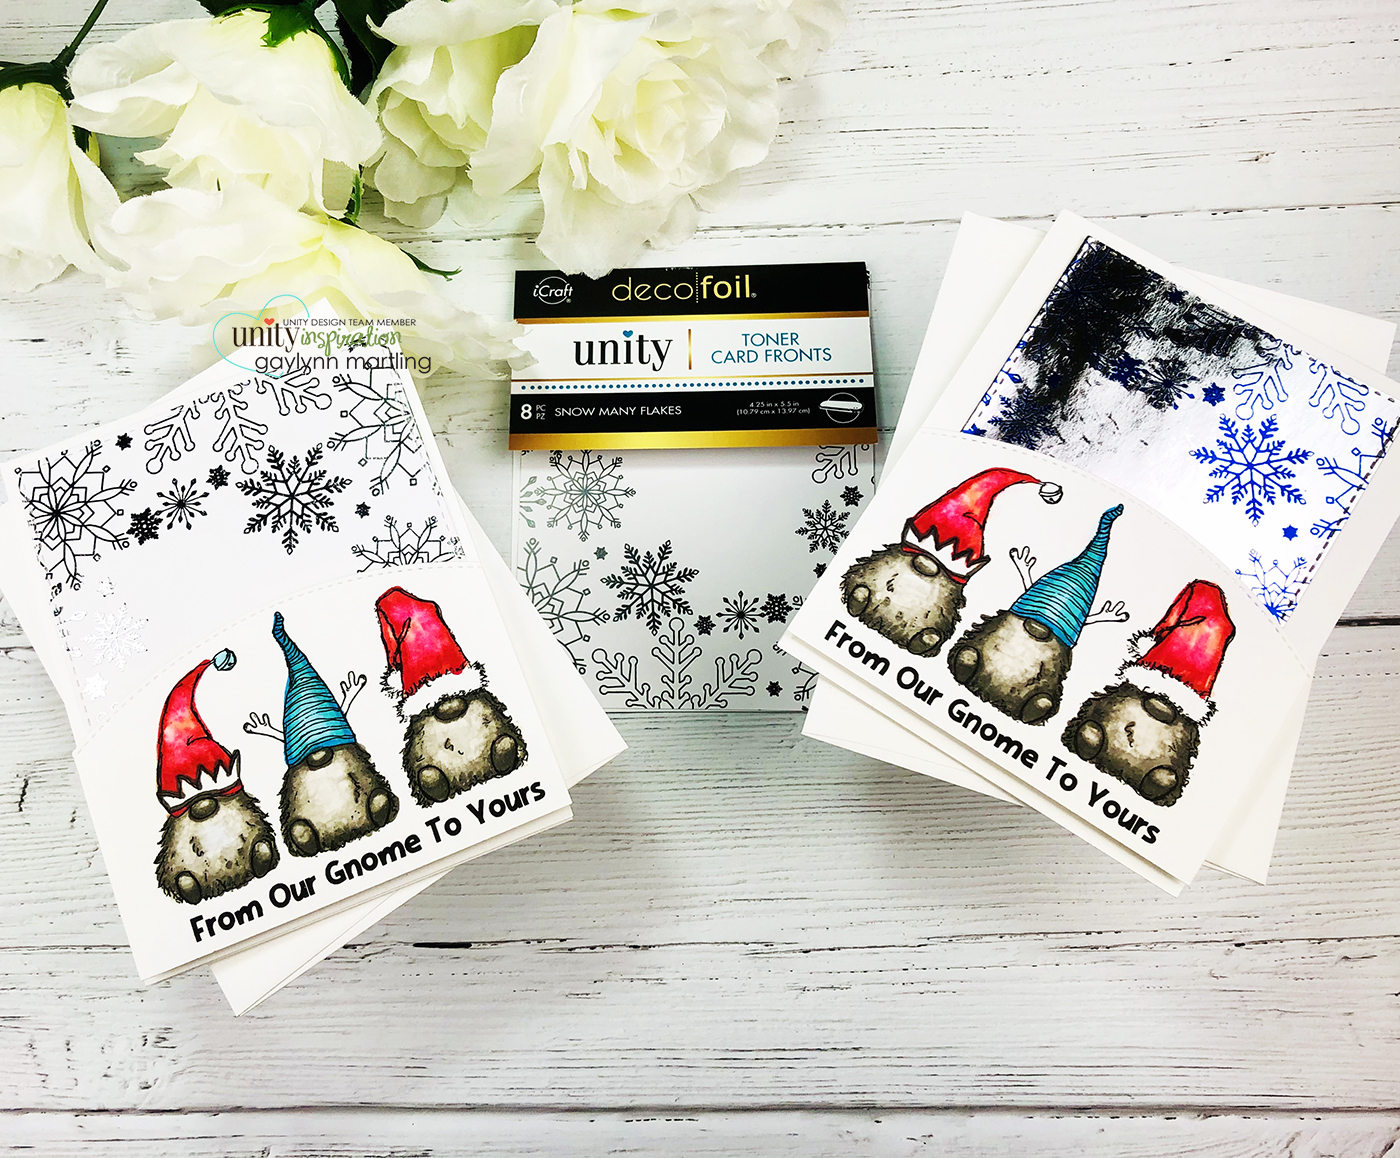
The negative foiling result is below. The background is all silver with blue snowflakes. However, it is difficult to photograph the beautiful foil.
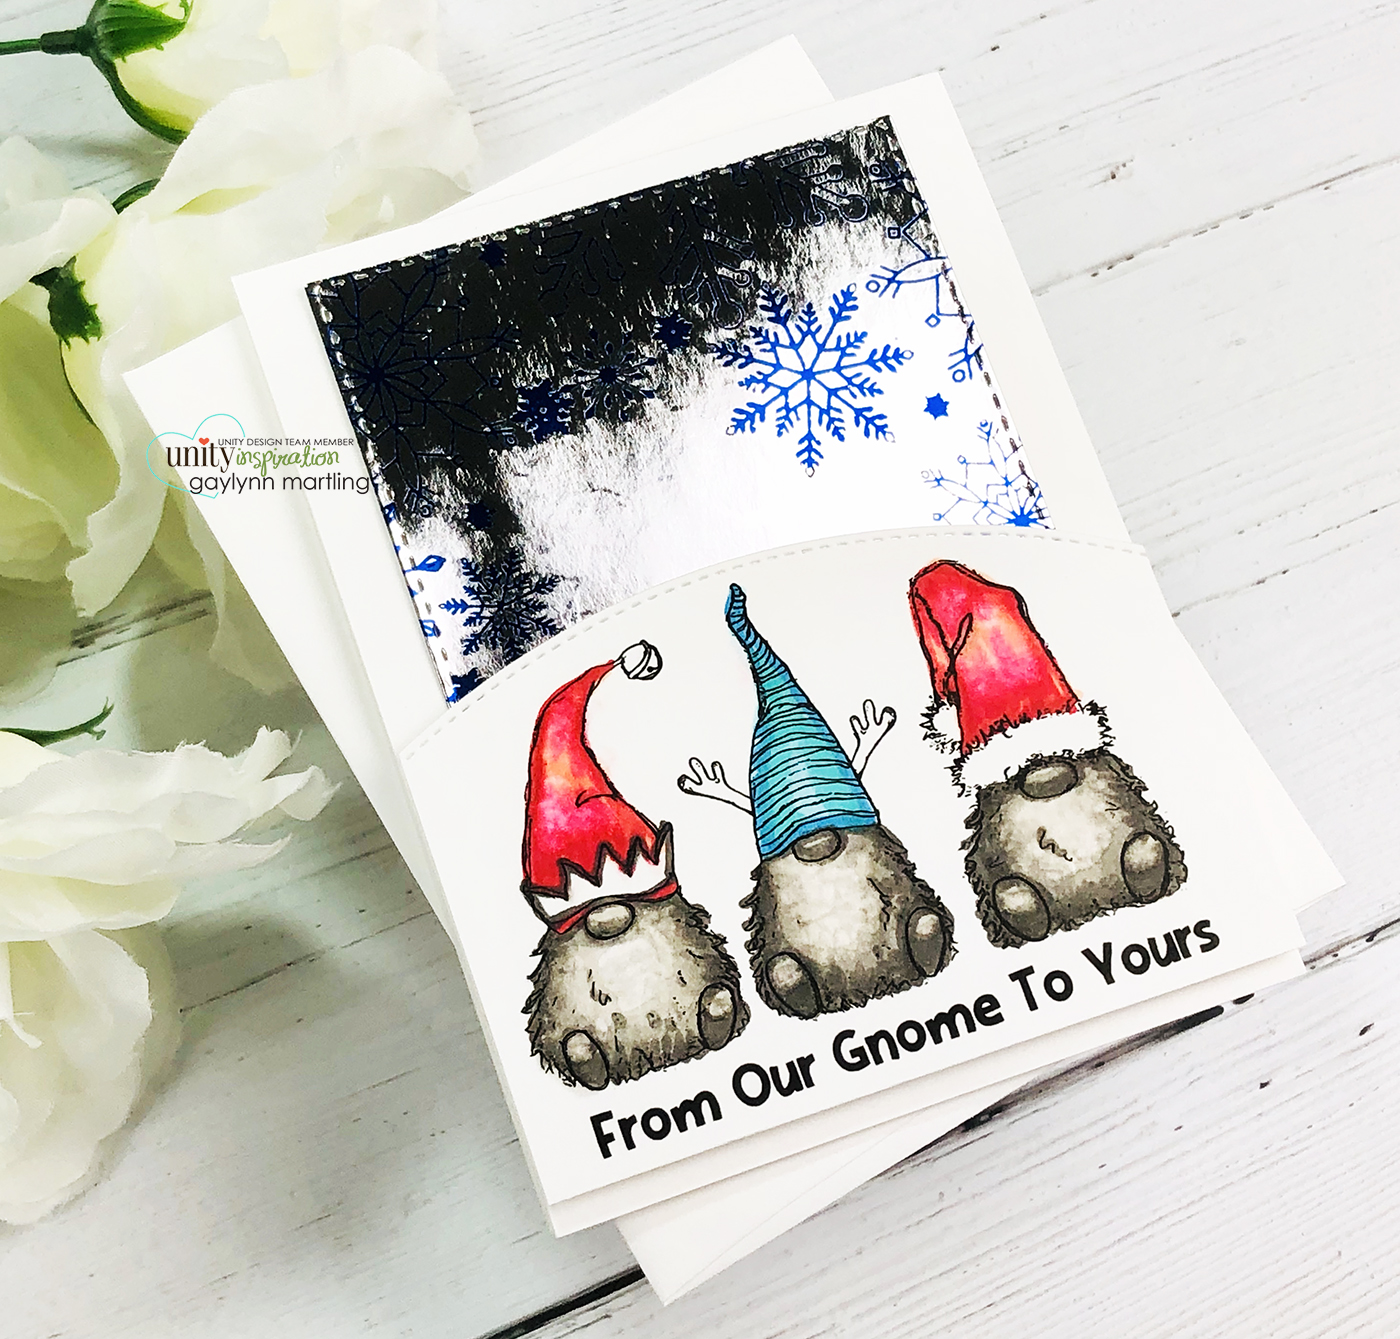
This is another look at the card set and the toner card fronts used.
Here is my video tutorial for this project. It will detail the full process.
Supplies: Unity Stamp Co. Our Gnome To Yours and Snow Many Flakes Deco Foil Toner Card Fronts.
Also, mini Misti, flat and foam double-sided tape, cardstock, My Favorite Things Stitched Basic E Die-namics; My Creative Time Rectangle Frame Die Layers, Simon Says Stamp intense black ink, Copic markers R27, RV29, R02, W7, W5, W3, W1, 0, B05, BG15, B01; Therm-O-Web Deco Foil in silver and Deco Foil Toner Sheets; Yourstory laminator, carrier sheet.
Remember, if you want to view my other projects on the Unity blog, see my features linked below.
Technique Time
Watercolor Wednesday.
Please, tune in next Wednesday with a new project for Technique Time.
Thanks for visiting.


