Good morning! I’m back today for the weekly Monday feature for me here on the Unity Stamp Company Blog! So happy to be featuring the AMAZING Unity Kit of the Month set on Mondays here on the blog. These kits are always AMAZING, and they hold a special place in my heart since they were the first thing I purchased from Unity, and what got me hooked on Unity to begin with. Who DOESN’T love getting a happy package of stamps in the mail every month, right? And these kits just keep getting better and better. You can read all the details and info to sign up HERE, and see this month’s kit as well.
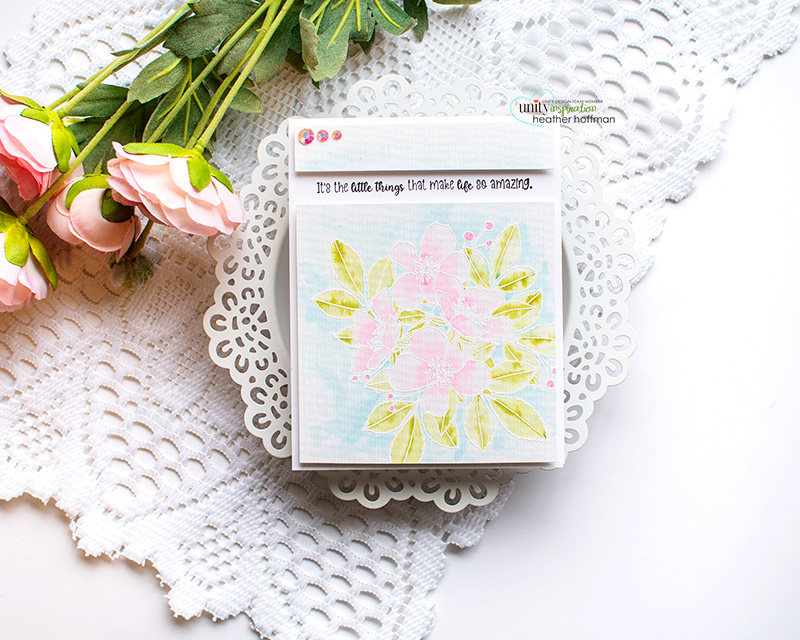
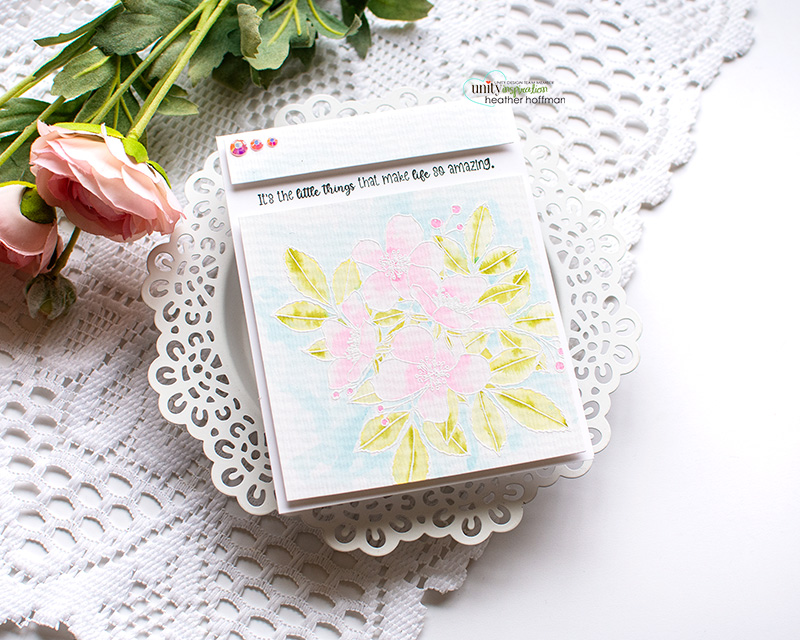
Today I’m sharing a super soft and delicate watercolor card!
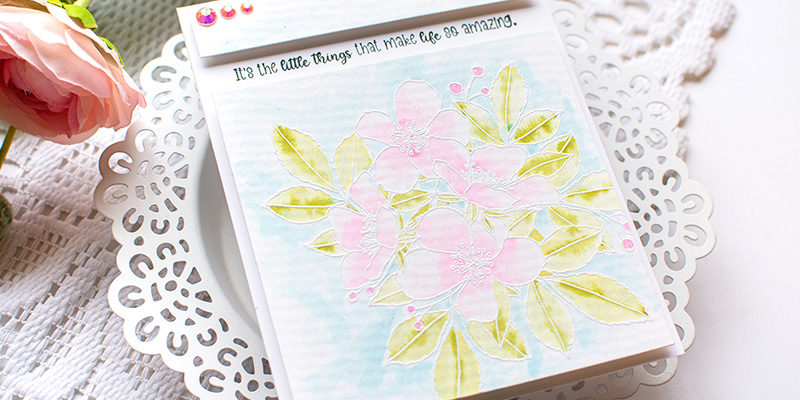
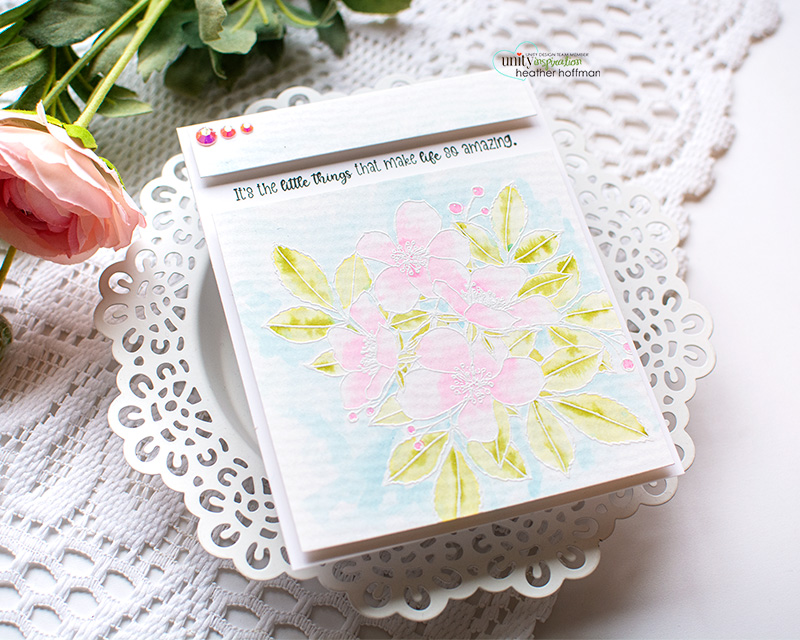
I loved this floral cluster in the April kit, and while you could pretty much color it with any color you wanted – I thought it looked like cherry blossoms, so I set out to color it in the soft dreamy colors that would do that justice! I started off by heat embossing the image in white on watercolor paper. It wasn’t as hard to see in real life as I thought it might be – and the heat embossing makes it super easy to watercolor, since it creates borders where the colors won’t bleed – so it’s safer if you aren’t that practiced in watercolor. Or…want to be lazy like I did!
I used distress inks to watercolor – Spun Sugar and Kitsch Flamingo for the petals, Shabby Shutters and Peeled Paint for the leaves, and Tumbled Glass for the background. I wet each section of petal or leaf with clean water, then dripped in the lighter color first, letting it bleed and fill the section – helping a bit with my brush if needed. Before the lighter color fully dried, I dripped in some of the deeper shade, letting it flow and blend naturally. I added that to the centers of the flowers and the leaves. Kind of a simple way to add contrast in color!

Once I finished, I trimmed the panel down, cut out a portion of the watercolor paper to fit the sentiment on the cardbase, and then popped up the watercolor paper on foam adhesive. Finally, it felt like it needed something in that upper corner to pull the design together, so I added a simple row of coordinating jewels. Love the way that sentiment is tucked in it’s own little special corner – so fun!
Thanks so much for stopping by today! Hope to see you back here next week – have a wonderful week!