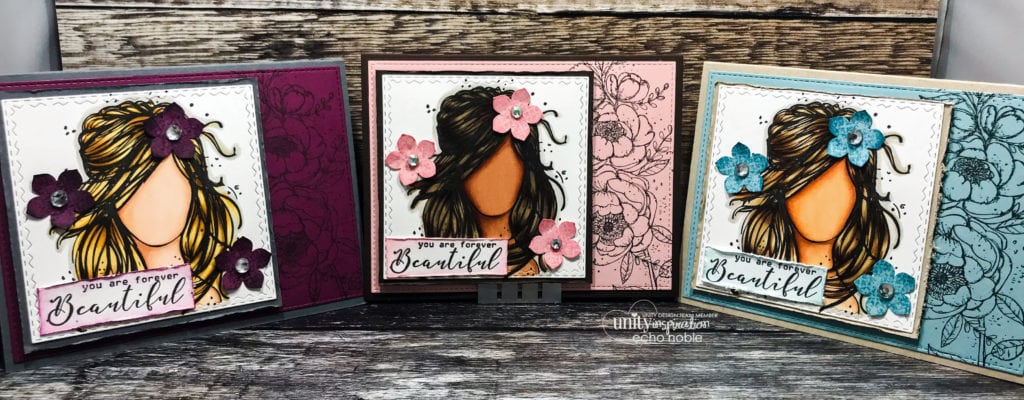
Happy Thursday! Welcome back to another stamping therapy session. Today I have a video tutorial for you on coloring skin tones with Copic markers. This is just a basic tutorial. The world of Copic markers can be intimidating. I still consider myself a novice with Copic markers. If you don’t have the exact same colors. No sweat, just use the closest colors you have. I, by no means have the complete set of colors. Not having the full set shouldn’t stop us from having some fun with coloring. The Angie girls at Unity is what got me to want to learn coloring skin tones better.
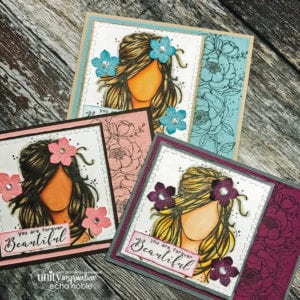
This girl is so beautiful. She came in a past Kit of The Month.
Kits used:
Kit of The Month August 2016- Open Your Soul, You Are Forever Beautiful, and Bitty Backgrounds.
Coloring skin tones with Copic markers
Most of the Copic markers I used for coloring these skin tones. Come in the Copic skin tone 1 pack. Except for E21 and E51 that I used.
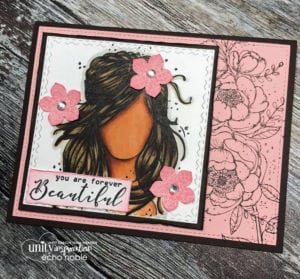
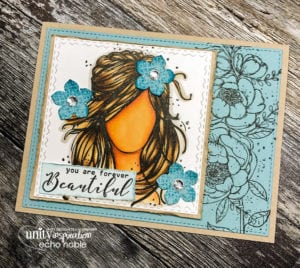
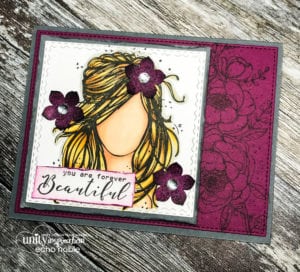
These girls were so much fun to color up. Combining it with the Forever Beautiful floral stamp was the perfect match! I love love both of these stamps. Angie girls are the best to practice coloring skin tones on! Go check out the huge selection of Angie girls!
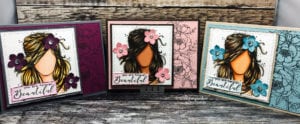
I hope you found some inspiration on coloring skin tones with Copic markers. If you try this technique out for yourself, tag me over on the Unity Show and Tell Facebook group. I would love to see what you make with this technique. I love seeing your creations so much. If you missed last weeks stamping therapy post. Click here to take you to that blog post on making a mixed media mini art book. That is our time for today!
Thank you so much for joining me this Thursday.
Until next time, stamp on!


