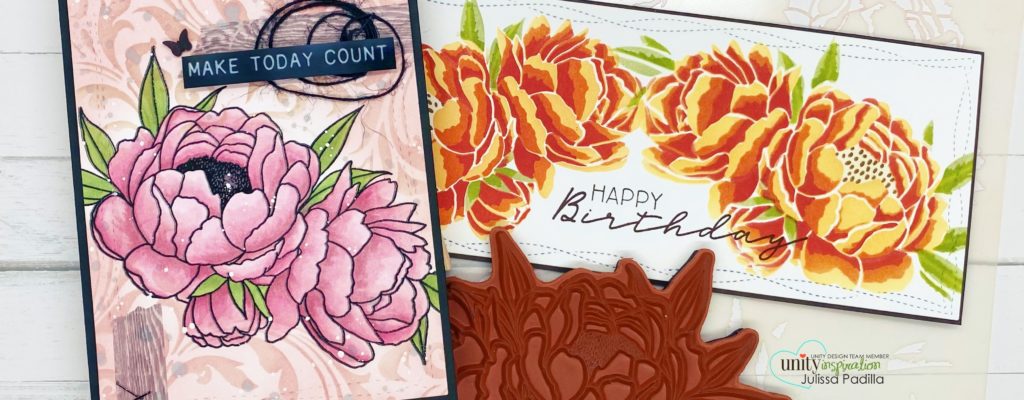
Happy Friday! This is Julissa of Paper Gems by Jules on the blog today sharing a fun way to maximize the Peony Stamp & Stencil Bundle. This Layering Peony Stencil is great to work alone or with the matching stamp set, which is called Birthday Blooms. Today, I’m sharing a great way to use the stencil as well as ways to color the stamp!
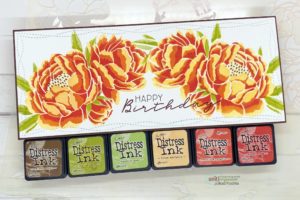
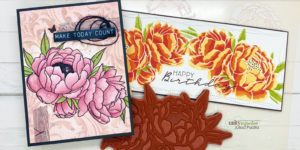
Let’s start with this amazing one-piece stencil! This stencil allows for three layers of colors for the flowers and two layers for the leaves, all on one 8.5″ x 11″ stencil. And my FAVORITE part of this stencil, is that it works BOTH ways. The slimline card above uses both sides of the stencil to make this symmetrical floral card front.
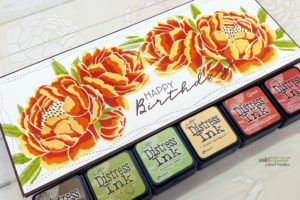
Distress Ink colors used (in order) for peonies: Dried Marigold, Crackling Campfire, Fired Brick and Walnut Stain
Distress Ink colors used (in order) for leaves: Bundled Sage and Peeled Paint
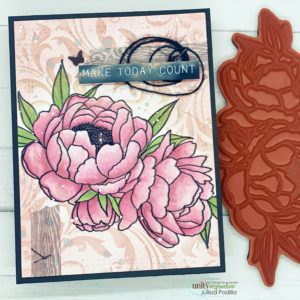
This next A2 sized card was colored in with Copic markers. I started by stamping the peonies with hybrid ink so that I could color it with Copics. Once colored, I used my embossing buddy before stamping with VersaFine Onyx Black and melting clear embossing powder. This made the lines of this floral pop!
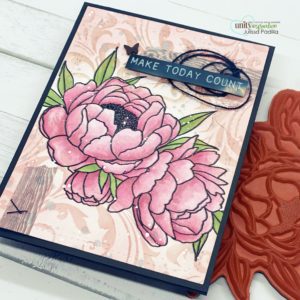
Copic markers used: R56, RV34, RV32, R81, RV000, YG63, G43
With some soft colored background inks and black embellishments to compliment the bold black lines of the image, these beautiful florals had a little grunge look.
Thank you so much for stopping by the blog today and I hope you found some more inspiration on different ways to use this amazingly beautiful stamp and stencil bundle!
Until next time…
Happy Crafting!


