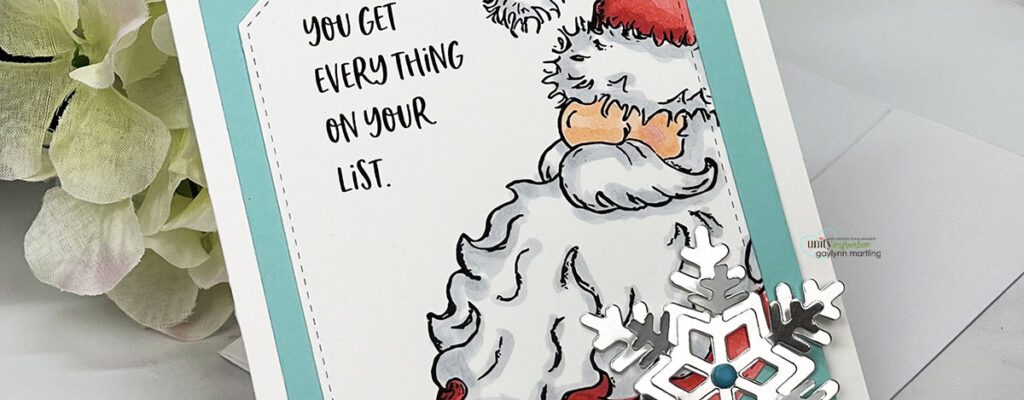
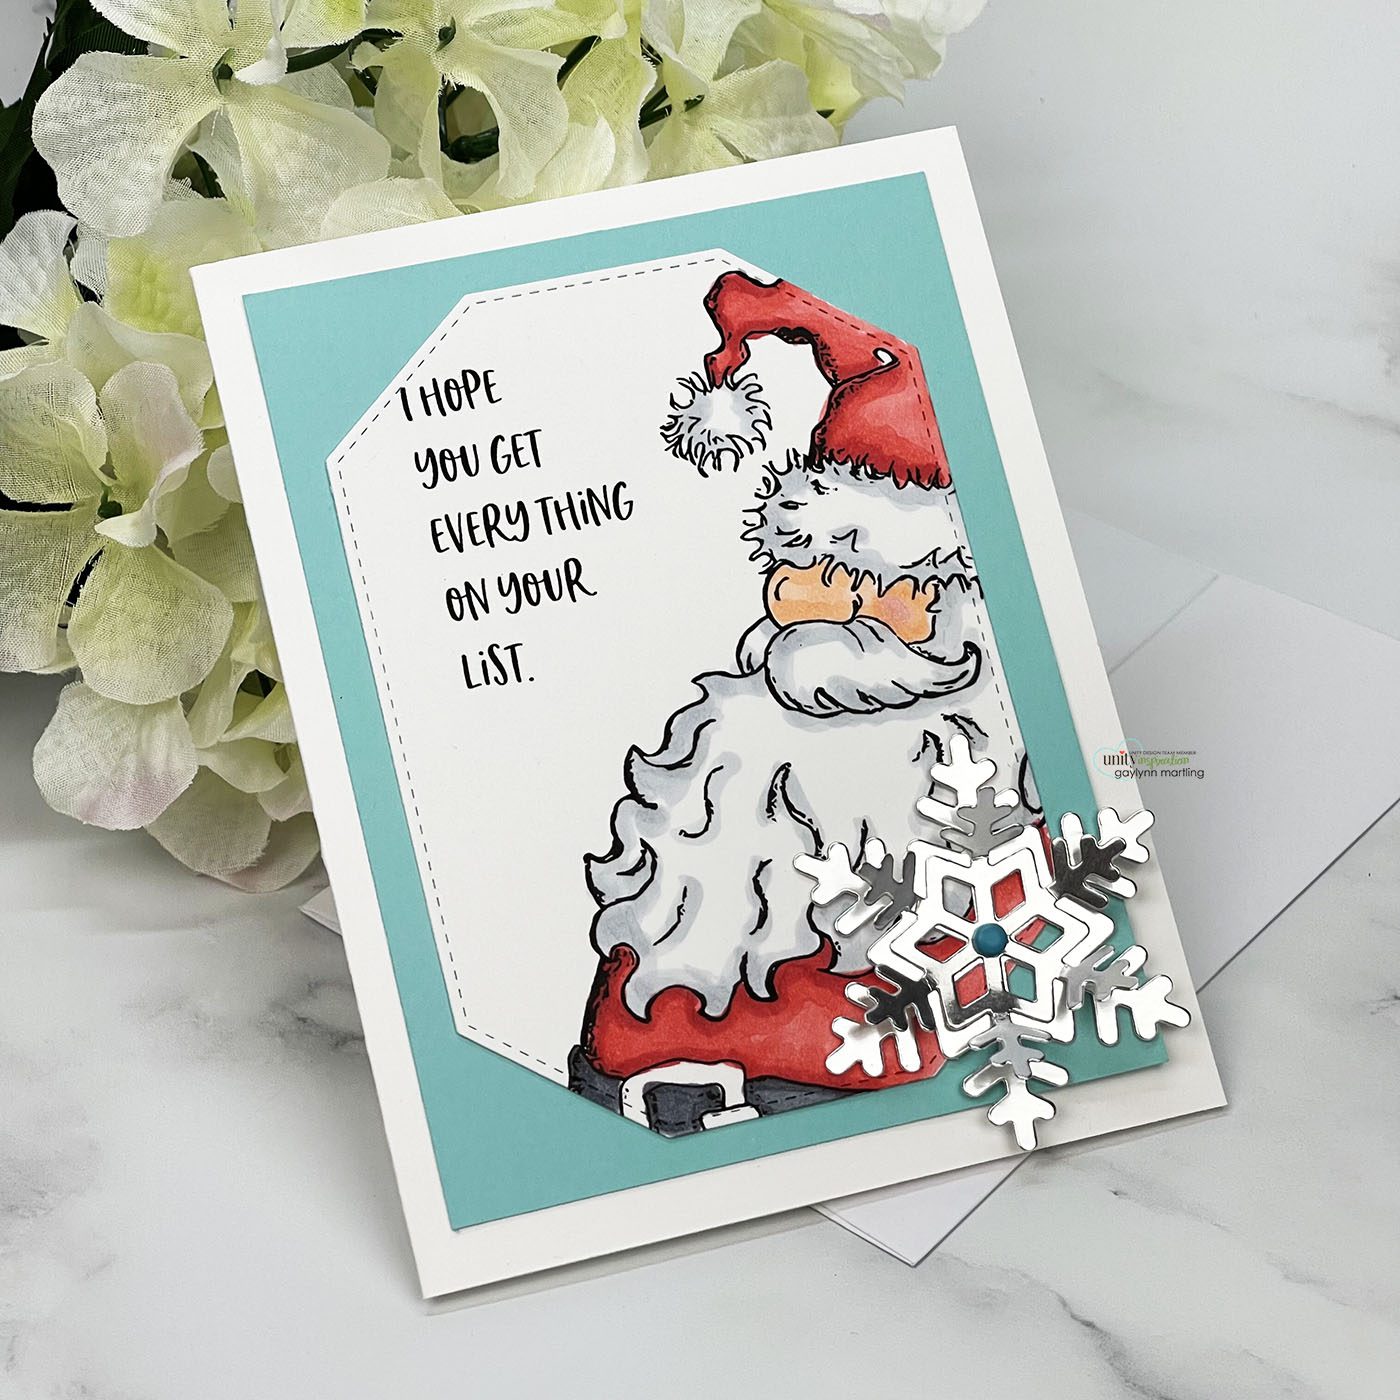
Hello, Gaylynn here. This simple Santa snowflake card was made with rubber stamping, coloring and a layered embellishment. It is never too early to make holiday greeting cards. This is a fun project to chip away at those handmade Christmas cards.

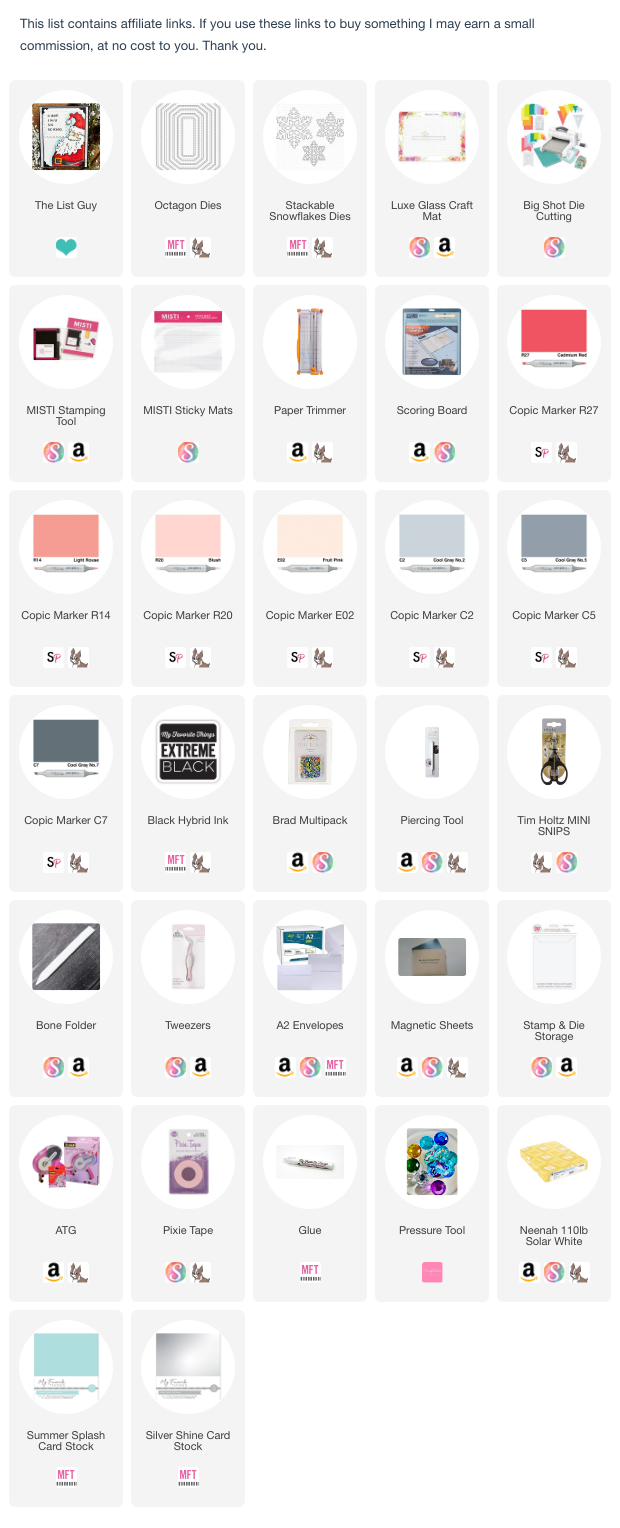
For coloring, I used Copic markers, but any coloring medium works just fine. I love the fun sentiment in this stamp set.
 Helpful tips:
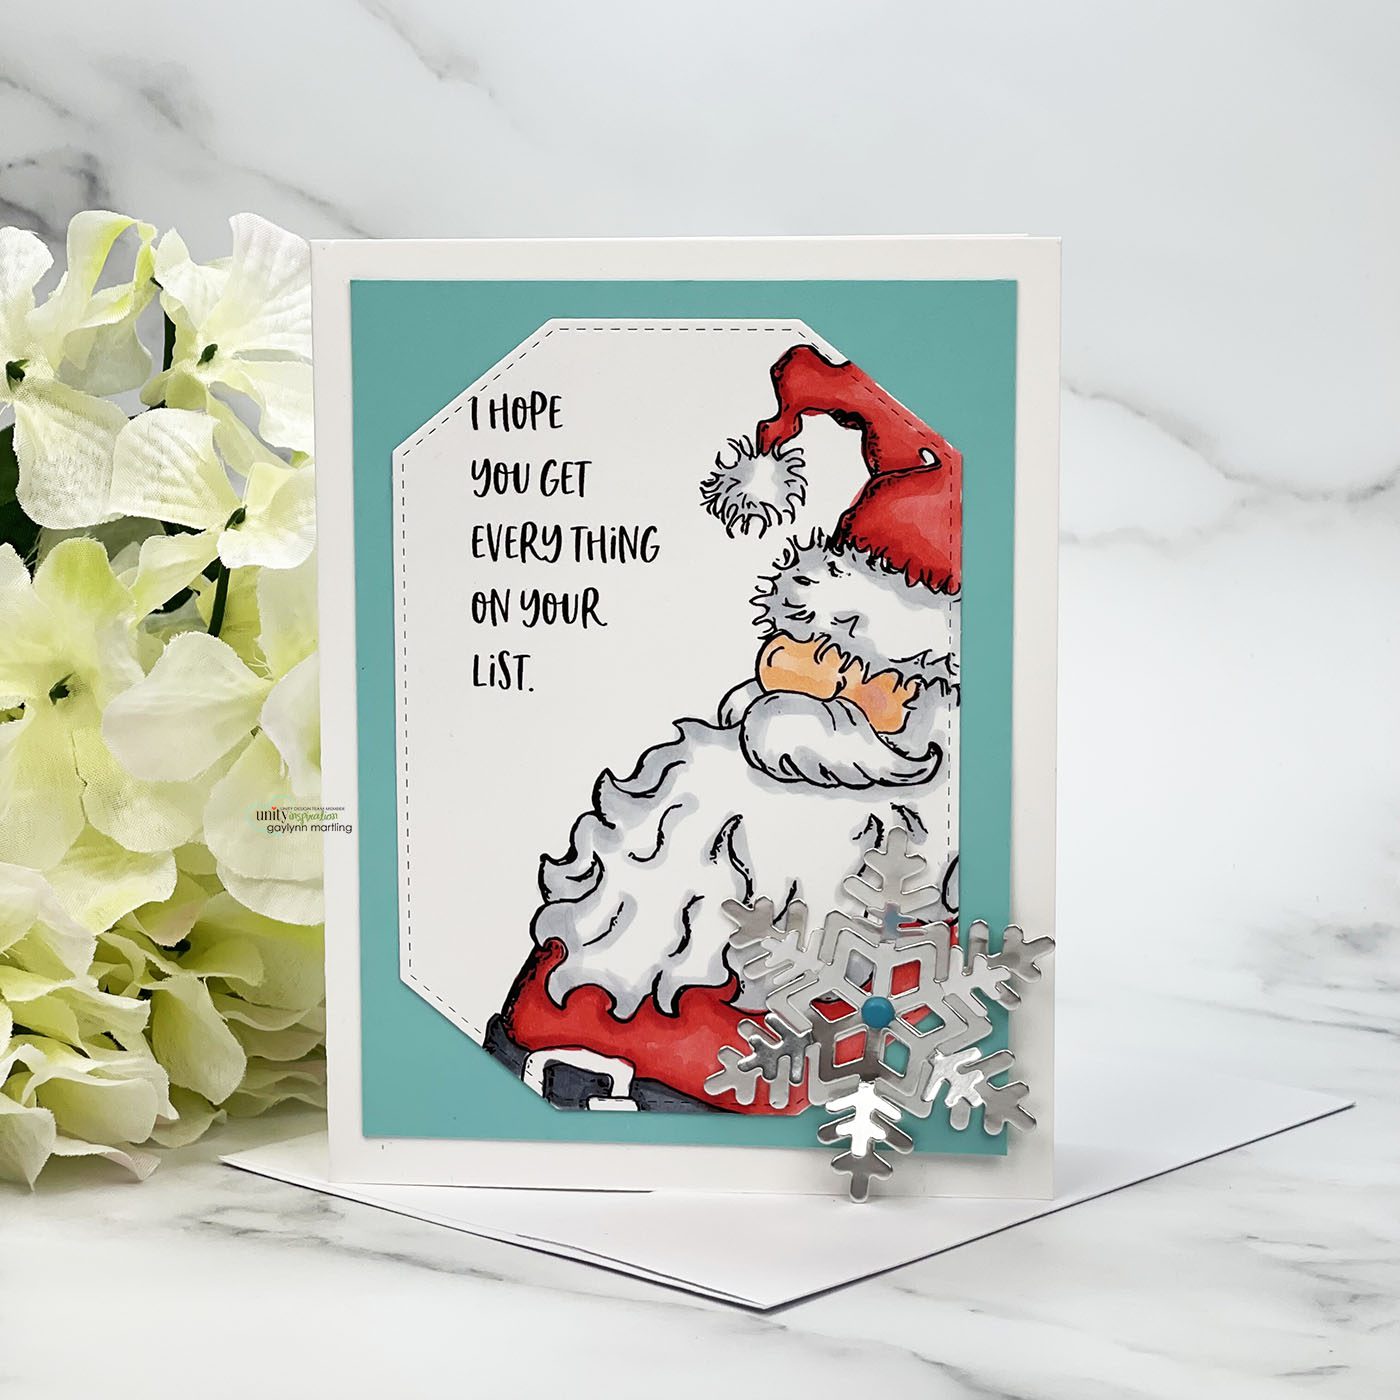
In summary, to make this card, begin by preparing an A2 sized card base in white. Then using a paper trimmer, make a colored background frame panel in blue a bit smaller than the card base. Next, on white cardstock, stamp the large Santa and the sentiment close together using alcohol friendly ink. Then, add color to the Santa. Also, trim or die-cut the stamped panel to fit inside of the blue frame layer. Next, for the embellishment, die-cut two snowflakes in silver card stock. Pierce a hole in the center of each, layer them together and fasten them to the Santa panel using a small brad. Finally, adhere all of the layers onto the card base, to finish.
Here is the Santa card a bit closer.
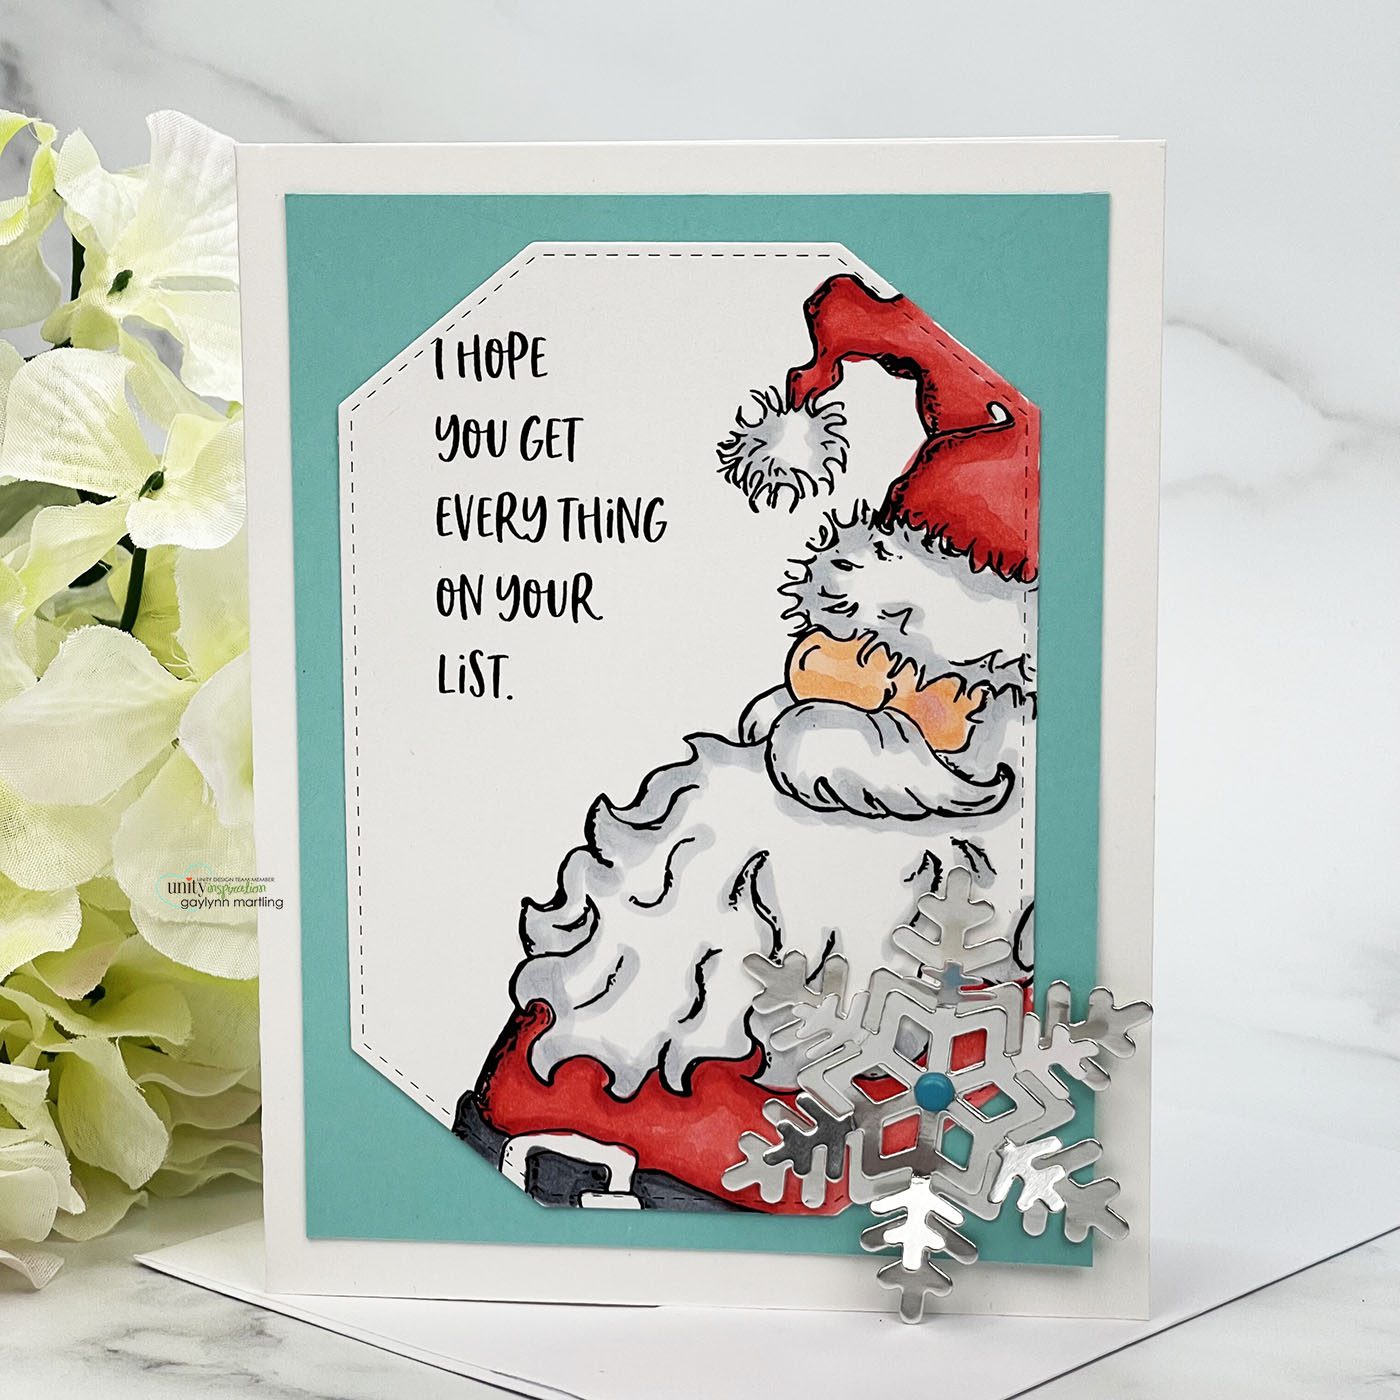 Although silver cardstock is not necessary for the snowflake, the shine looks beautiful when the light captures it. Any color works just fine.
 Finally, this is a peek at the process of making this
Don’t forget, you can find my other Unity Stamp Co. features and supply links below:
Technique Time and
Watercolor Wednesday.
Thank you for visiting and have a lovely day.
Gaylynn


