


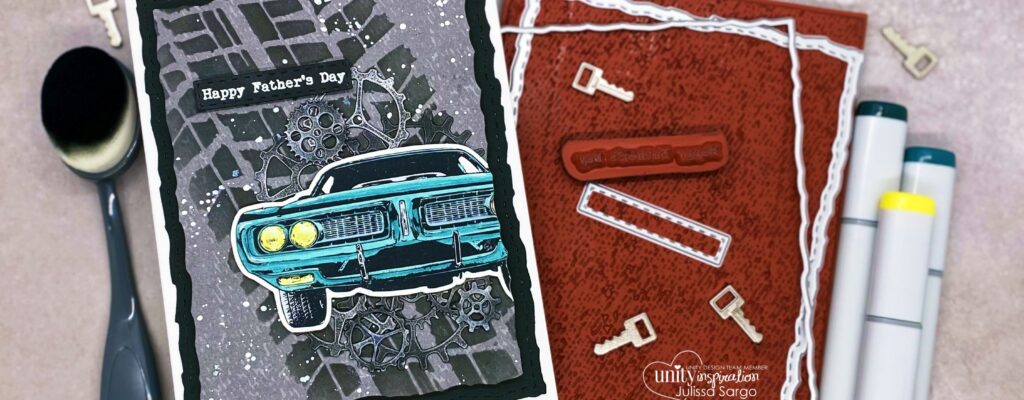
Beep! Beep! Let’s ride into the weekend with this classy muscle car from the new “Keepin It Classy” stamp kit. This kit is perfect for anyone, but it’s pretty cool for a fun interactive Father’s Day card. I paired it with Pear Blossom Press’s EZ Lights to light it up and it’s pretty darn cool!
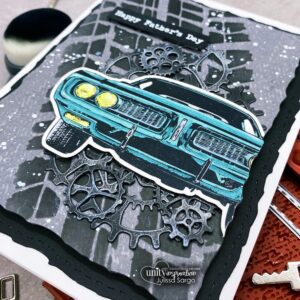
I started by stamping the car out and colored it in using Copic markers. I fussy cut it out and set it aside to create the background. {Copics used: BG78, BG75, BG72, Y06, Y02, C2}
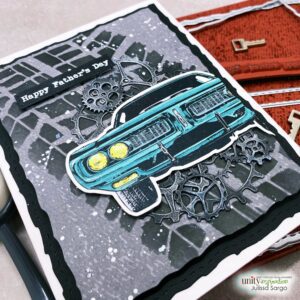
For the background, I started with a light grey card stock and stamped the Dance with Denim Background stamp with a darker grey ink. Next, I used a tire tread stencil create tread marks over the background and used white paint to splatter on the background to complete this grunge look.

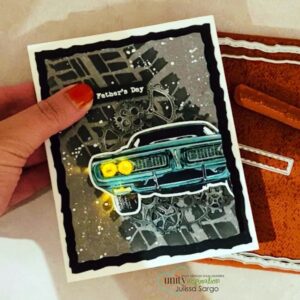
Next, I die cut the background using the new Deckle & Stitches Nesting Dies second largest die. Using that same die, I lined up the stamped and colored car where I wanted it on the background and die cut it to cut off the lights on the right side. This makes it easier to only light up the three lights on the left since the EZ-Lights has a 3 light system.
In order to line up the lights, I used stickles behind the yellow on the back of the car and laid it on the grey card stock. This allows me to see where to poke the holes for the lights to pop through. From there, I’ll remove the car, poke little holes for each light to sit behind where the three lights on the car are and tape the system onto the back of the grey card stock. Make sure the button to turn on the lights is accessible. I put it under the sentiment. Using foam tape to create support around it and adhere it to the back base also cut using the largest of the Deckle & Stitches Nesting Dies.
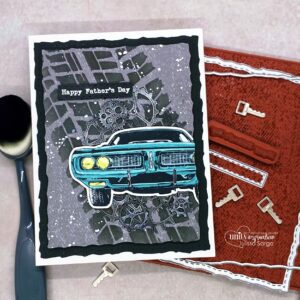
The last bit is adding the sentiment right over the button so that when you press Happy, the lights turn on. The sentiment is from “All About Dad” stamp kit and the die is used is part of the new Scalloped & Stitched Sentiment Nesting Dies. Once it’s all done, just adhere to your hard base and give this to that cool dad so he can get lit!
Supplies used:
- Keepin It Classy Stamp Kit
- Dance with Denim Background Stamp
- All About Dad Stamp Kit
- Deckle & Stitches Nesting Dies
- Scalloped & Stitched Sentiment Nesting Dies
- Pearblossom Press EZ-Lights
- Foam Tape
- Copic Markers
Thank you so much for stopping by and I hope you found some inspiration. If you create something inspired by this card, make sure to post it on the Unity {show & tell} Facebook page.
Until next time… Happy Crafting!


